OK here we go… Firebat Mechanic 101


ITEMS NEEDED
Mechanic suit (Royal Blue)… $30
Gloves (Black leather)… $15
Hat (Royal Blue)… $10
Boots (Black)… $20 - $200 personal choice here, its YOUR feet…
Belt (Black)… $10
Belt Buckle (Gunmetal Grey)… 3D printed
Utility Vest (Royal Blue) 100% custom made… this is the most important aspect of this build.
EVERYTHING IS ROYAL BLUE & BLACK
first you need the primary coveralls ROYAL BLUE … order your correct size as they are pretty true to fit. these are found here…
https://www.amazon.com/gp/product/B07HNGYQLL/ref=ppx_yo_dt_b_asin_title_o04_s00?ie=UTF8&th=1&psc=1
after you receive them and make sure they fit right, you need to remove the makers tag on the right rear pocket…
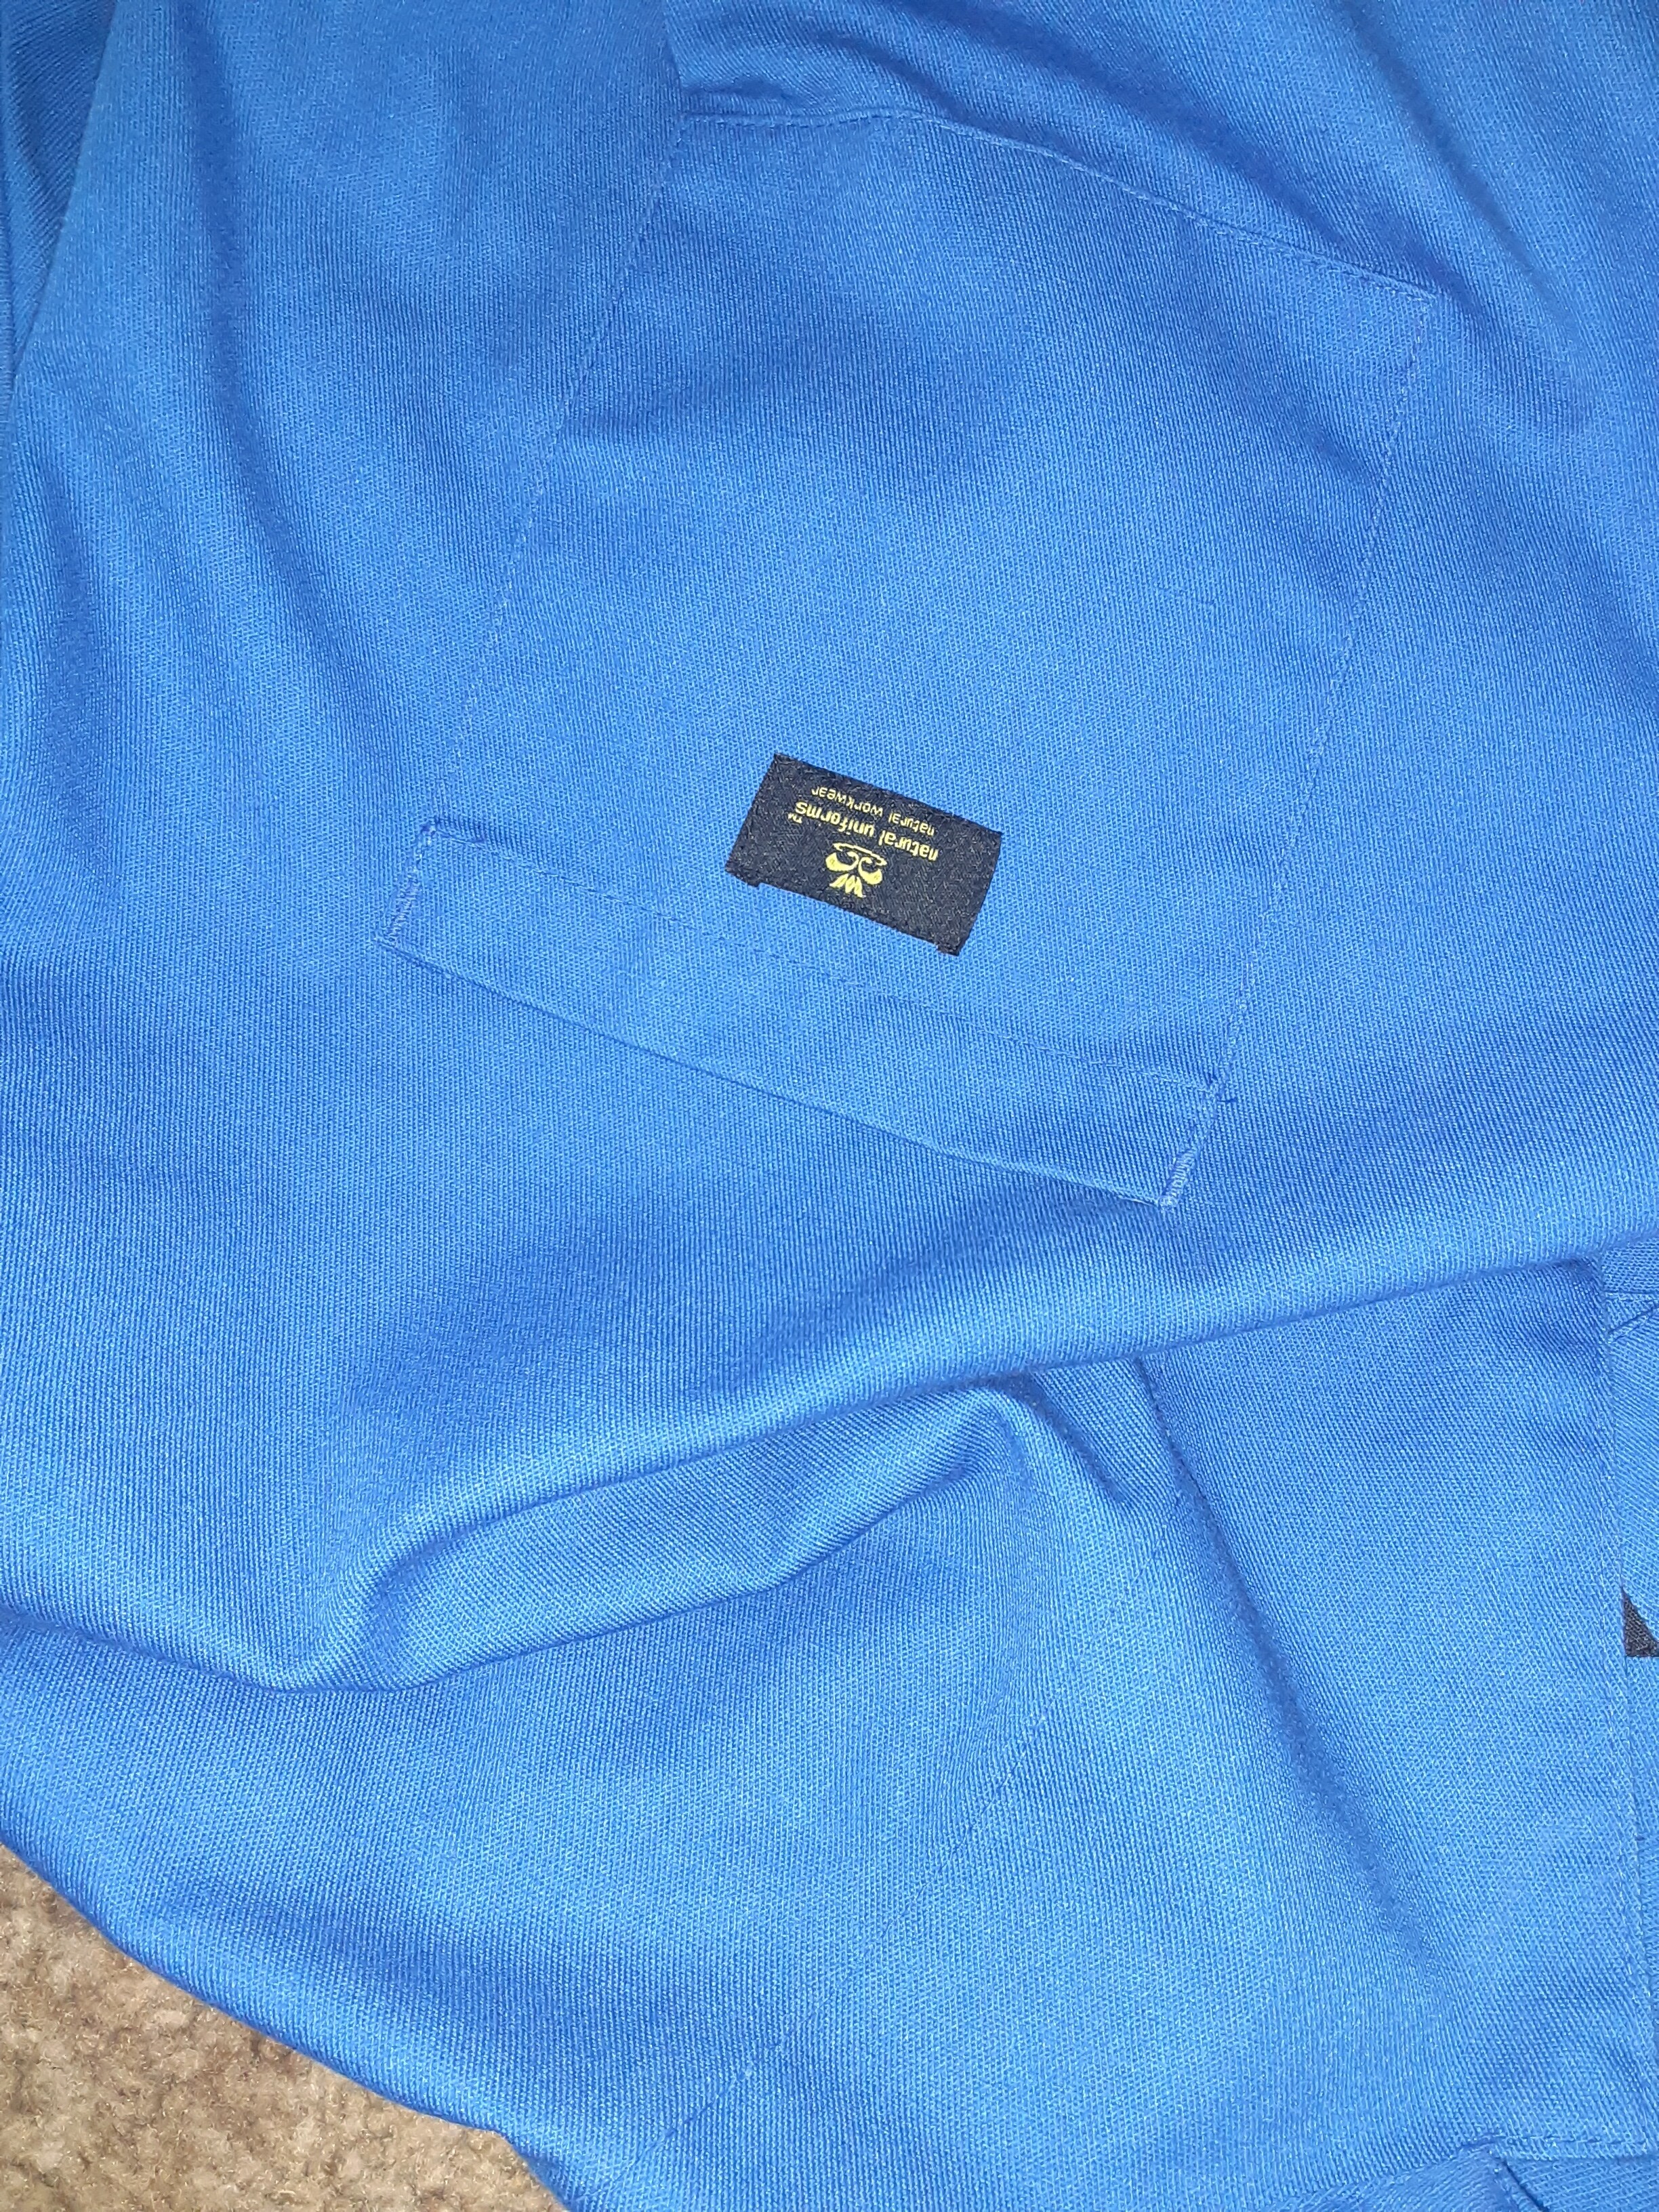
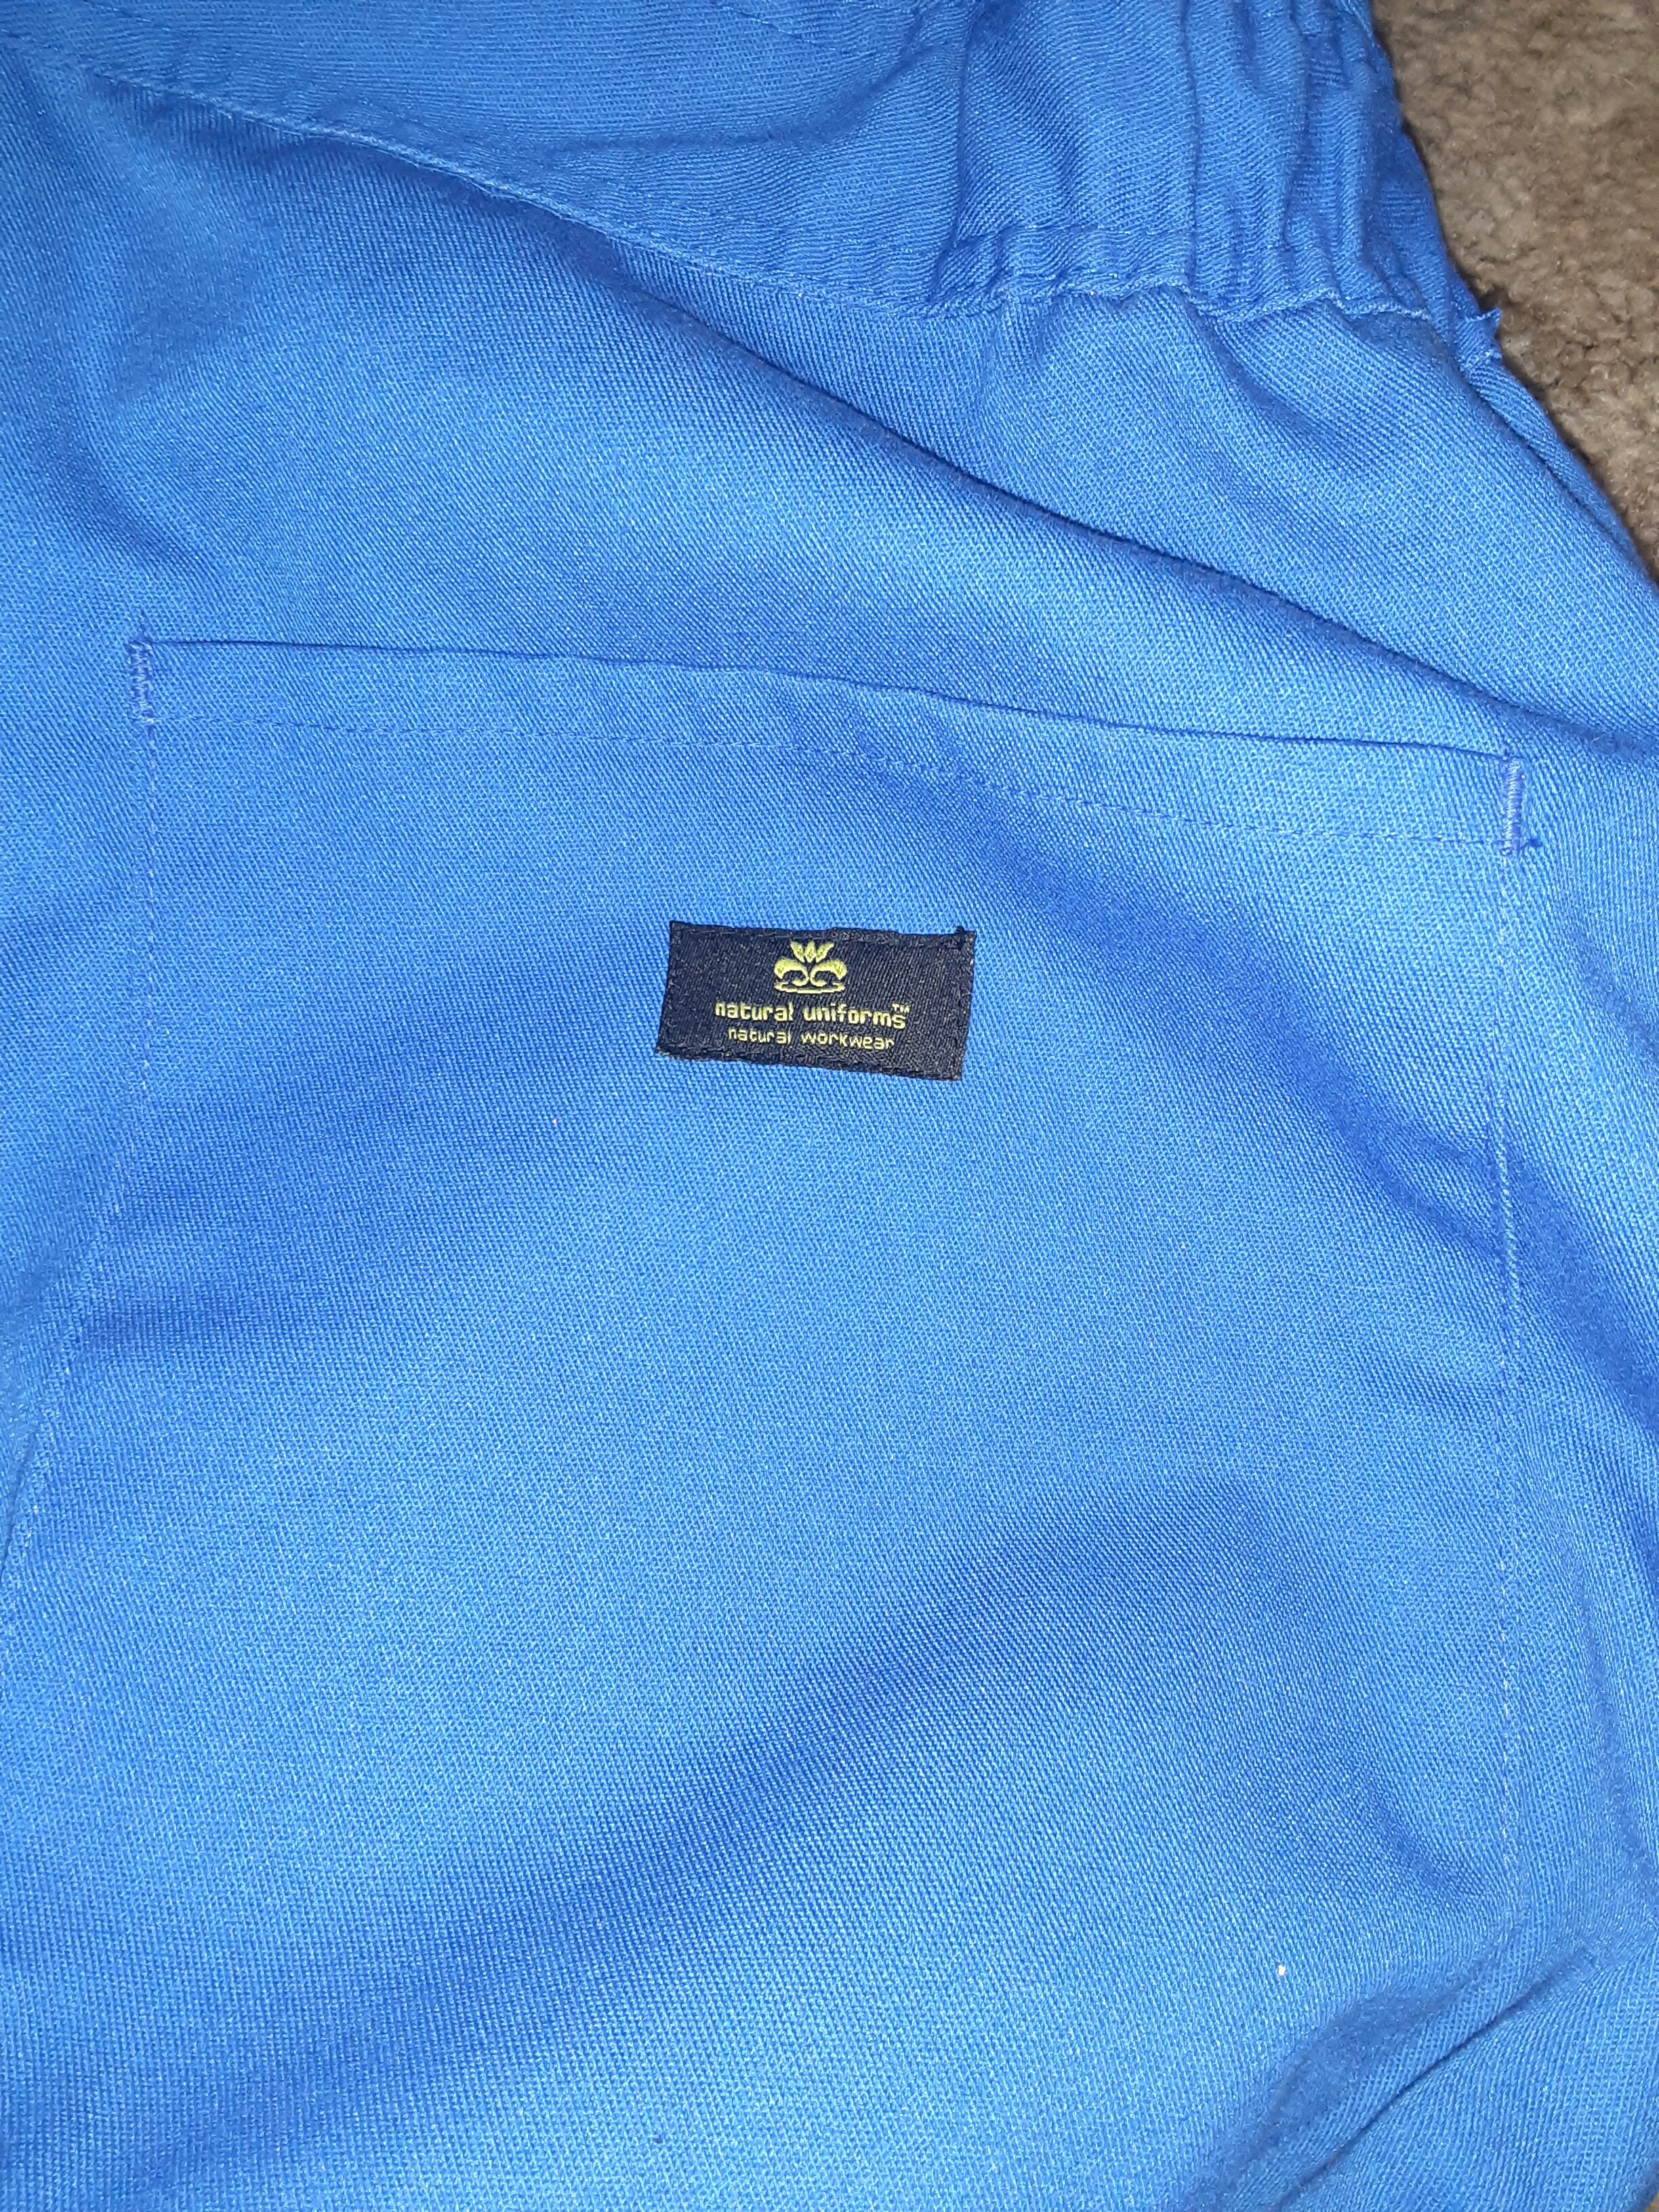
there are 2 of these tags 1 on the rear pocket & 1 on the front left breast pocket… ( front tag is optional removal as your vest will cover it). a few seconds with a stitch ripper and your done… now wash them twice in hot water WITH fabric softener (trust me on this lol).
after wash & dry the sleeves need to be rolled up evenly to just above YOUR elbow, i advise hot iron pressing them and adding a few small stitches to keep them rolled.
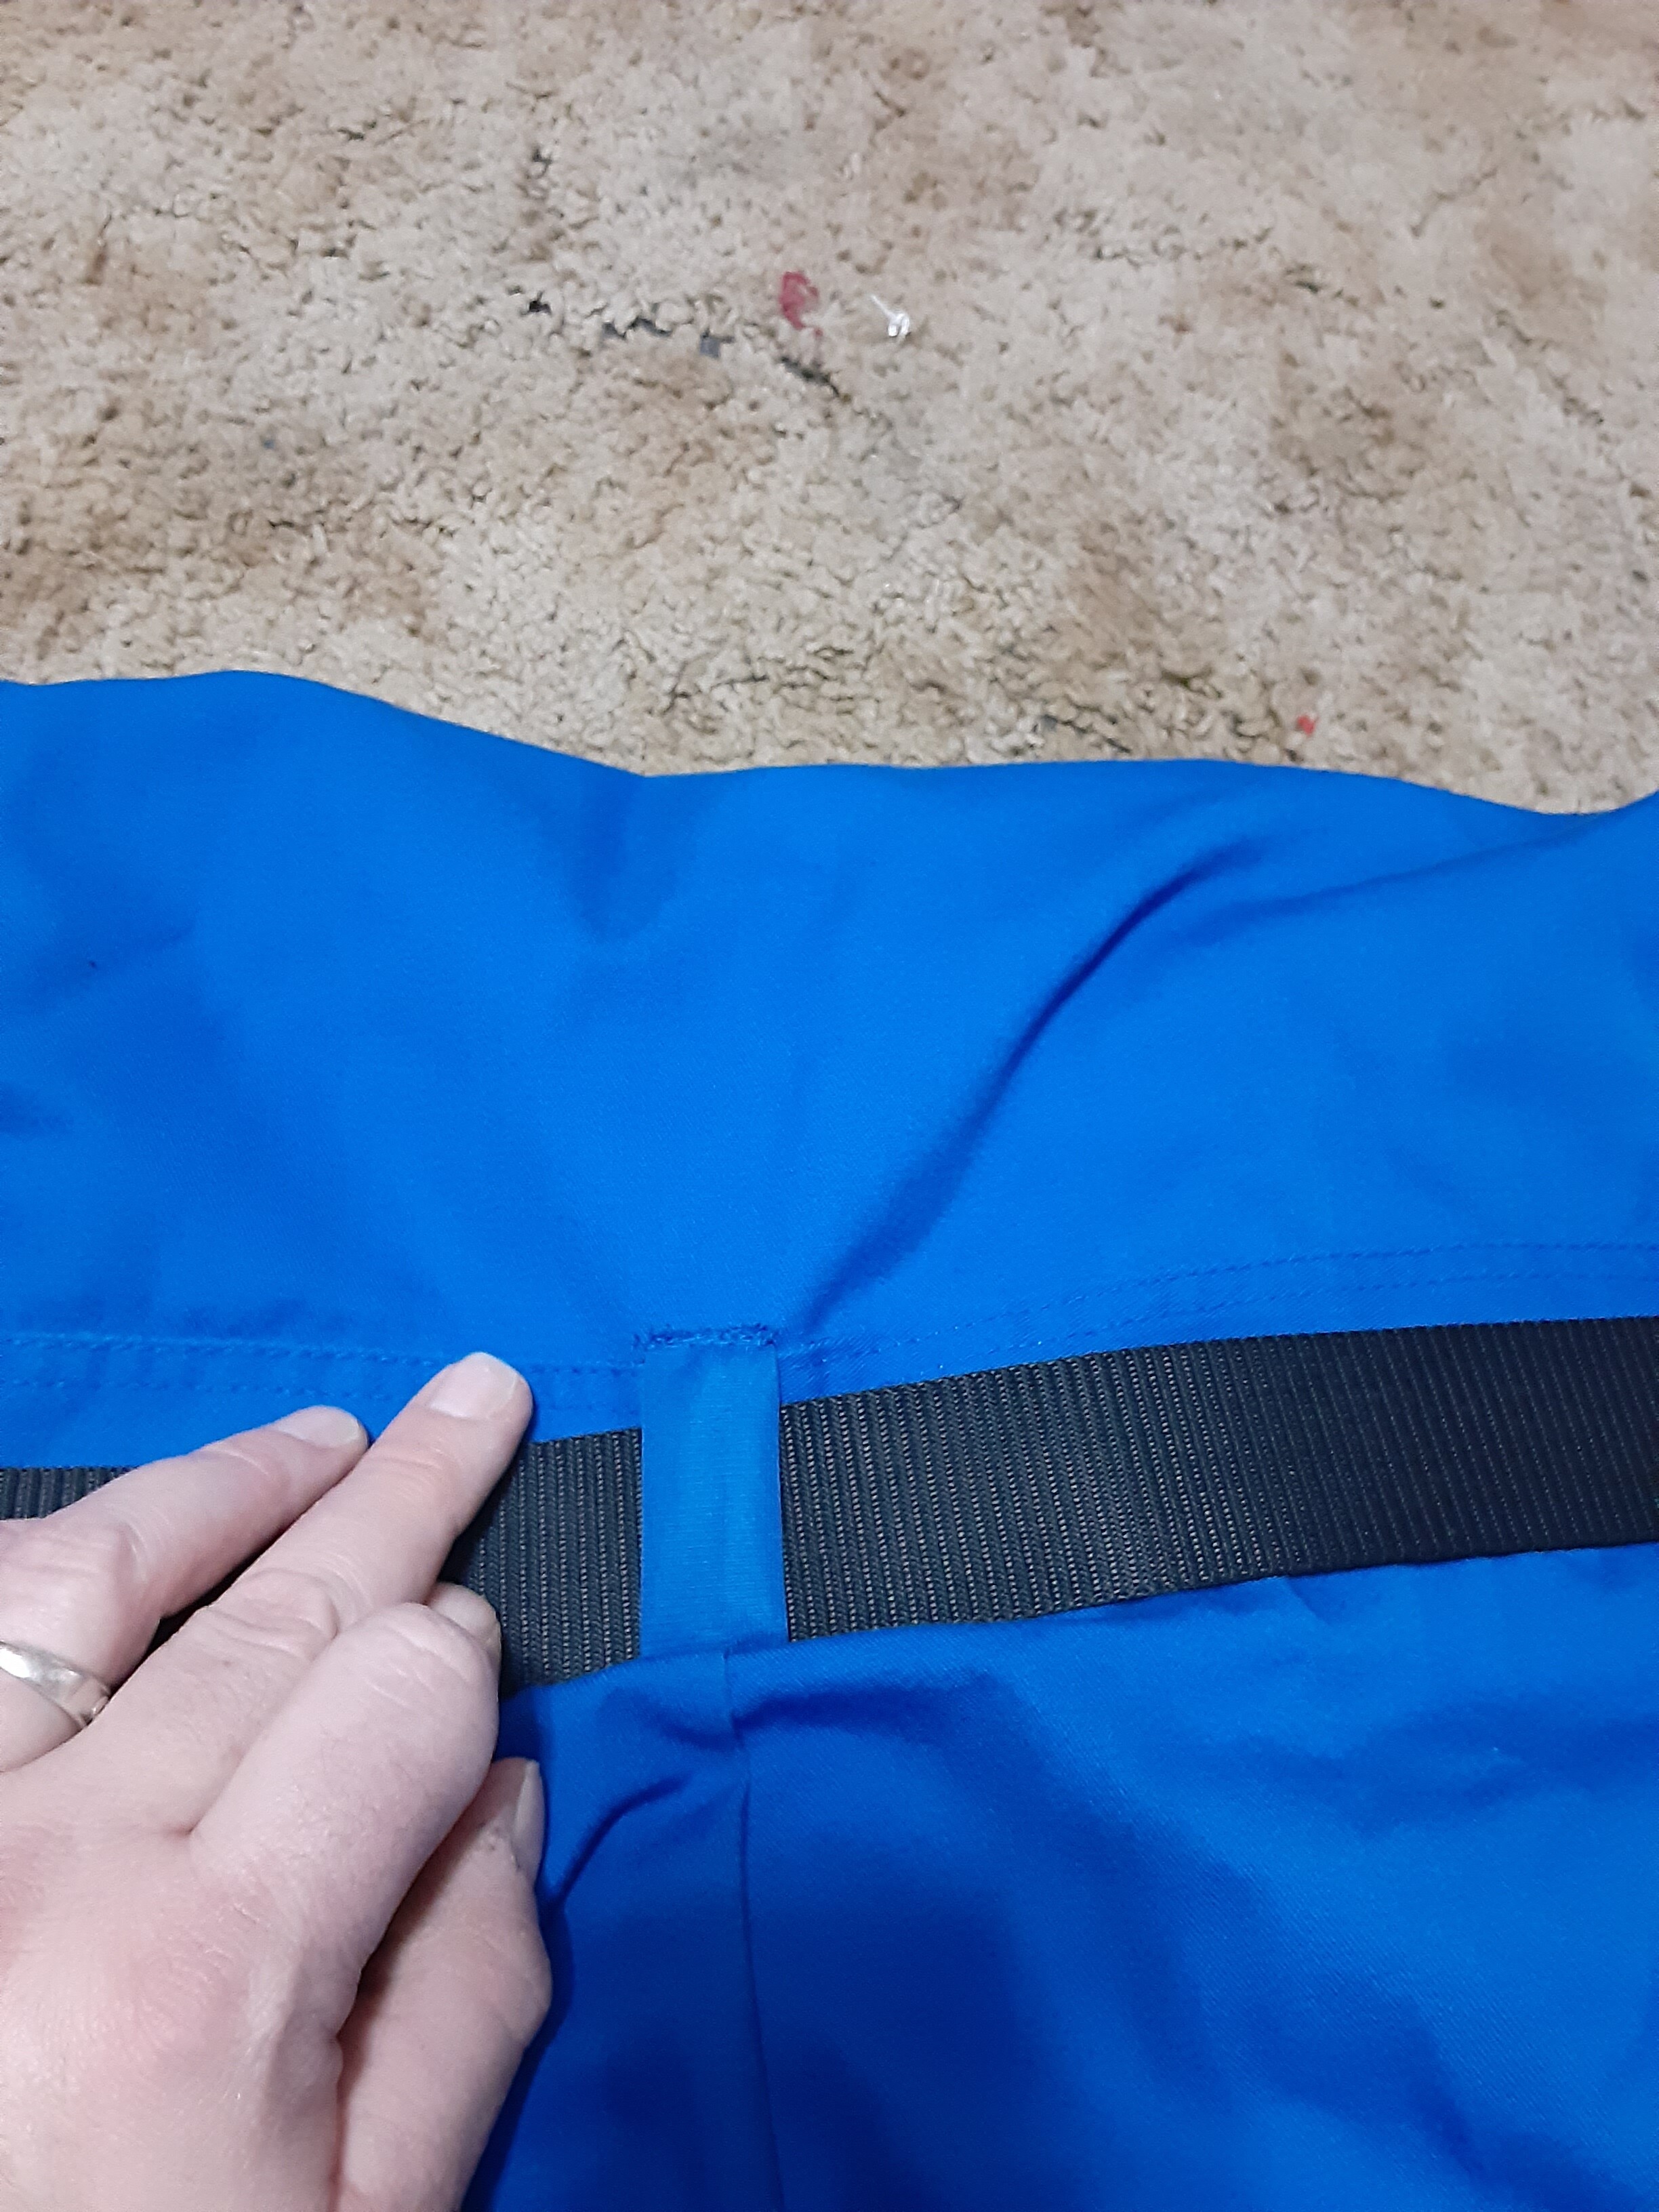
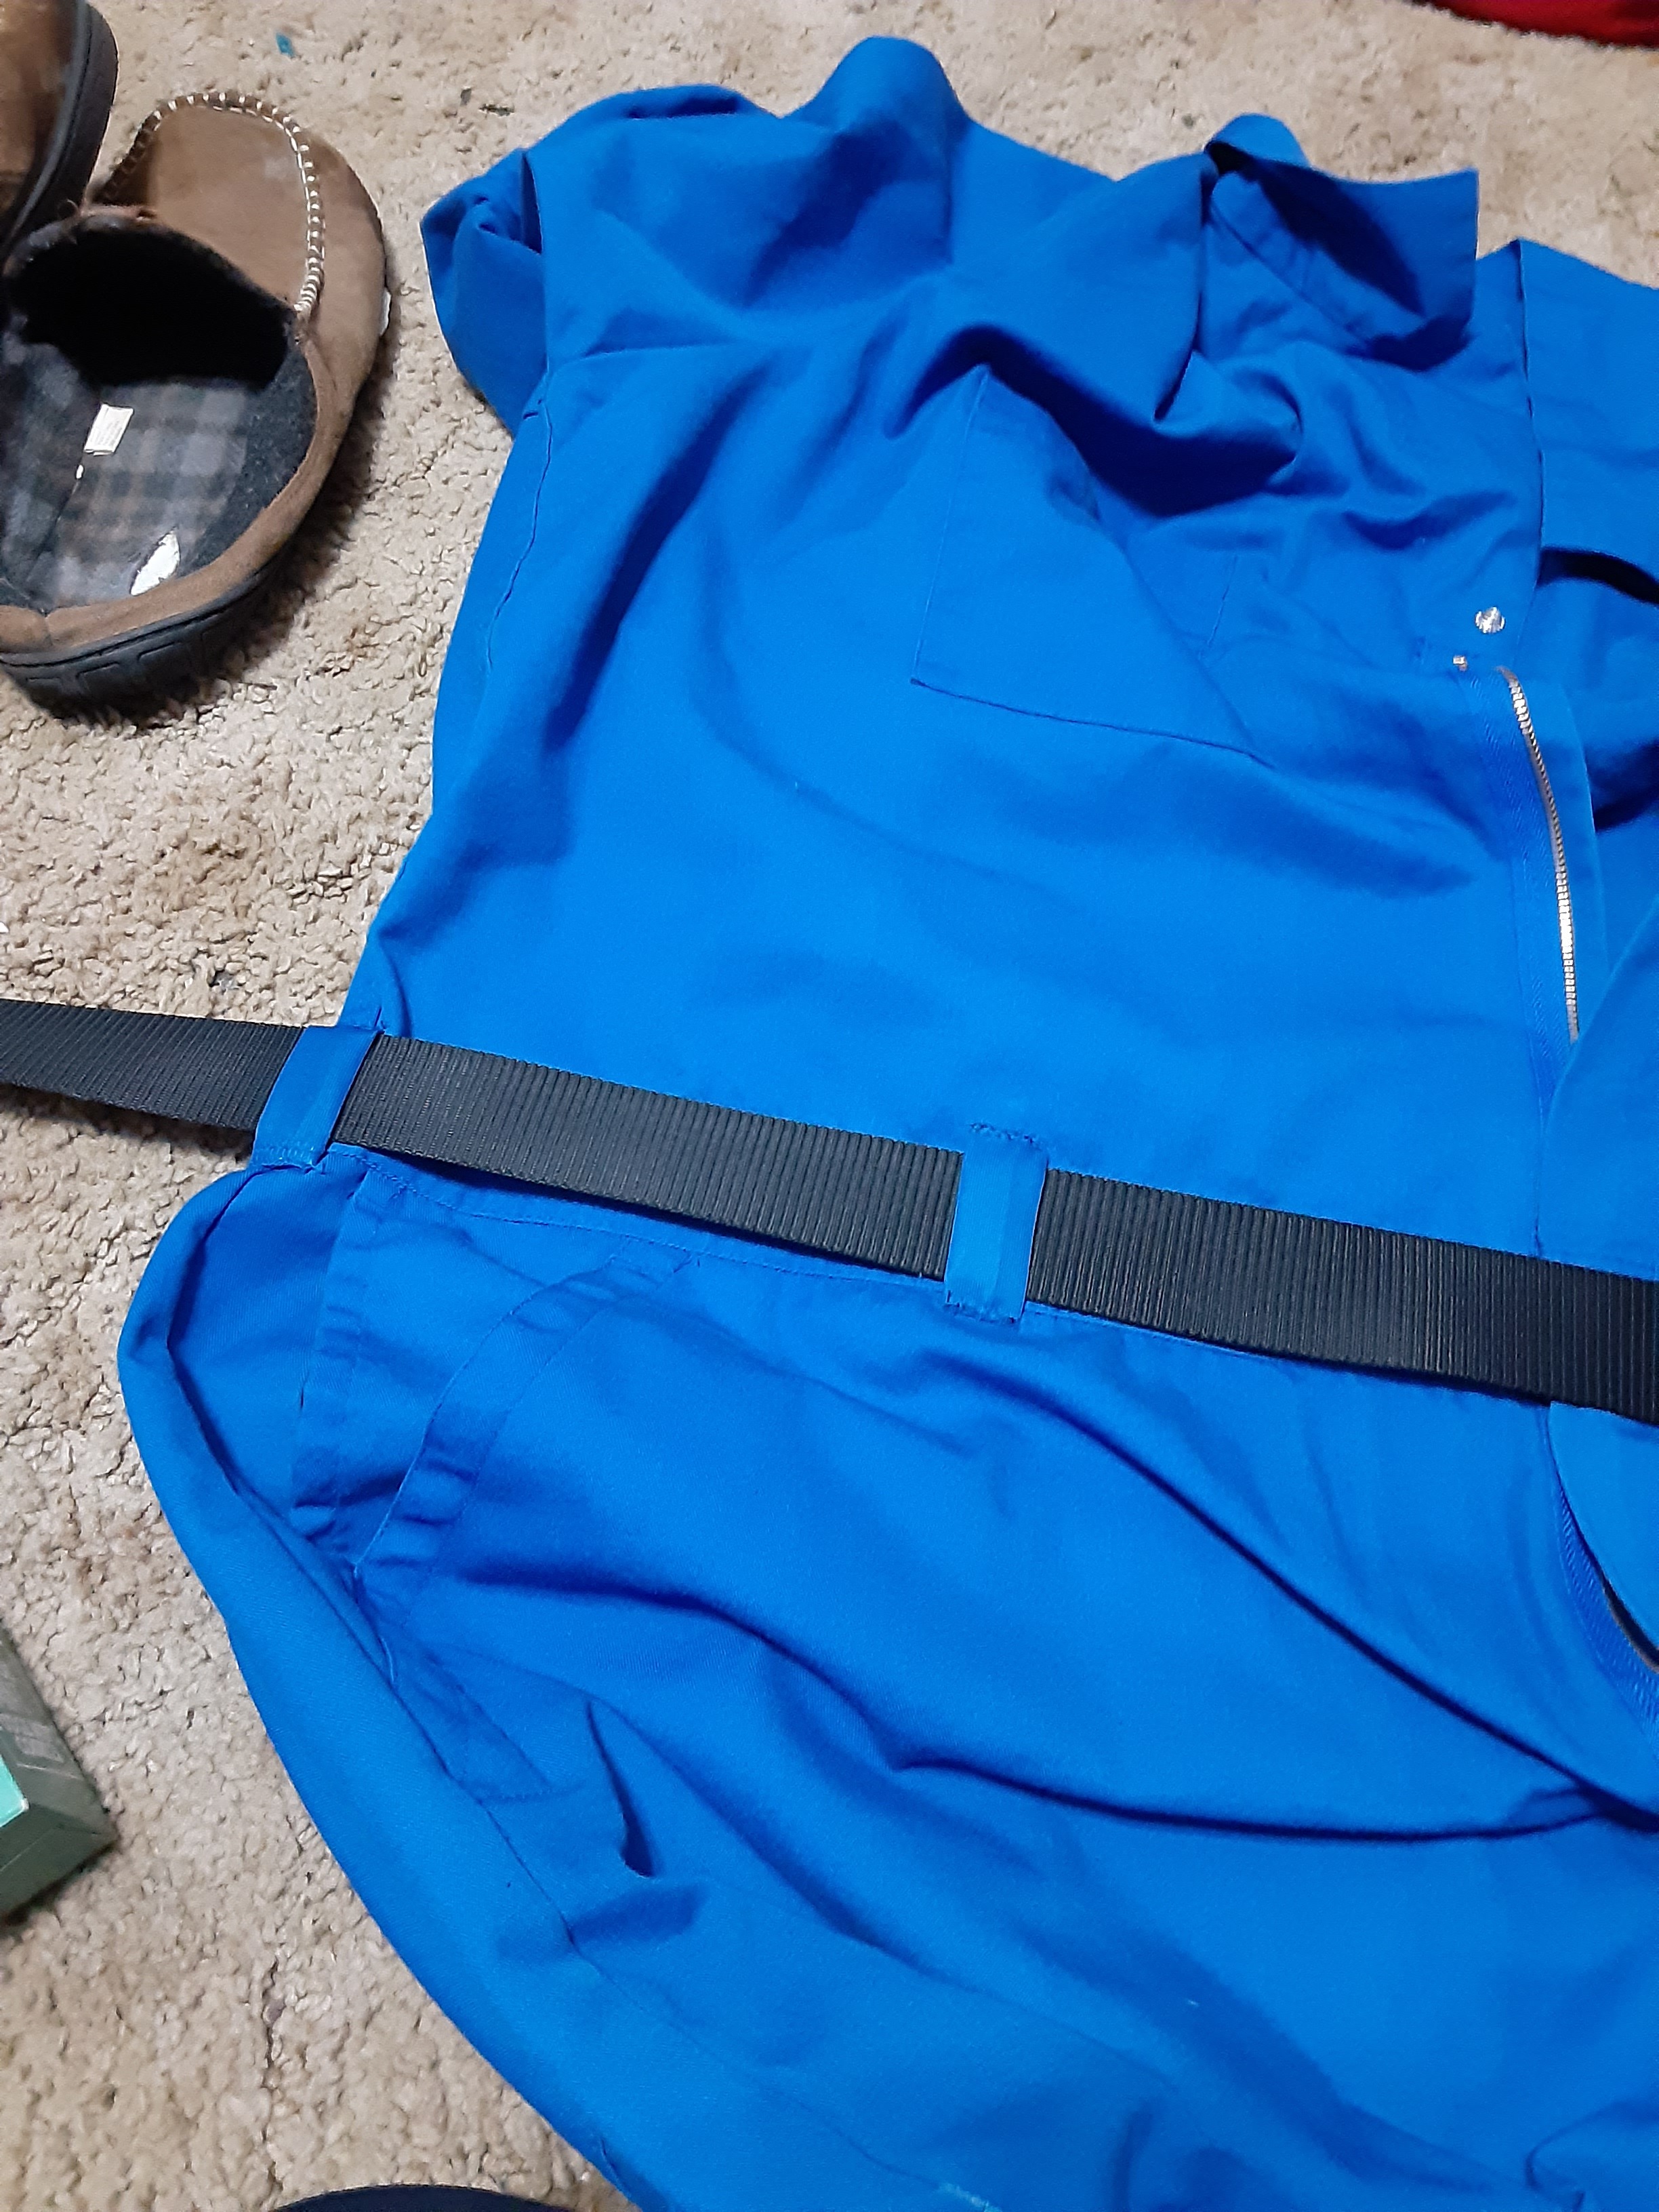
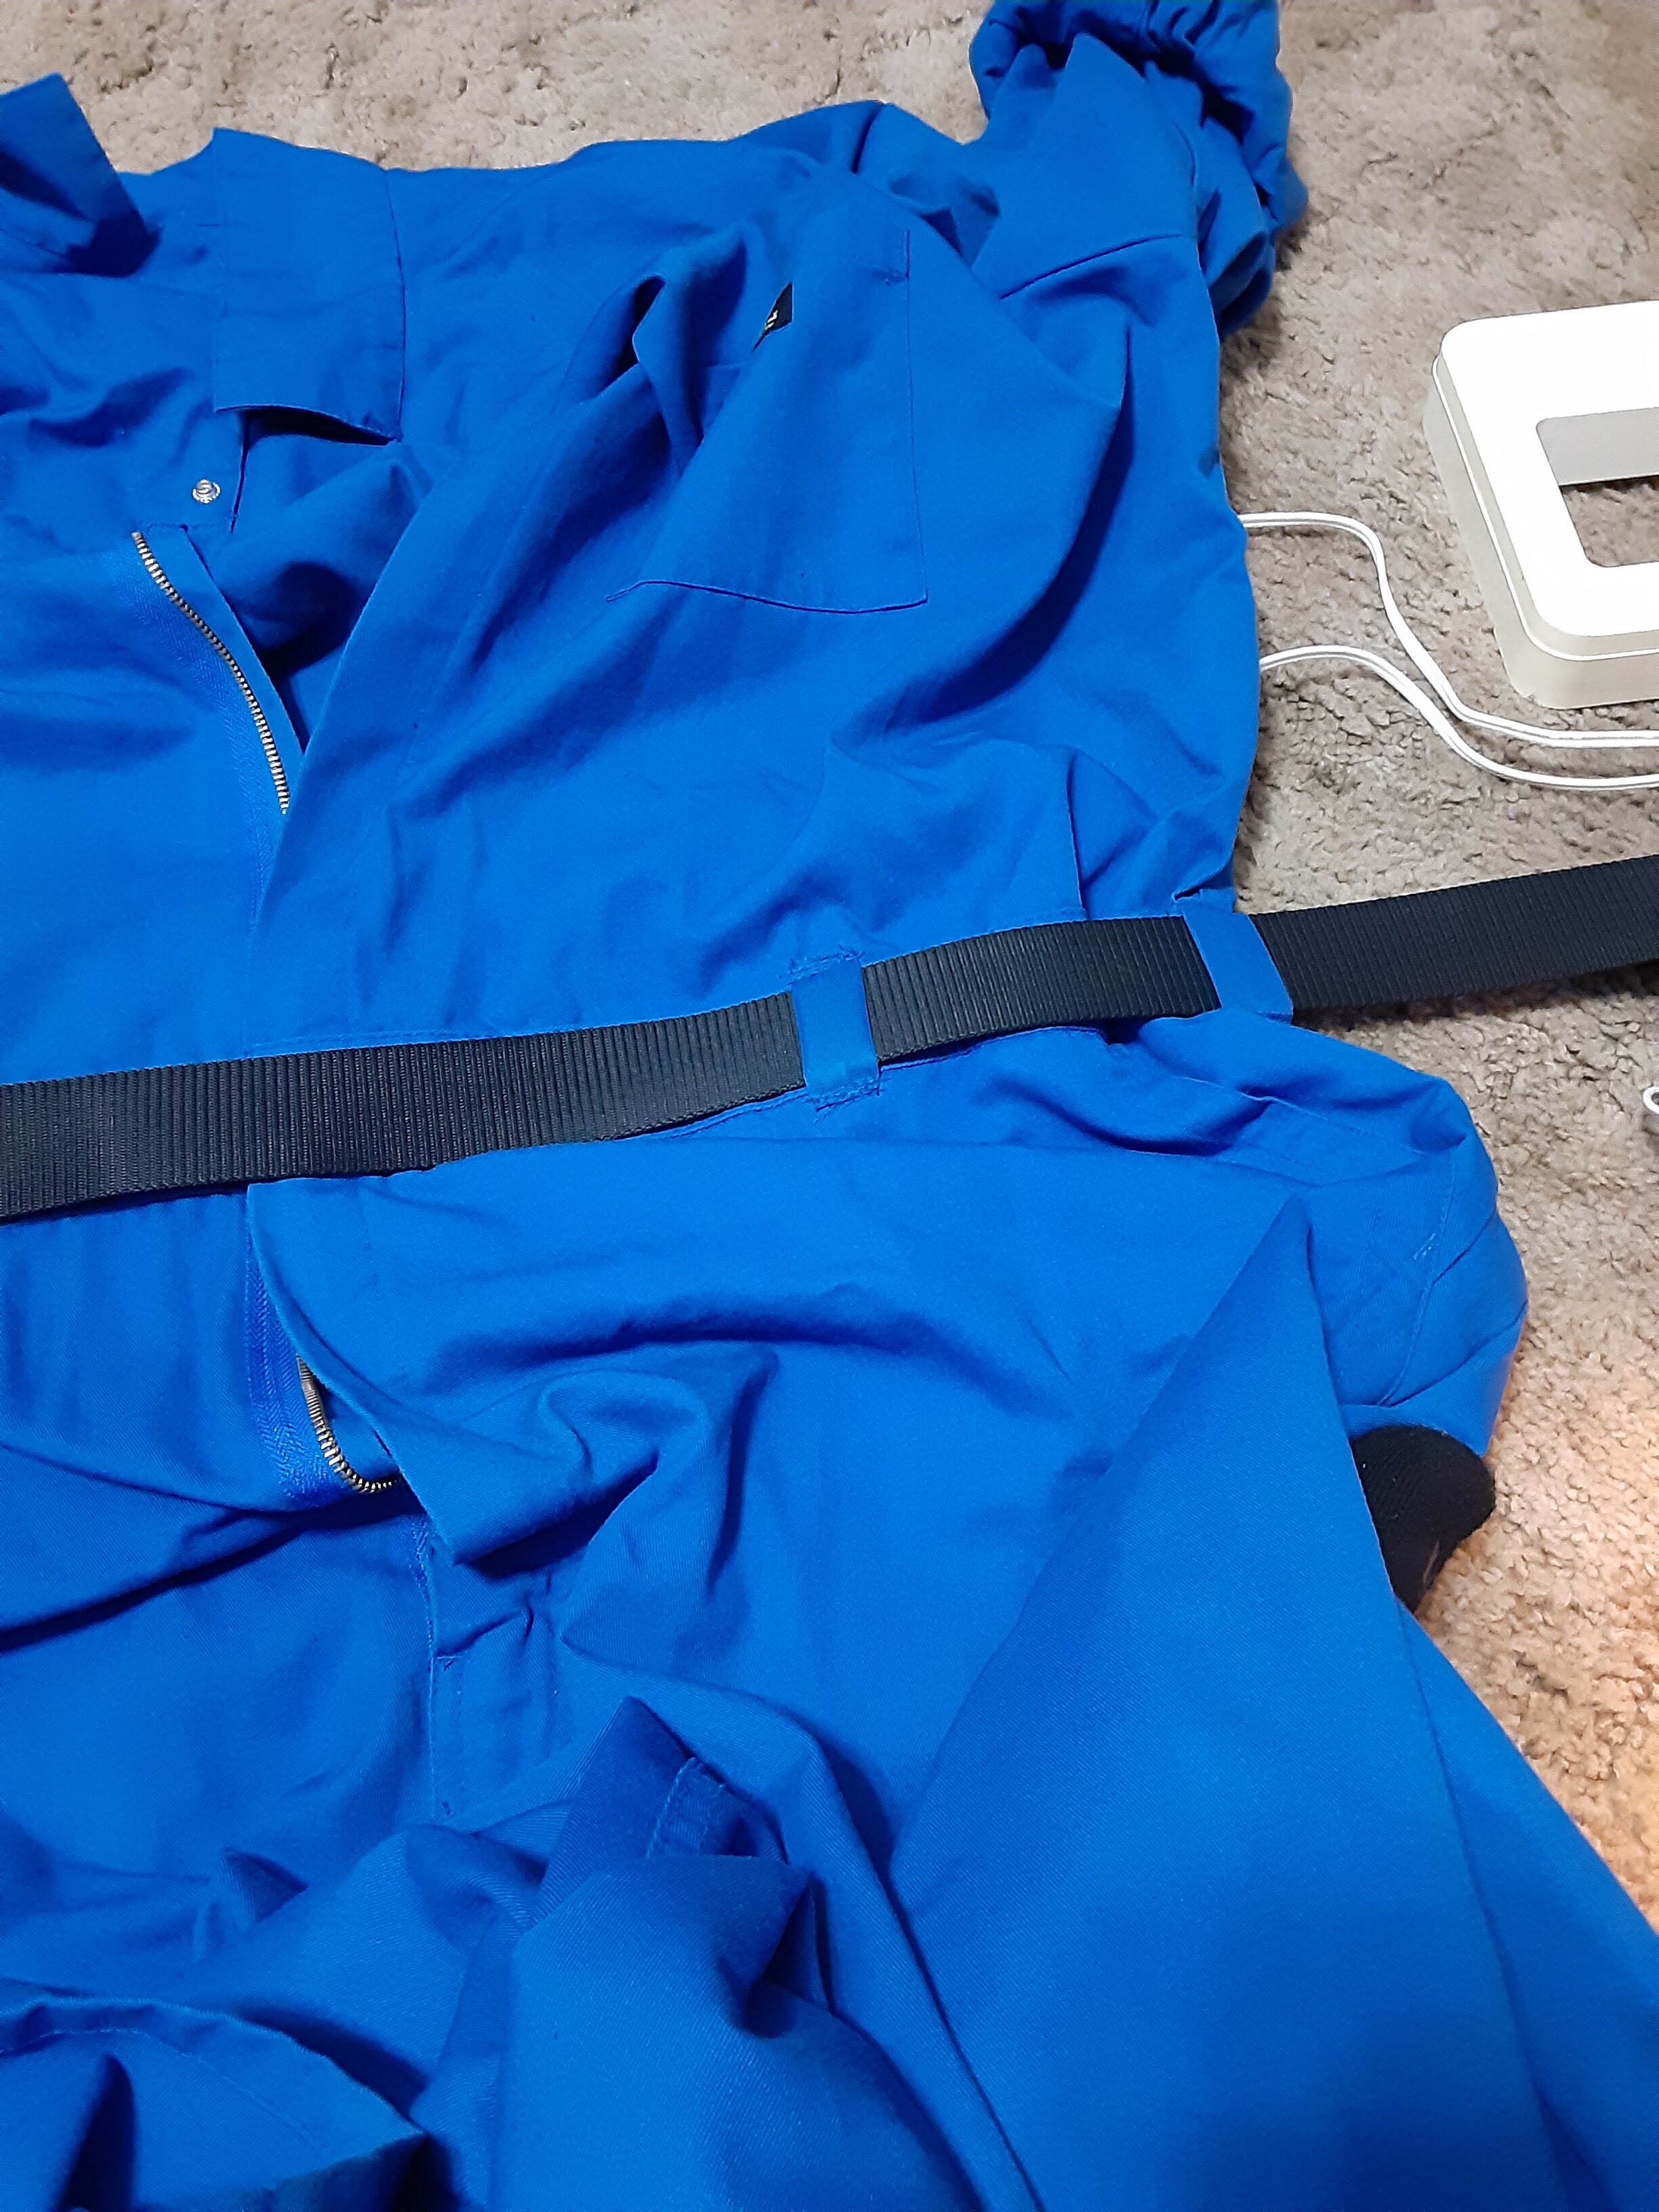
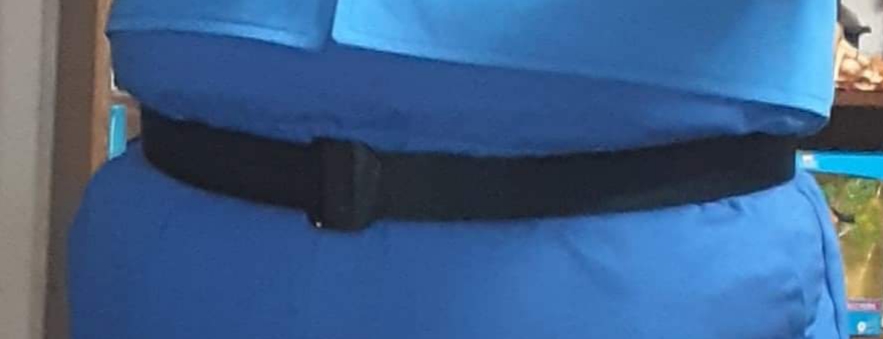
Next is Belt loops…the mechanic suit does NOT have any, it does however have a great guide to help you in the form of the elastic waist lol. you simply need to add 7 loops using spare material from the vest (which we will cover later) stitch them above & below the elastic band built into the suit itself… the 7 are fairly standard in location…
1 directly middle of the back…
1 right hip
1 left hip
2 in front (uniform between hip & zipper)
1 each side in back between the hip loop & middle back loop…
I can’t give you exact measurements for loop distances (cause everyone is different  ) so look at a pair of your size Jean’s and use a seamstress tape to measure them.
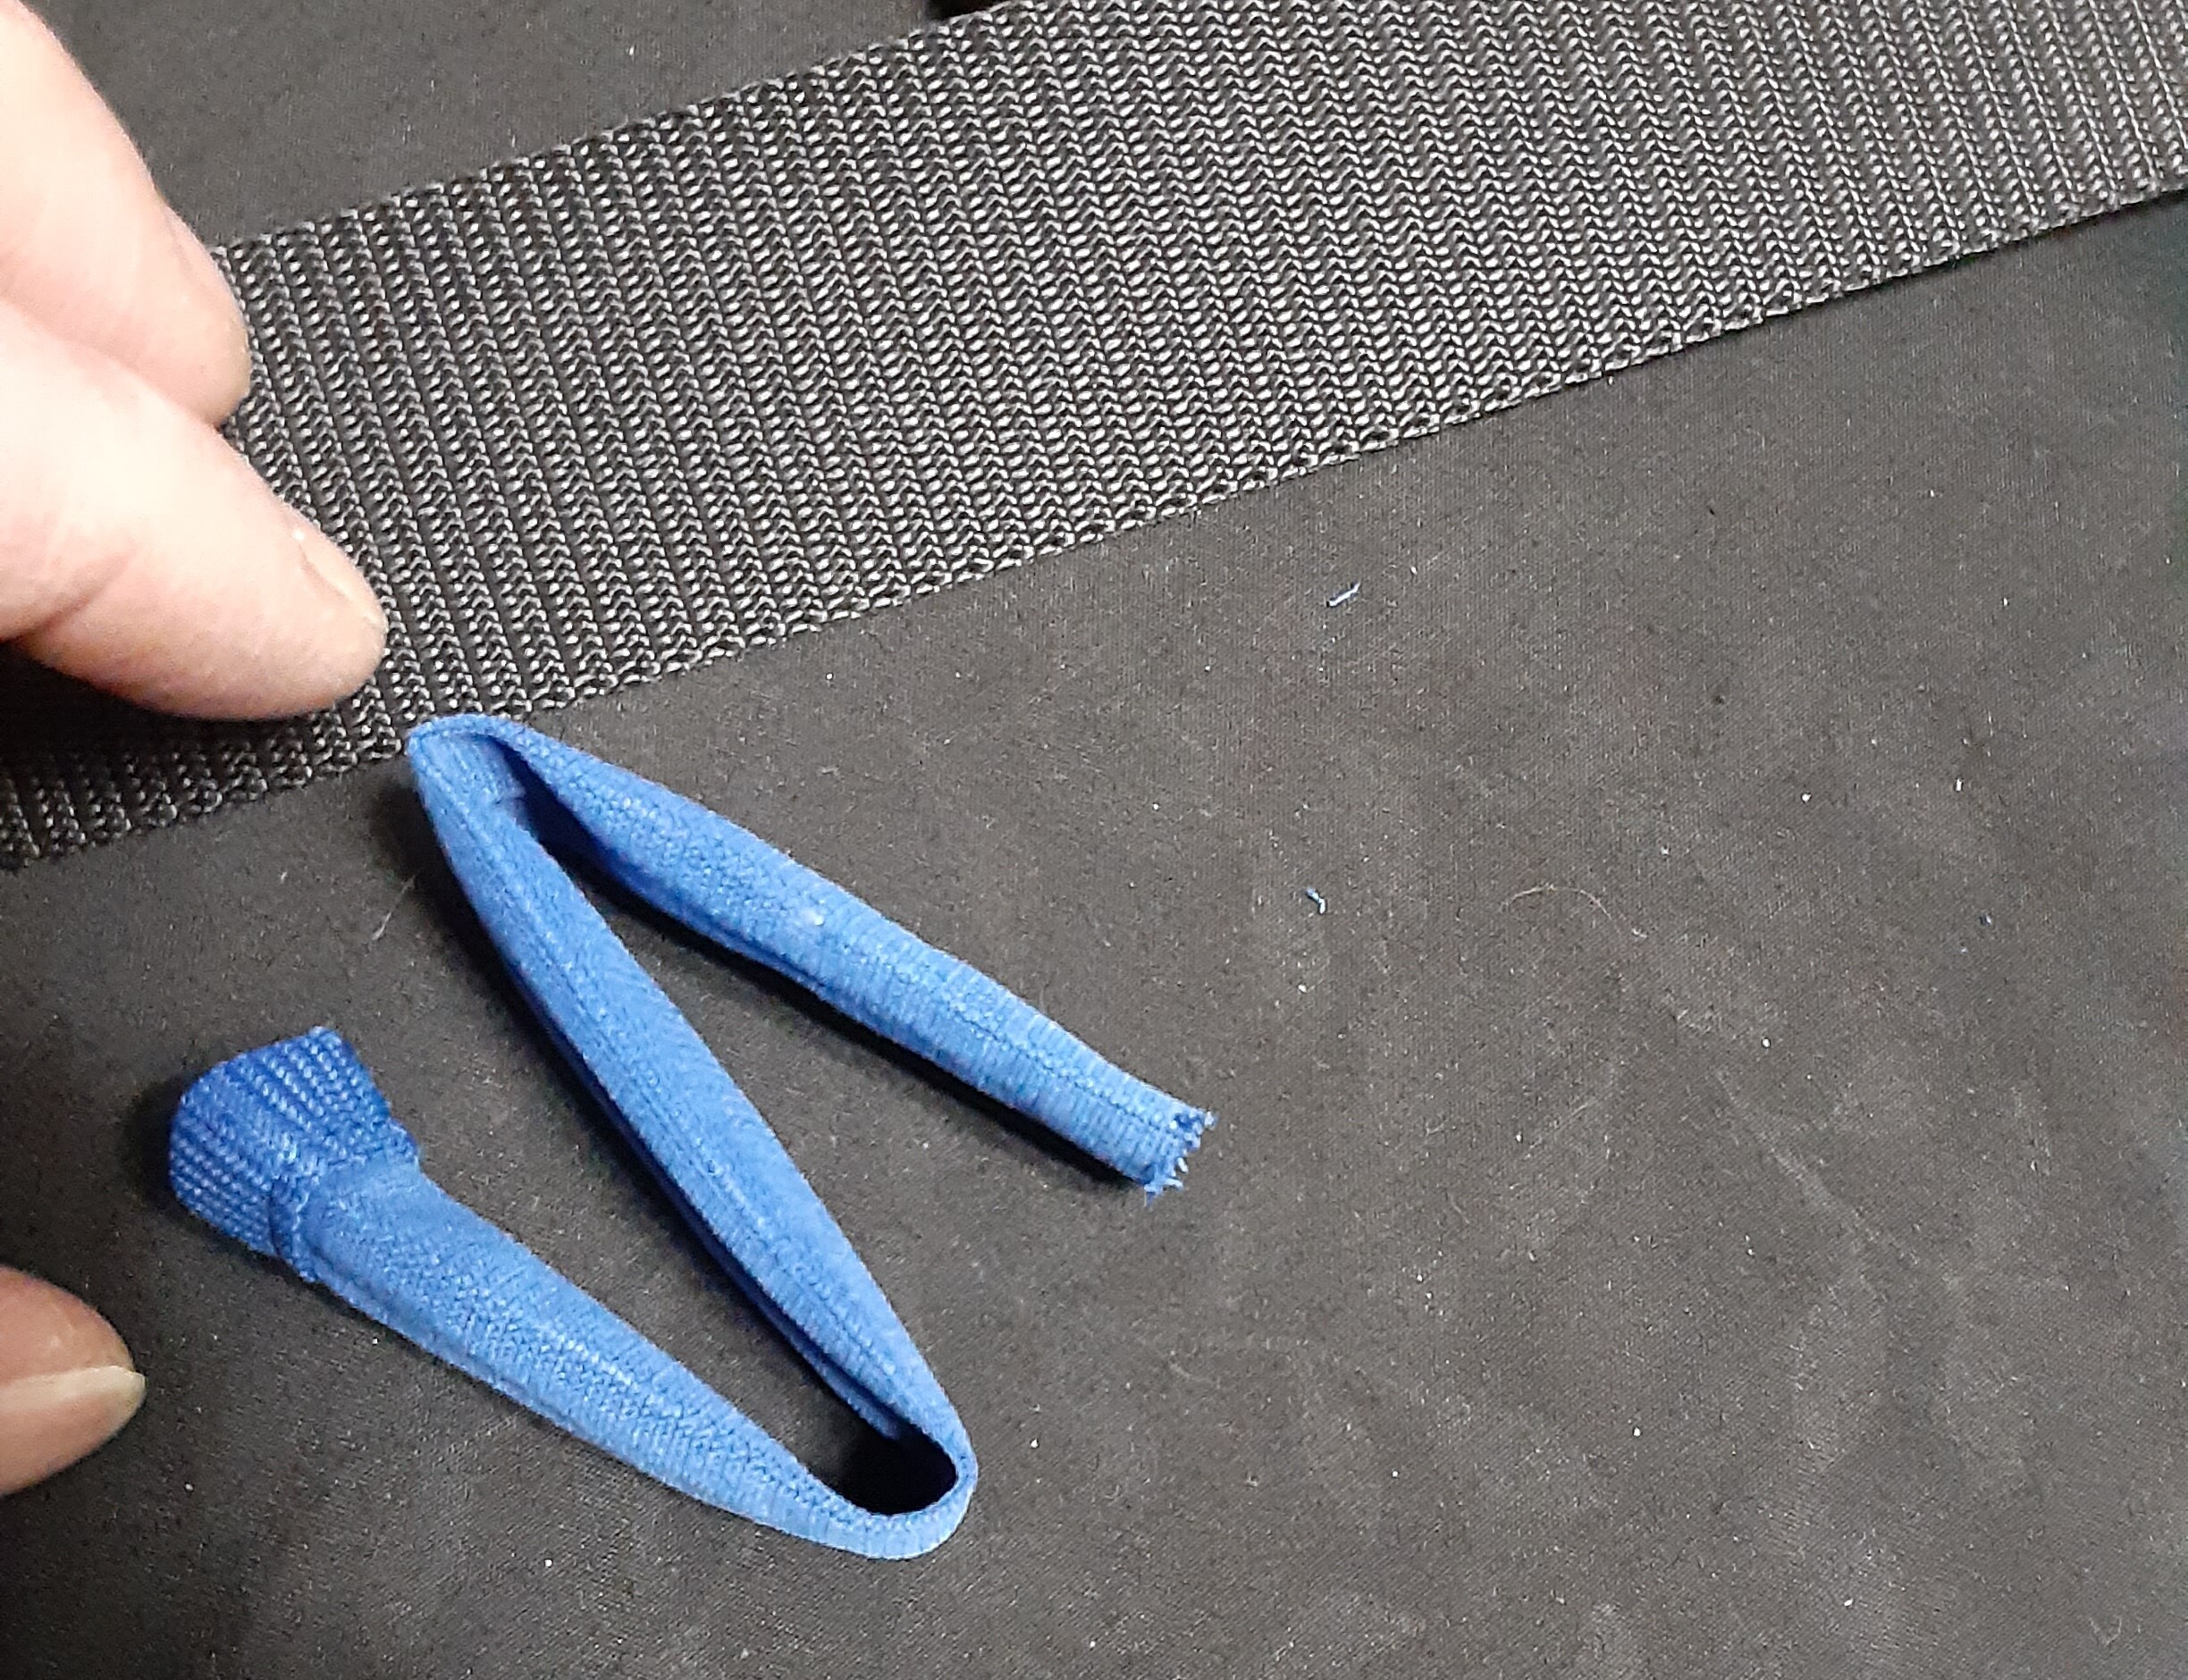
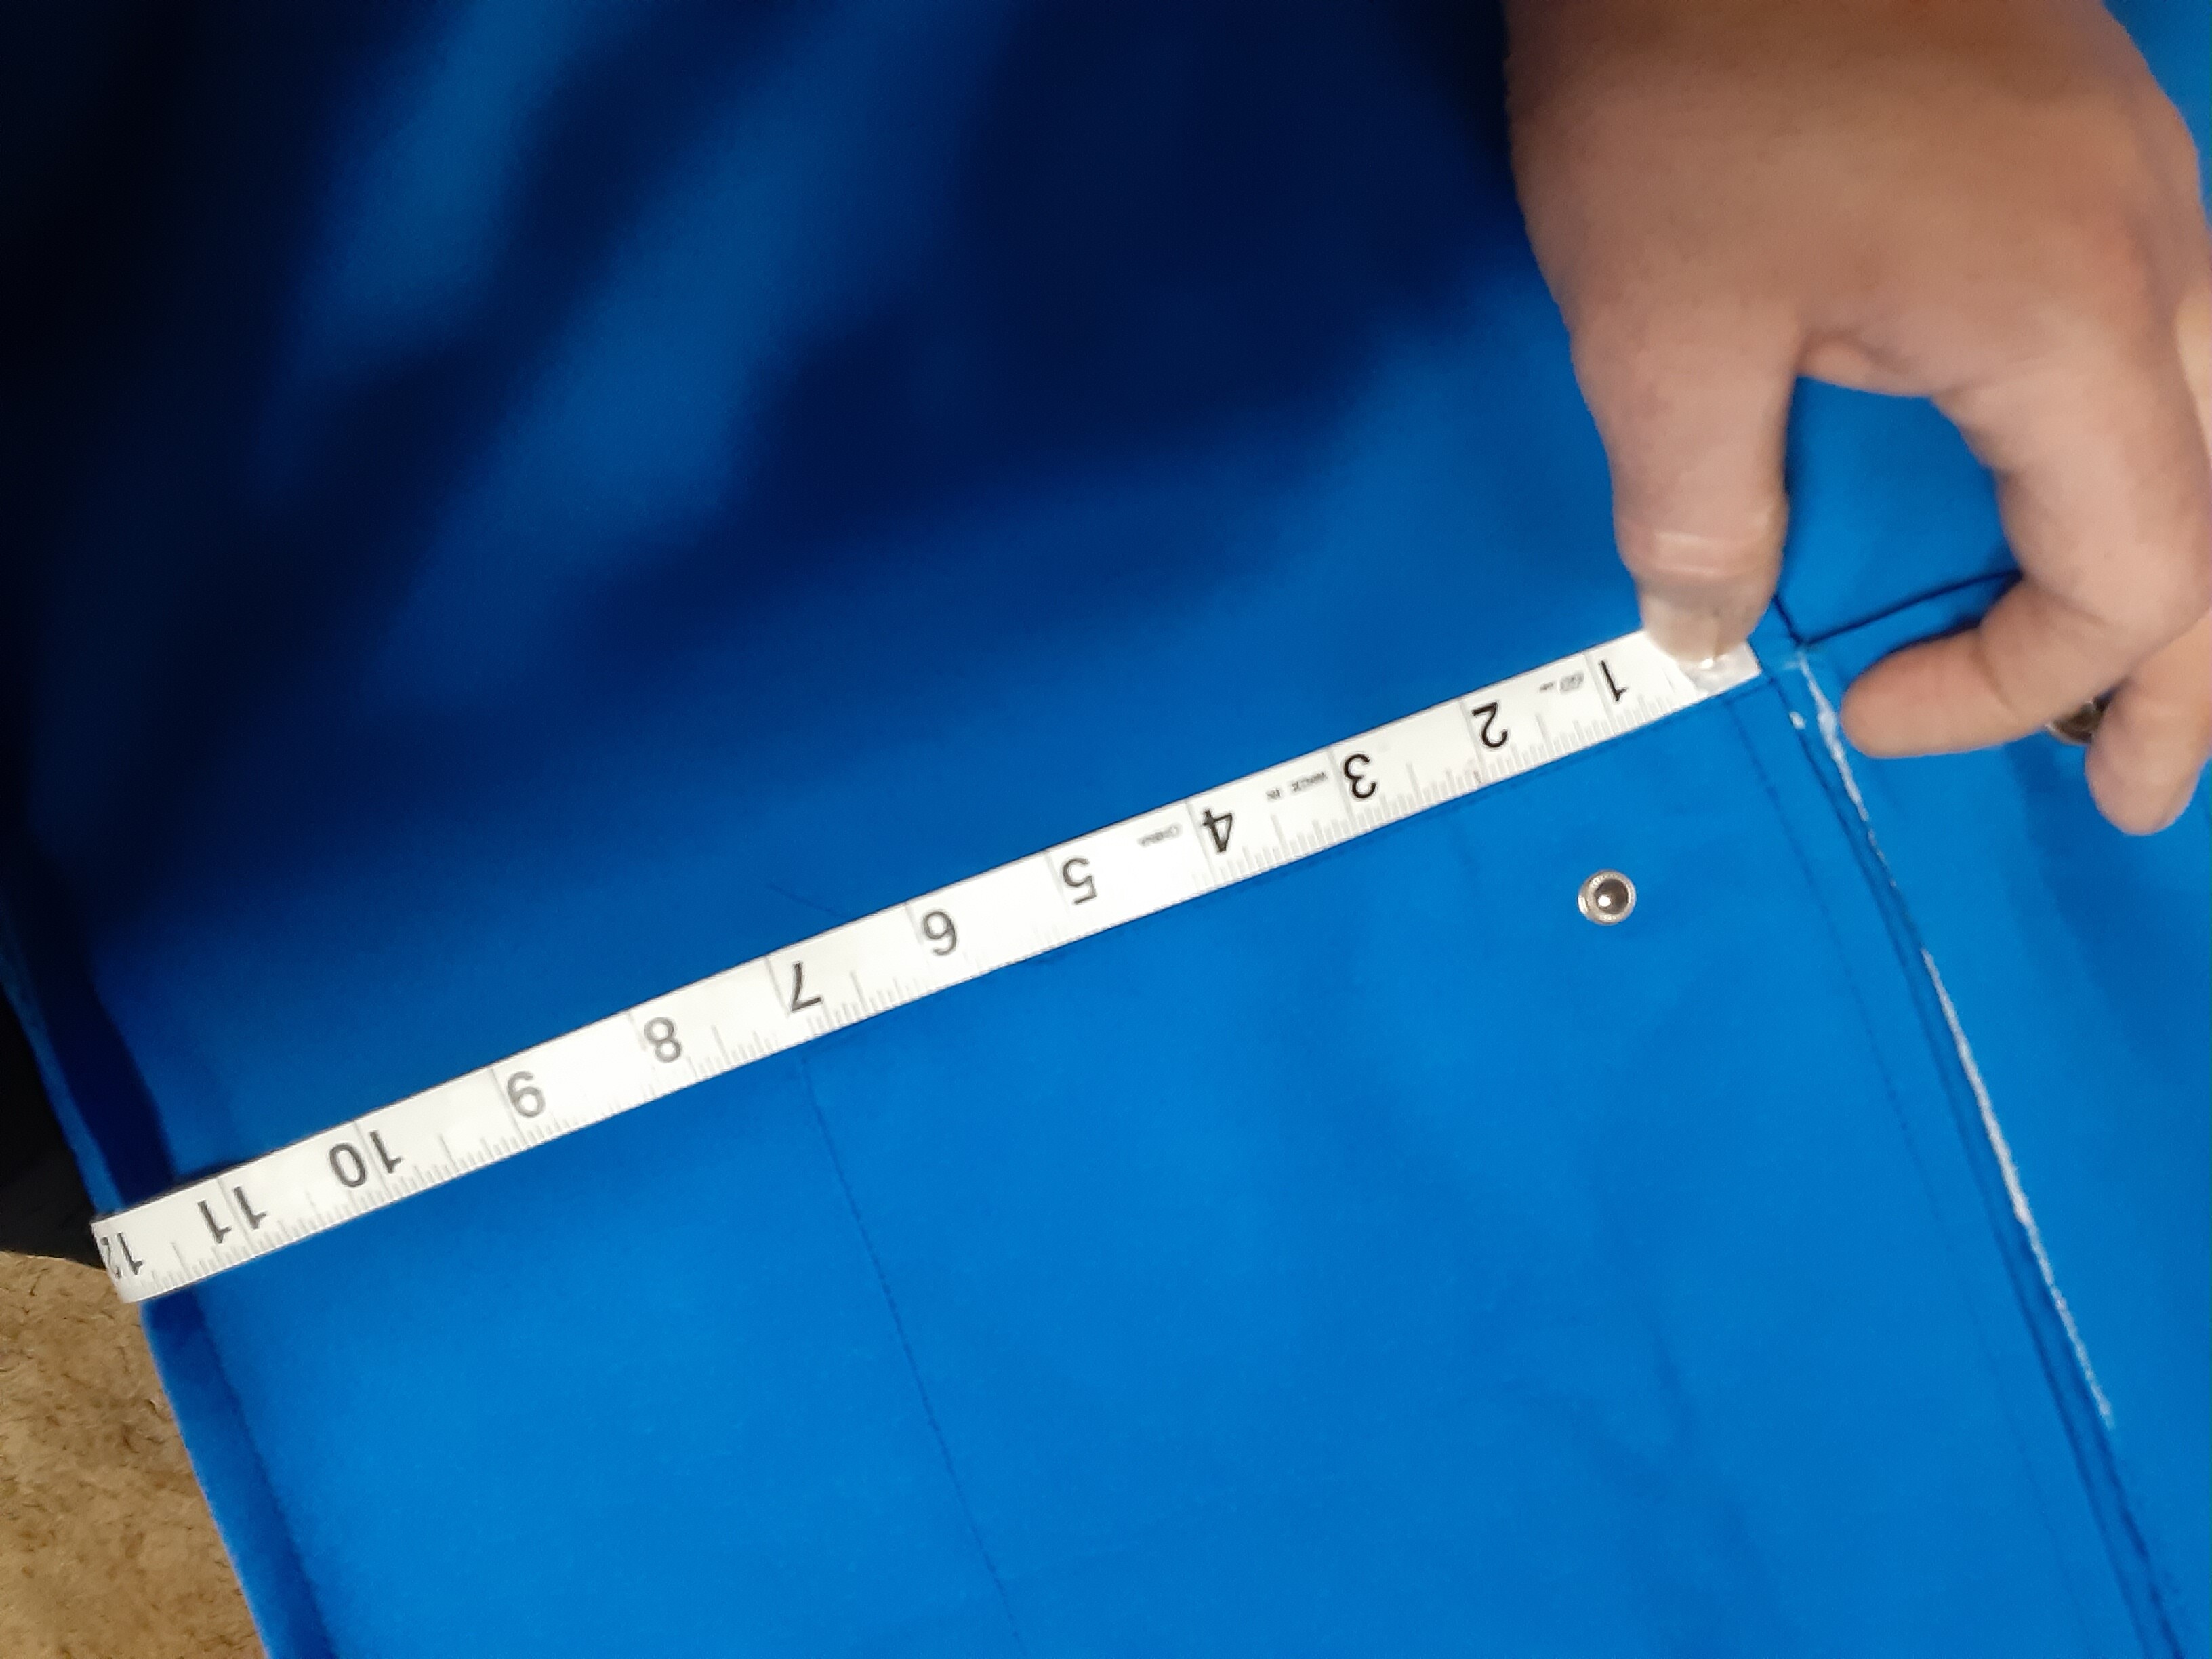
Belt loop scrap should be approximately 7in long × 2in wide… (you need 3 of these) …fold the scrap over so its 1in wide & sew into a long tube… see pic below
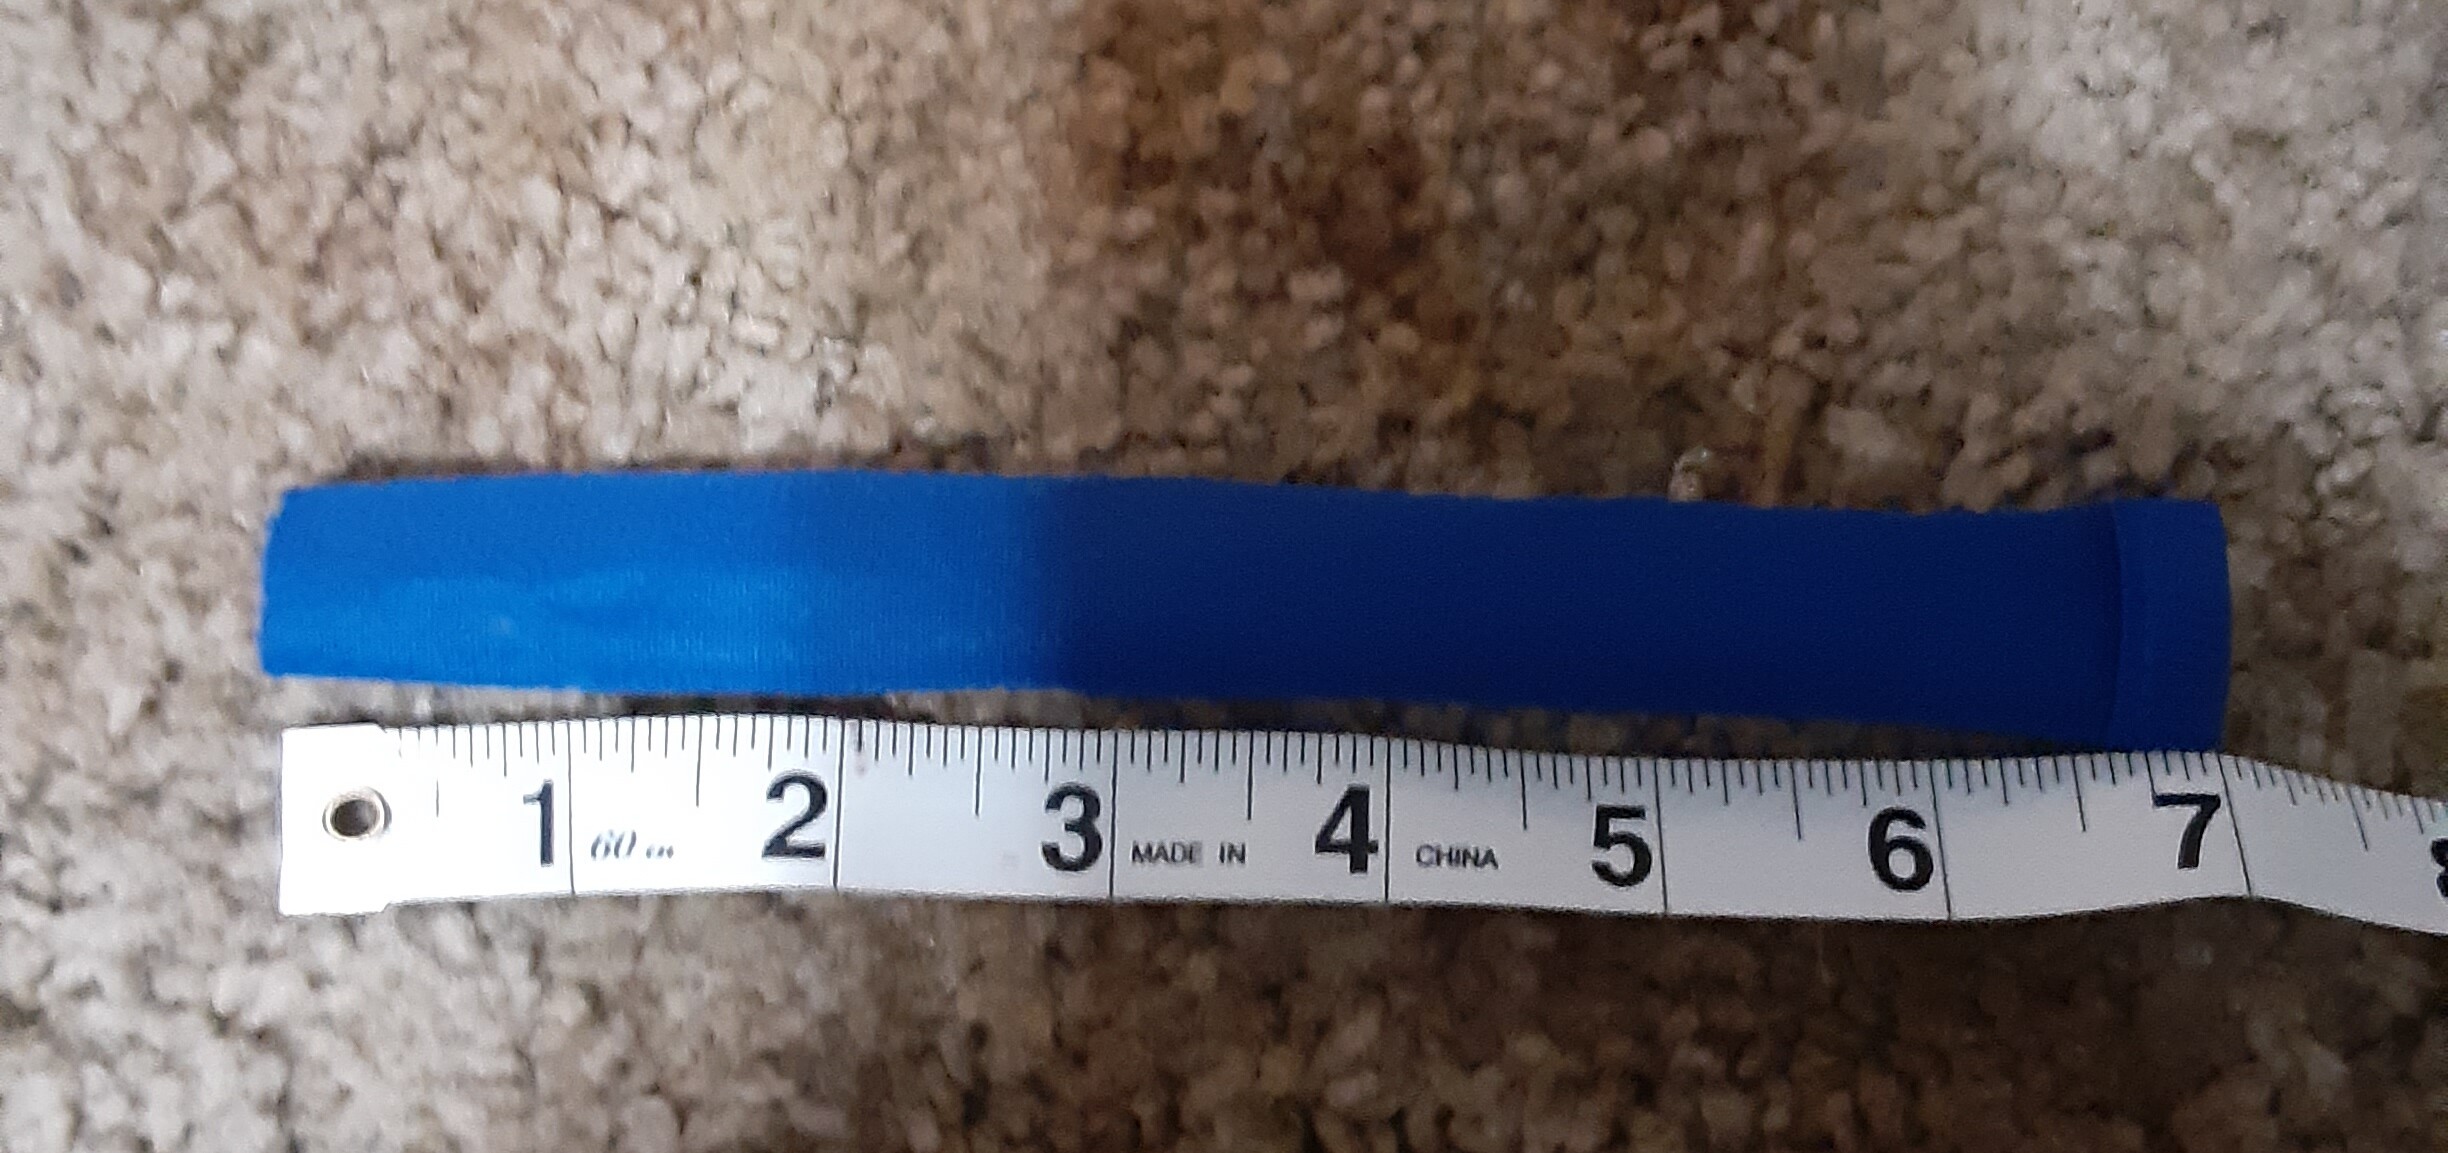

After sewing turn the tube inside out to hide the seam. This gives you 3 useable belt loops with room to stitch on both ends.

BASE SUIT NOW COMPLETE. lmao 
Next are the correct BLACK gloves… these are found here…
https://www.amazon.com/gp/product/B07MVYMHGY/ref=ppx_yo_dt_b_asin_title_o06_s00?ie=UTF8&psc=1
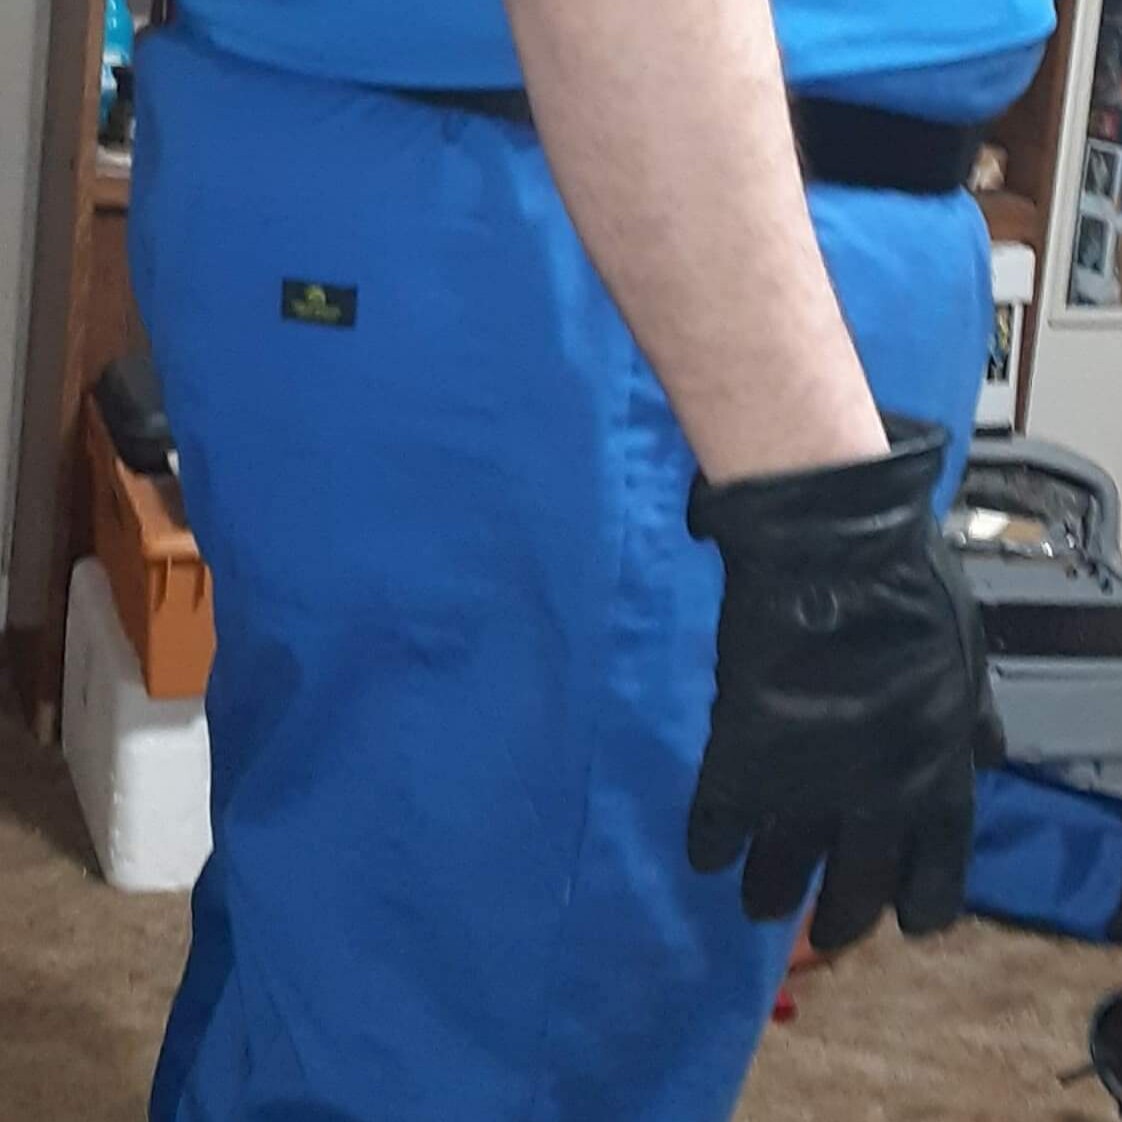
wear them for a few days, just driving to work or the store… after about a week they will have that perfect faded black almost grey look … plus they are comfortable AF lol
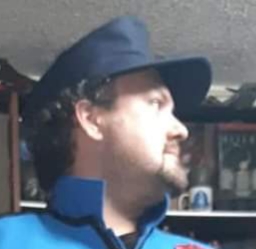
Next is the cap ROYAL BLUE…


standard Army Cadet cap works as a perfect fill in item… found here…
https://www.amazon.com/gp/product/B07GL582HX/ref=ppx_yo_dt_b_asin_title_o00_s01?ie=UTF8&psc=1
The actual cap needed is trickier to get as it’s actually styled on a 1943 German Luftwaffe M43 Field Cap (this option will have to be either hand made or custom ordered as they don’t come in Royal Blue and they are pricey) .
Next up is the boots… standard BLACK military style boots…
I suggest either Bates or Thorough Good personally… but ultimately its your feet so your choice lol… anything close to these will suffice.

Next is a standard BLACK belt… found everywhere lol… Propper is preferred as you still need to add a buckle later… so keep that in mind.
https://www.amazon.com/gp/product/B004XW1YW4/ref=ppx_yo_dt_b_asin_title_o05_s00?ie=UTF8&psc=1
Next is the Belt Buckle (Gunmetal Gray)…
Next is the Heart of the entire build THE VEST (Royal blue & Black trimmed)…
The vest can be done 2 different ways depending on your sewing skills, either fully custom materials which can be found at almost any craft store OR purchase 2 safety vests and modify like you would Cobra trooper, CeeGee or Stinger driver.
These are the basic requirements for either way.
Back of Vest
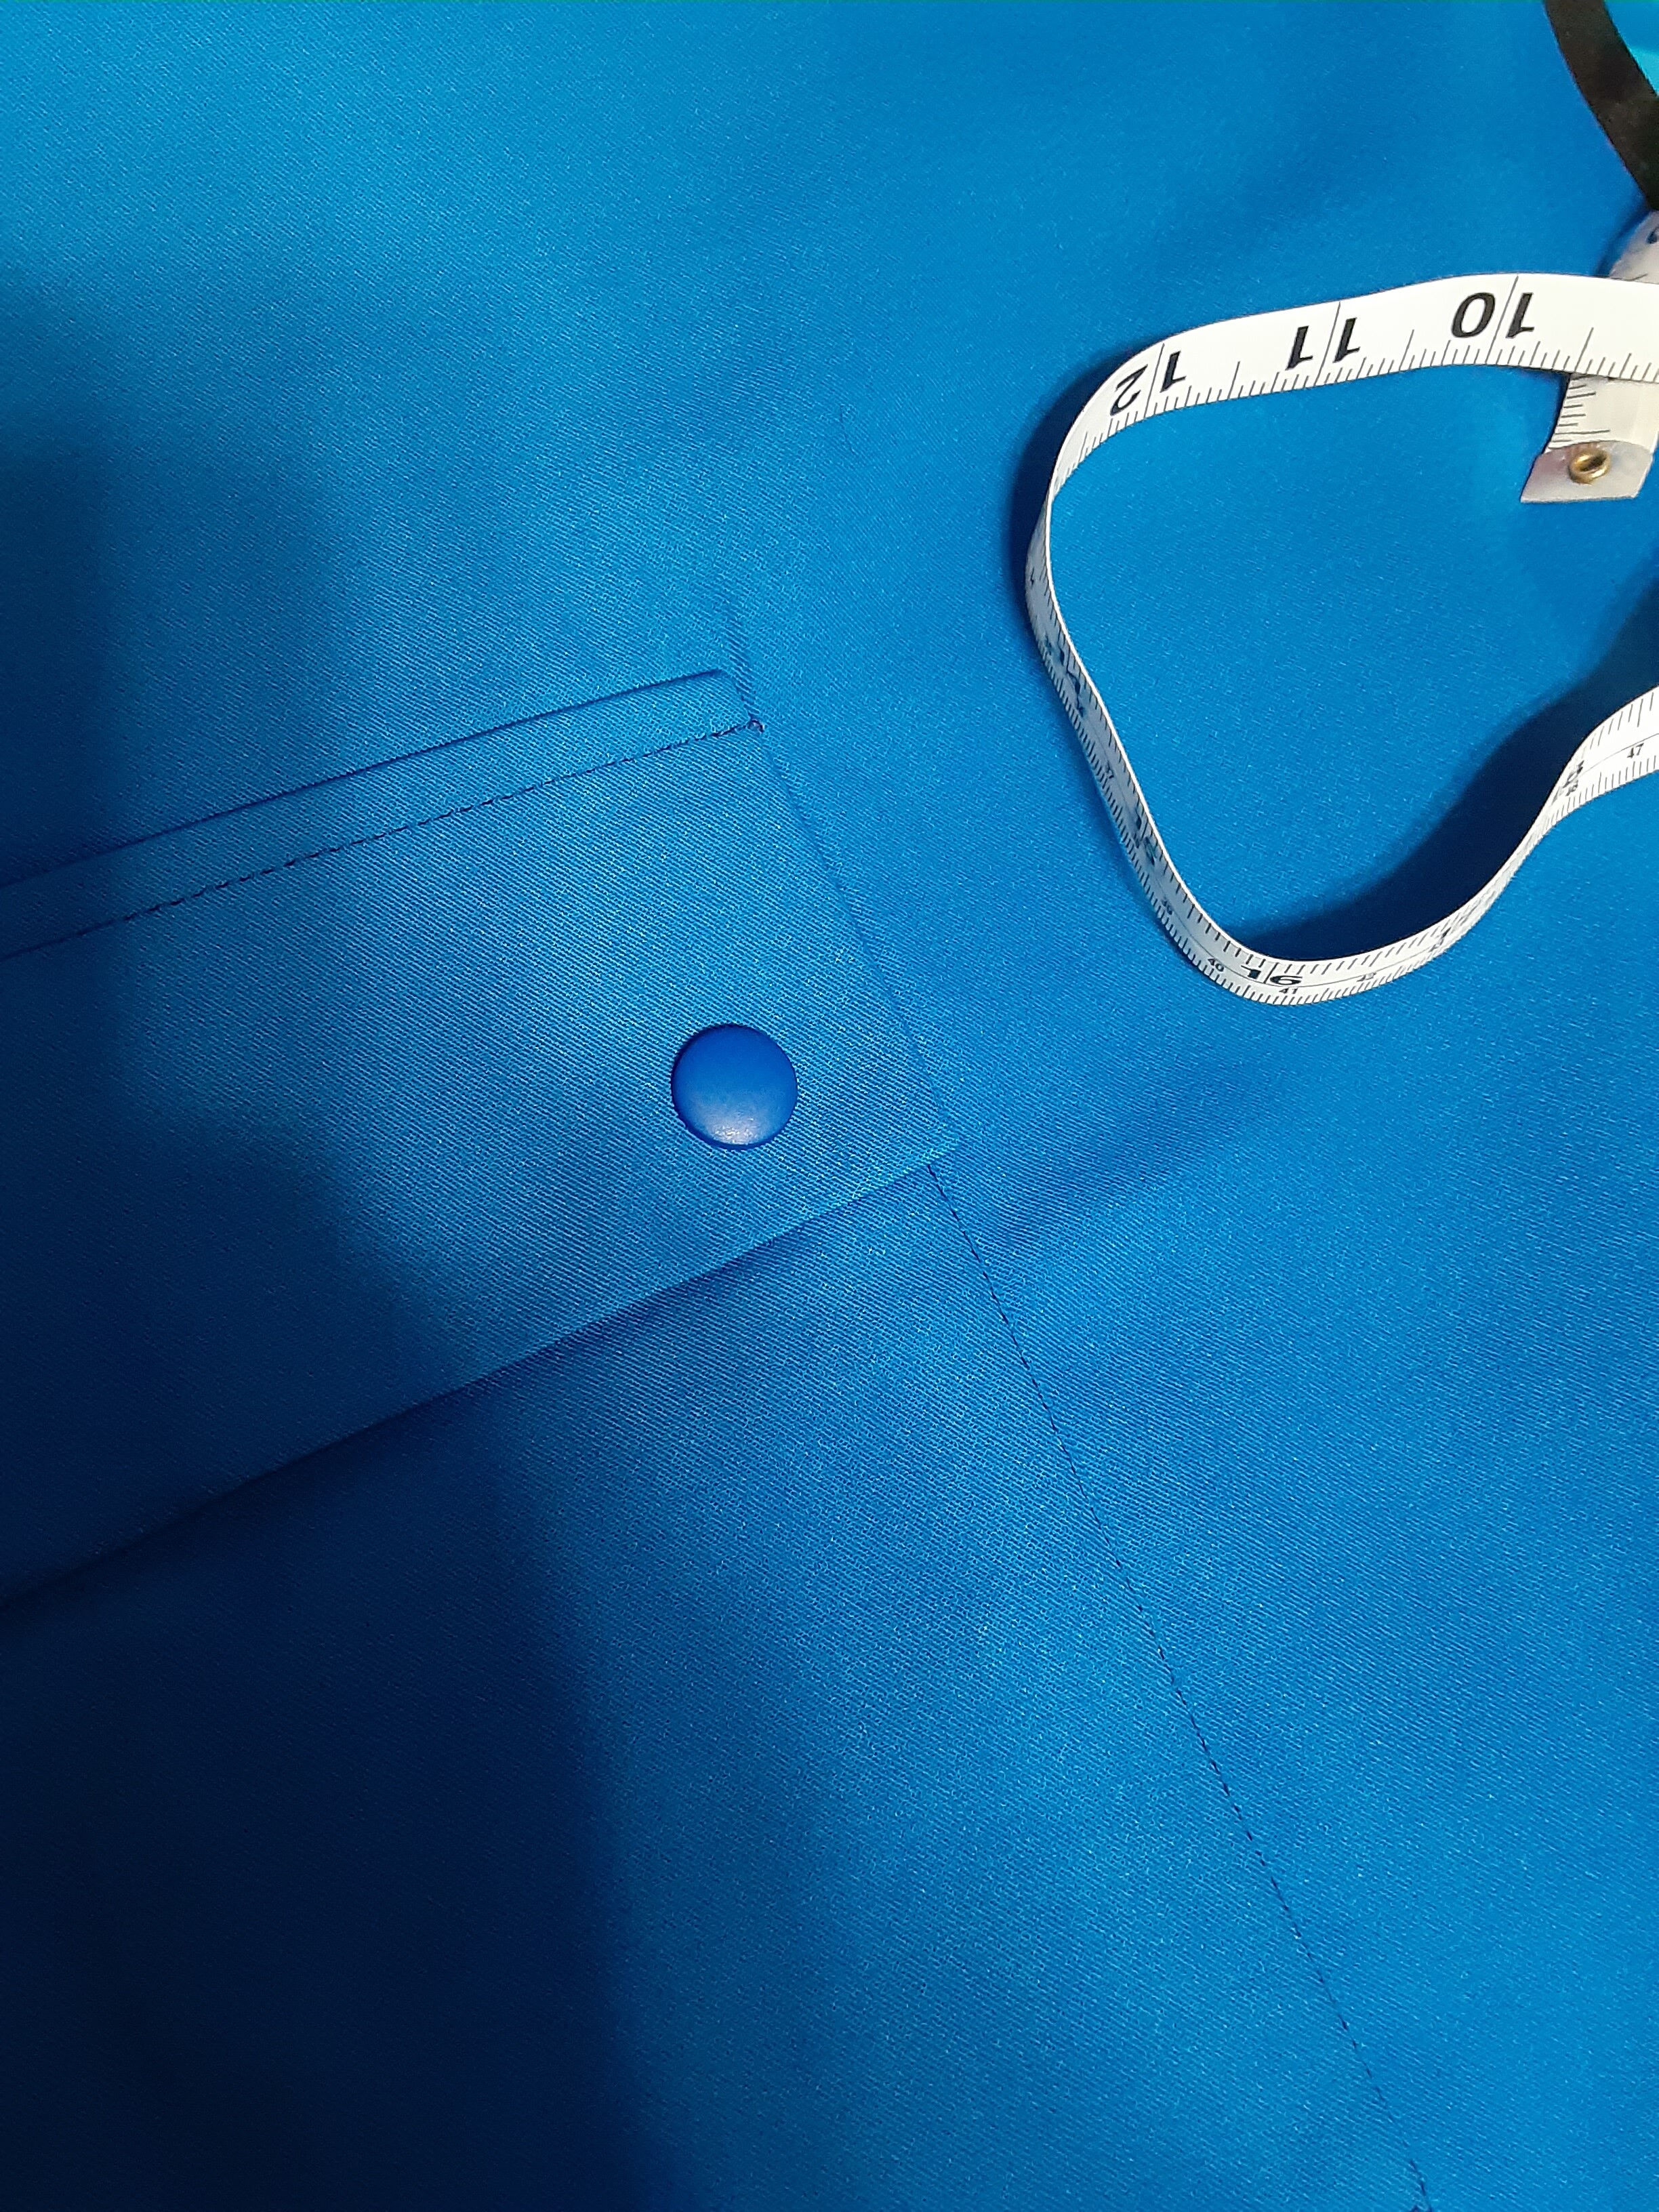
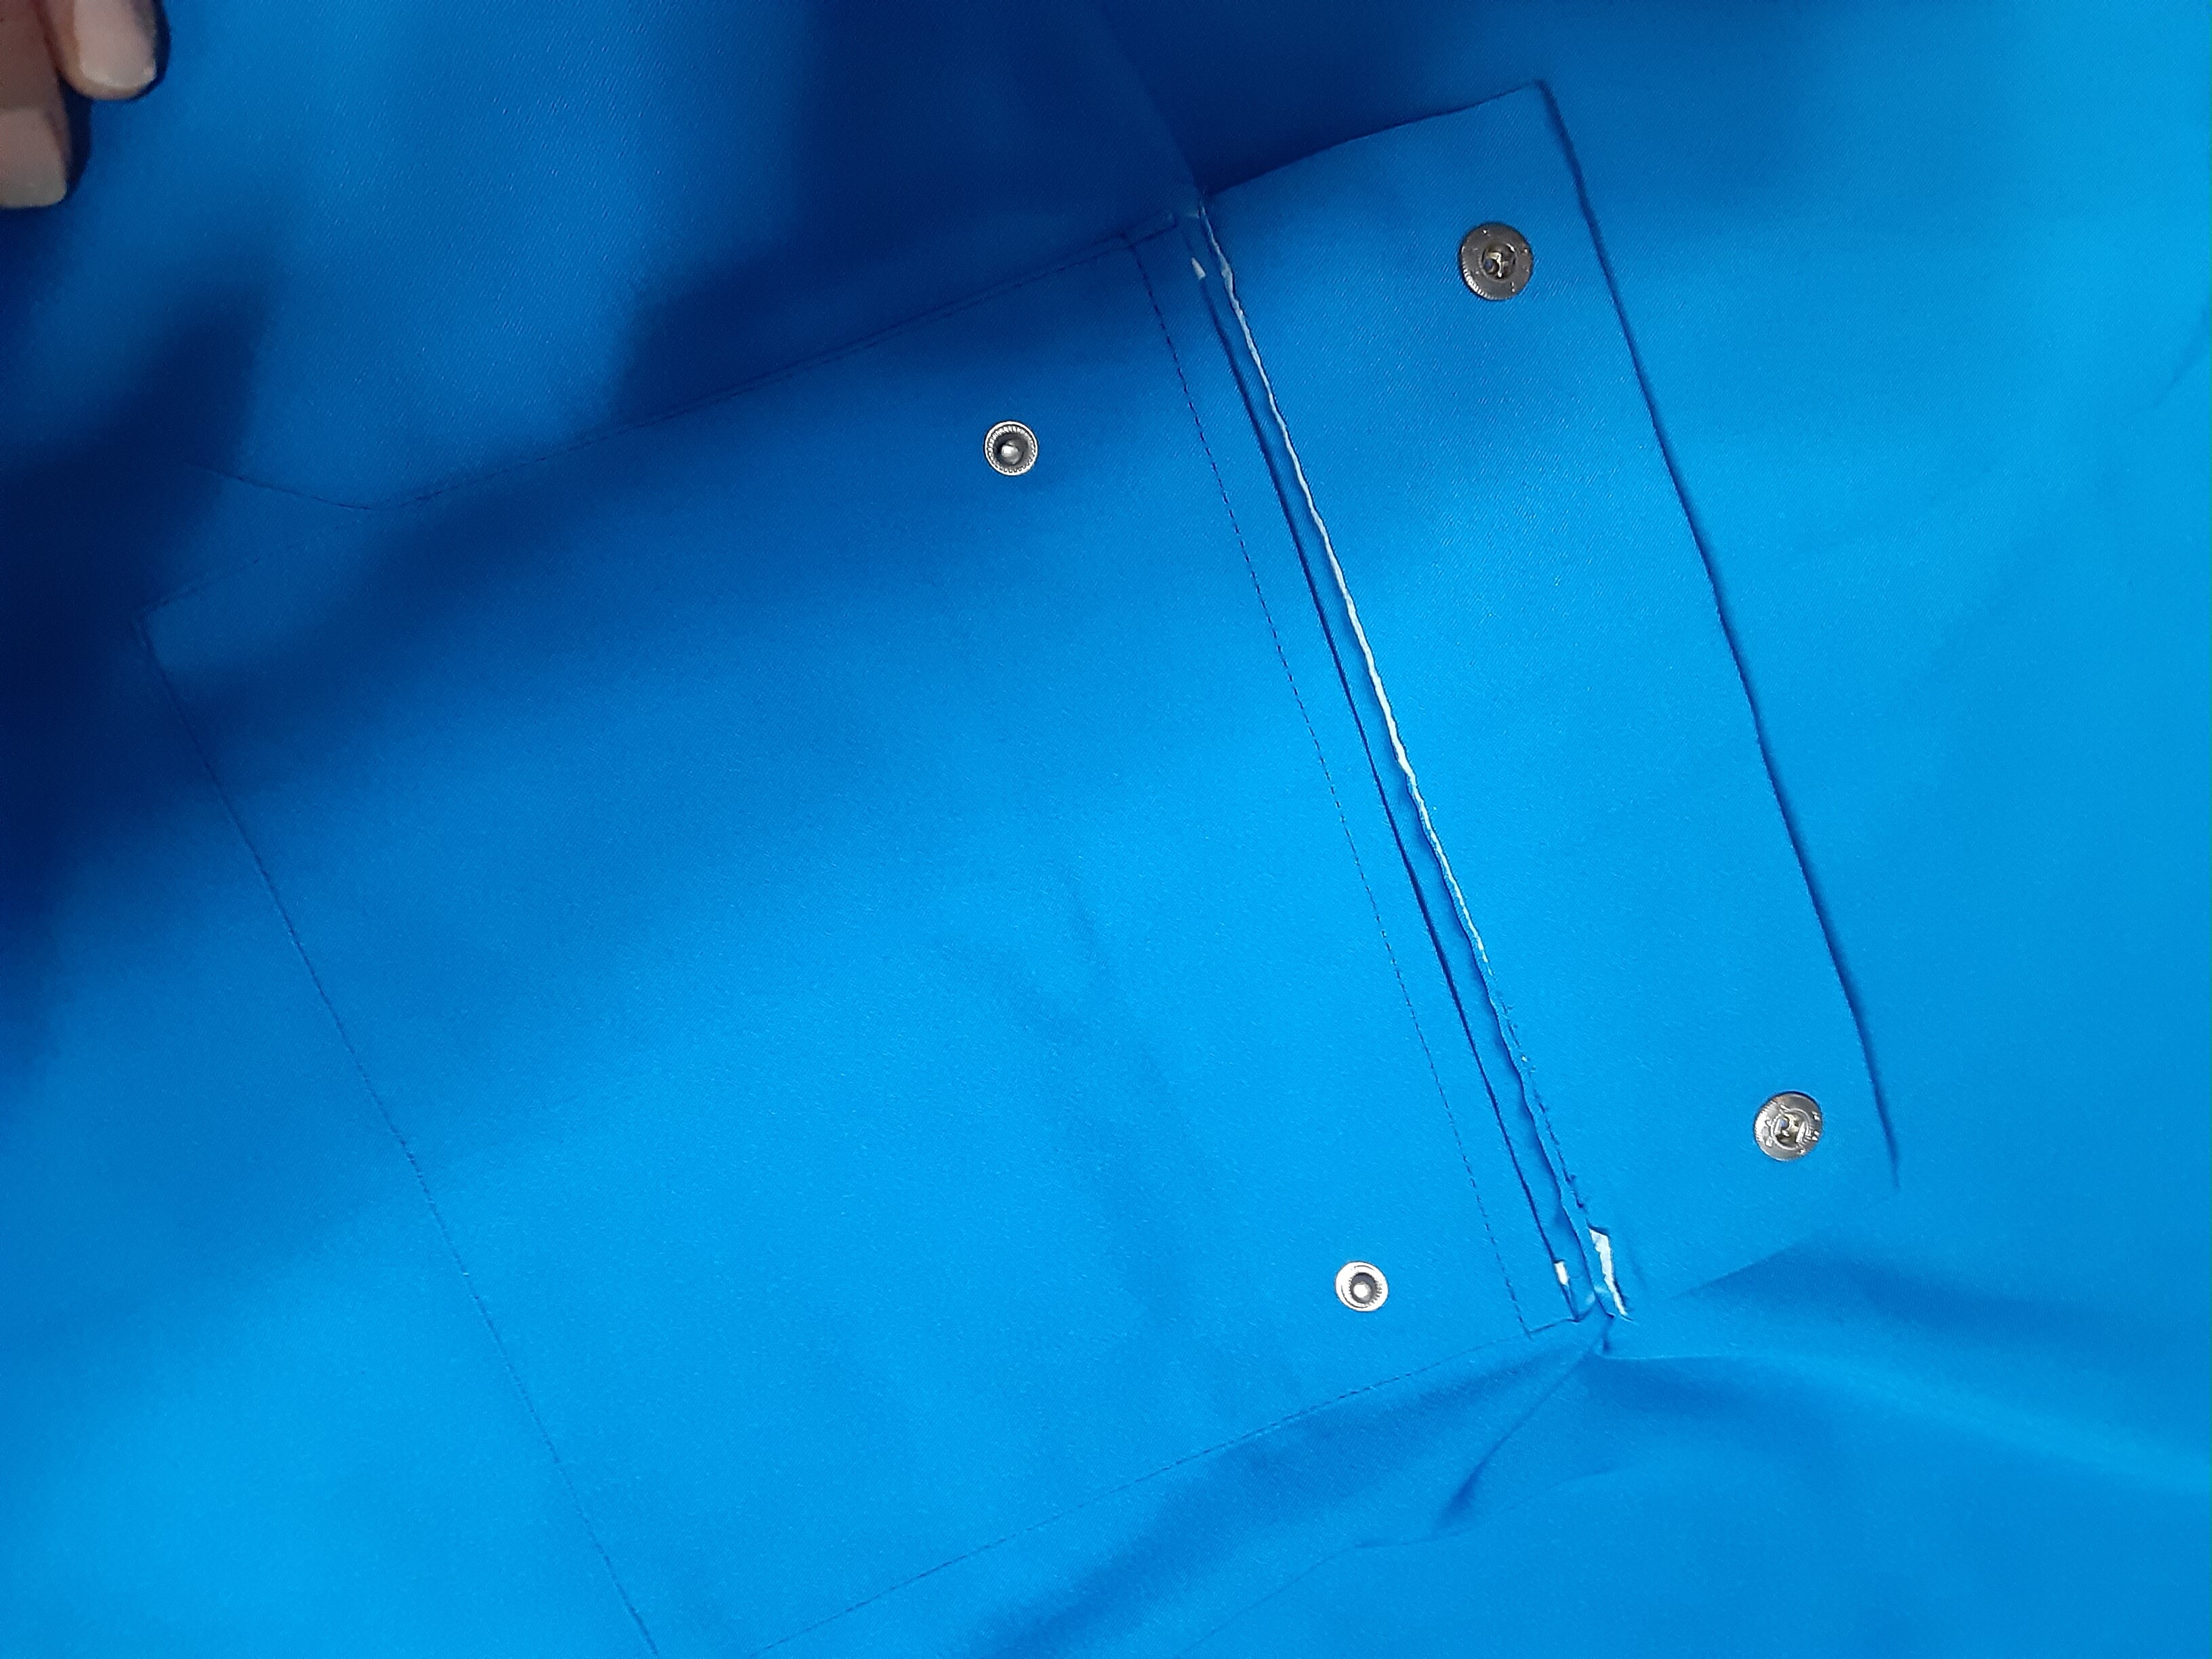
Rear pocket… 8 1/4in. × 7in.
Pocket flap… 8 1/4 in. × 3in.
2 snaps (Royal Blue)
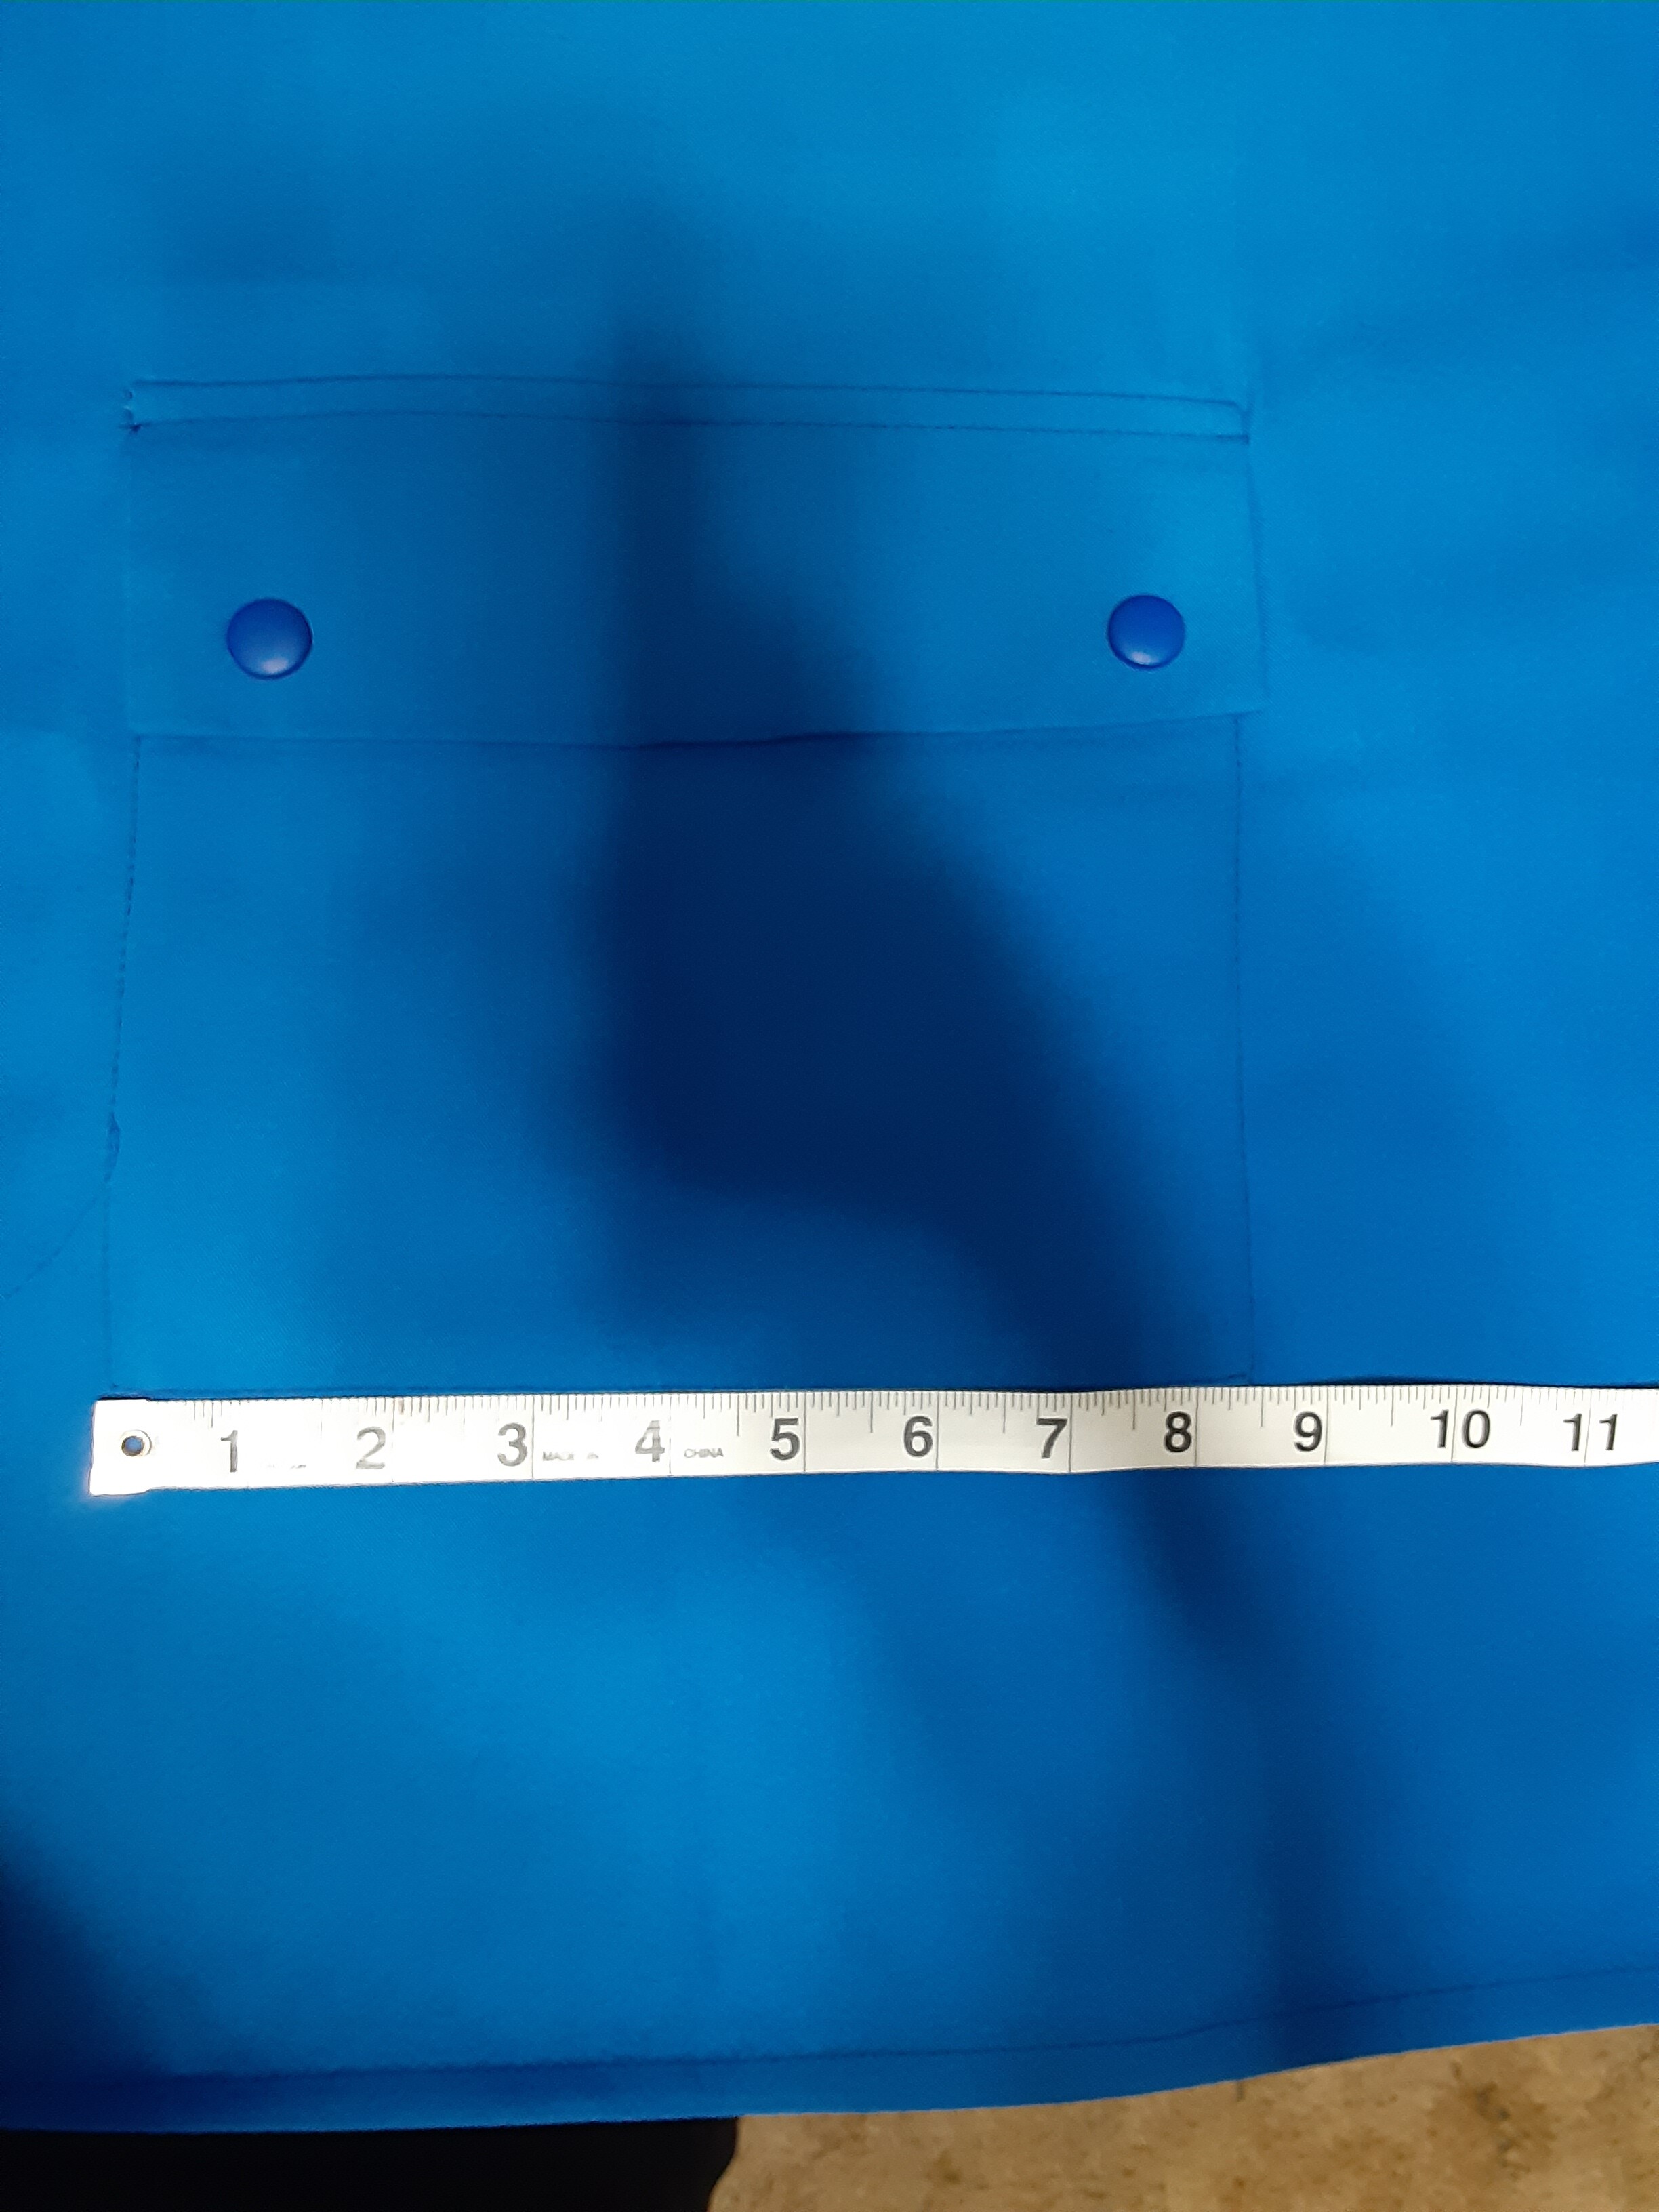
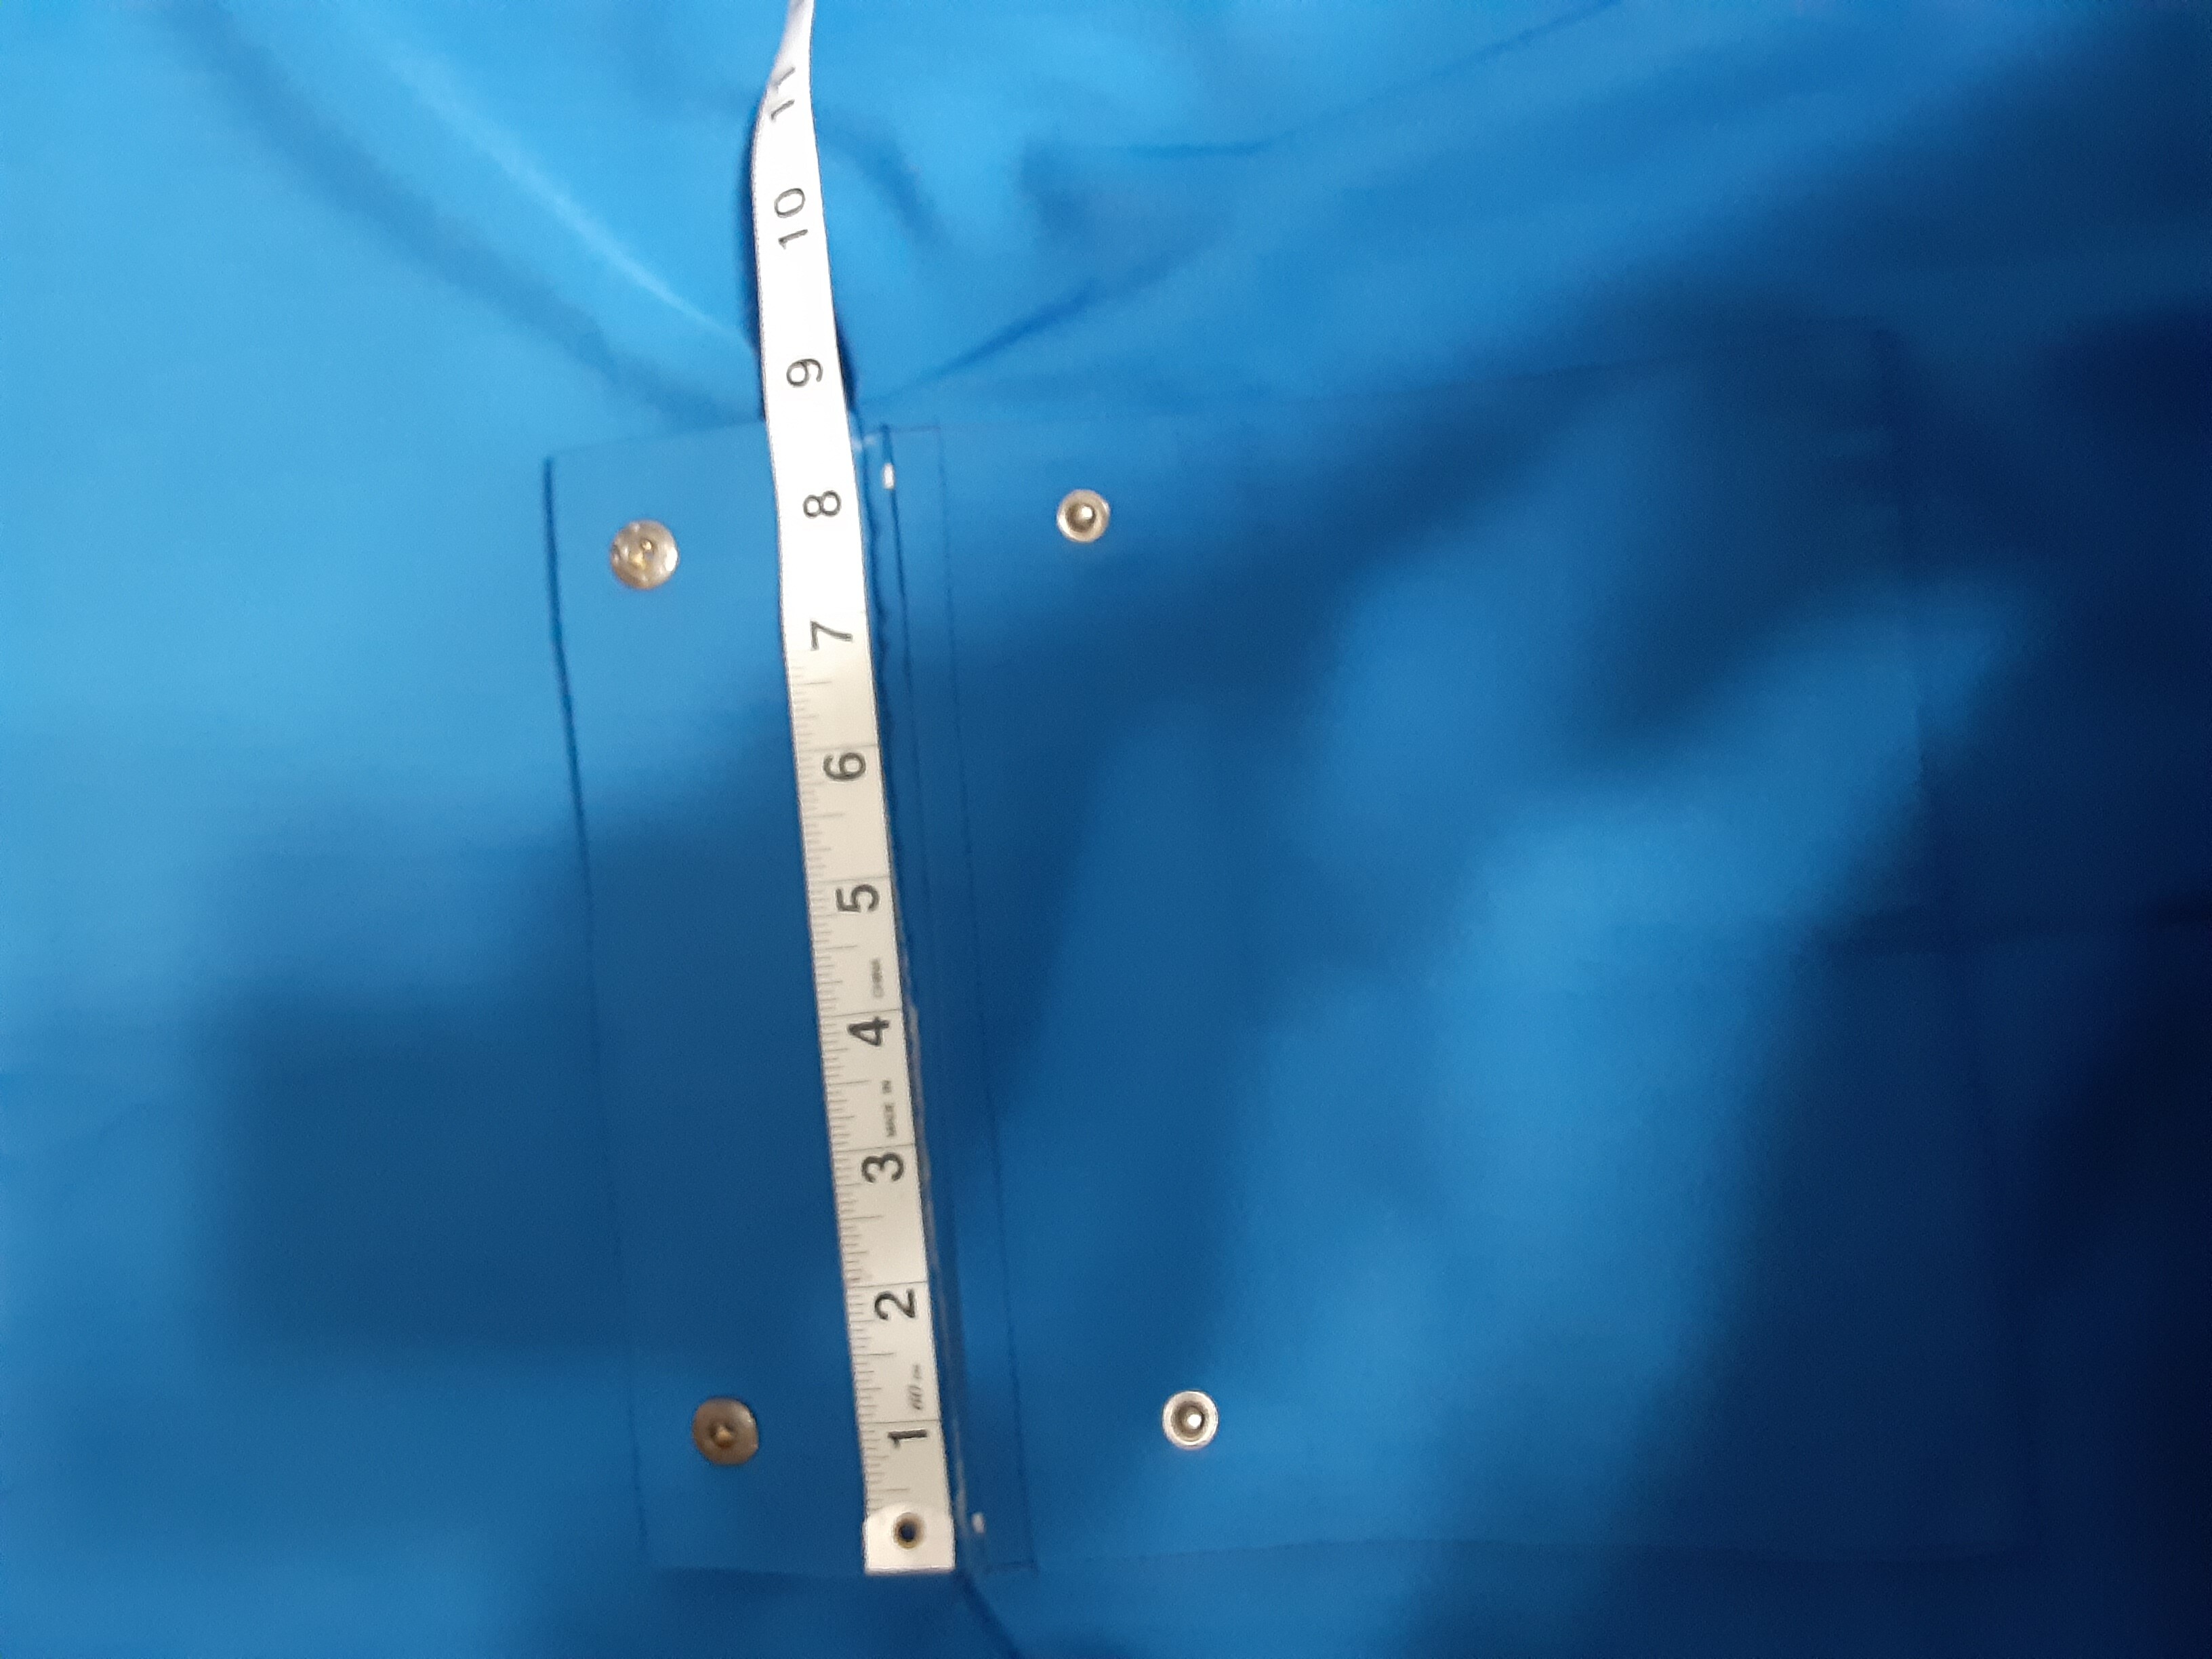
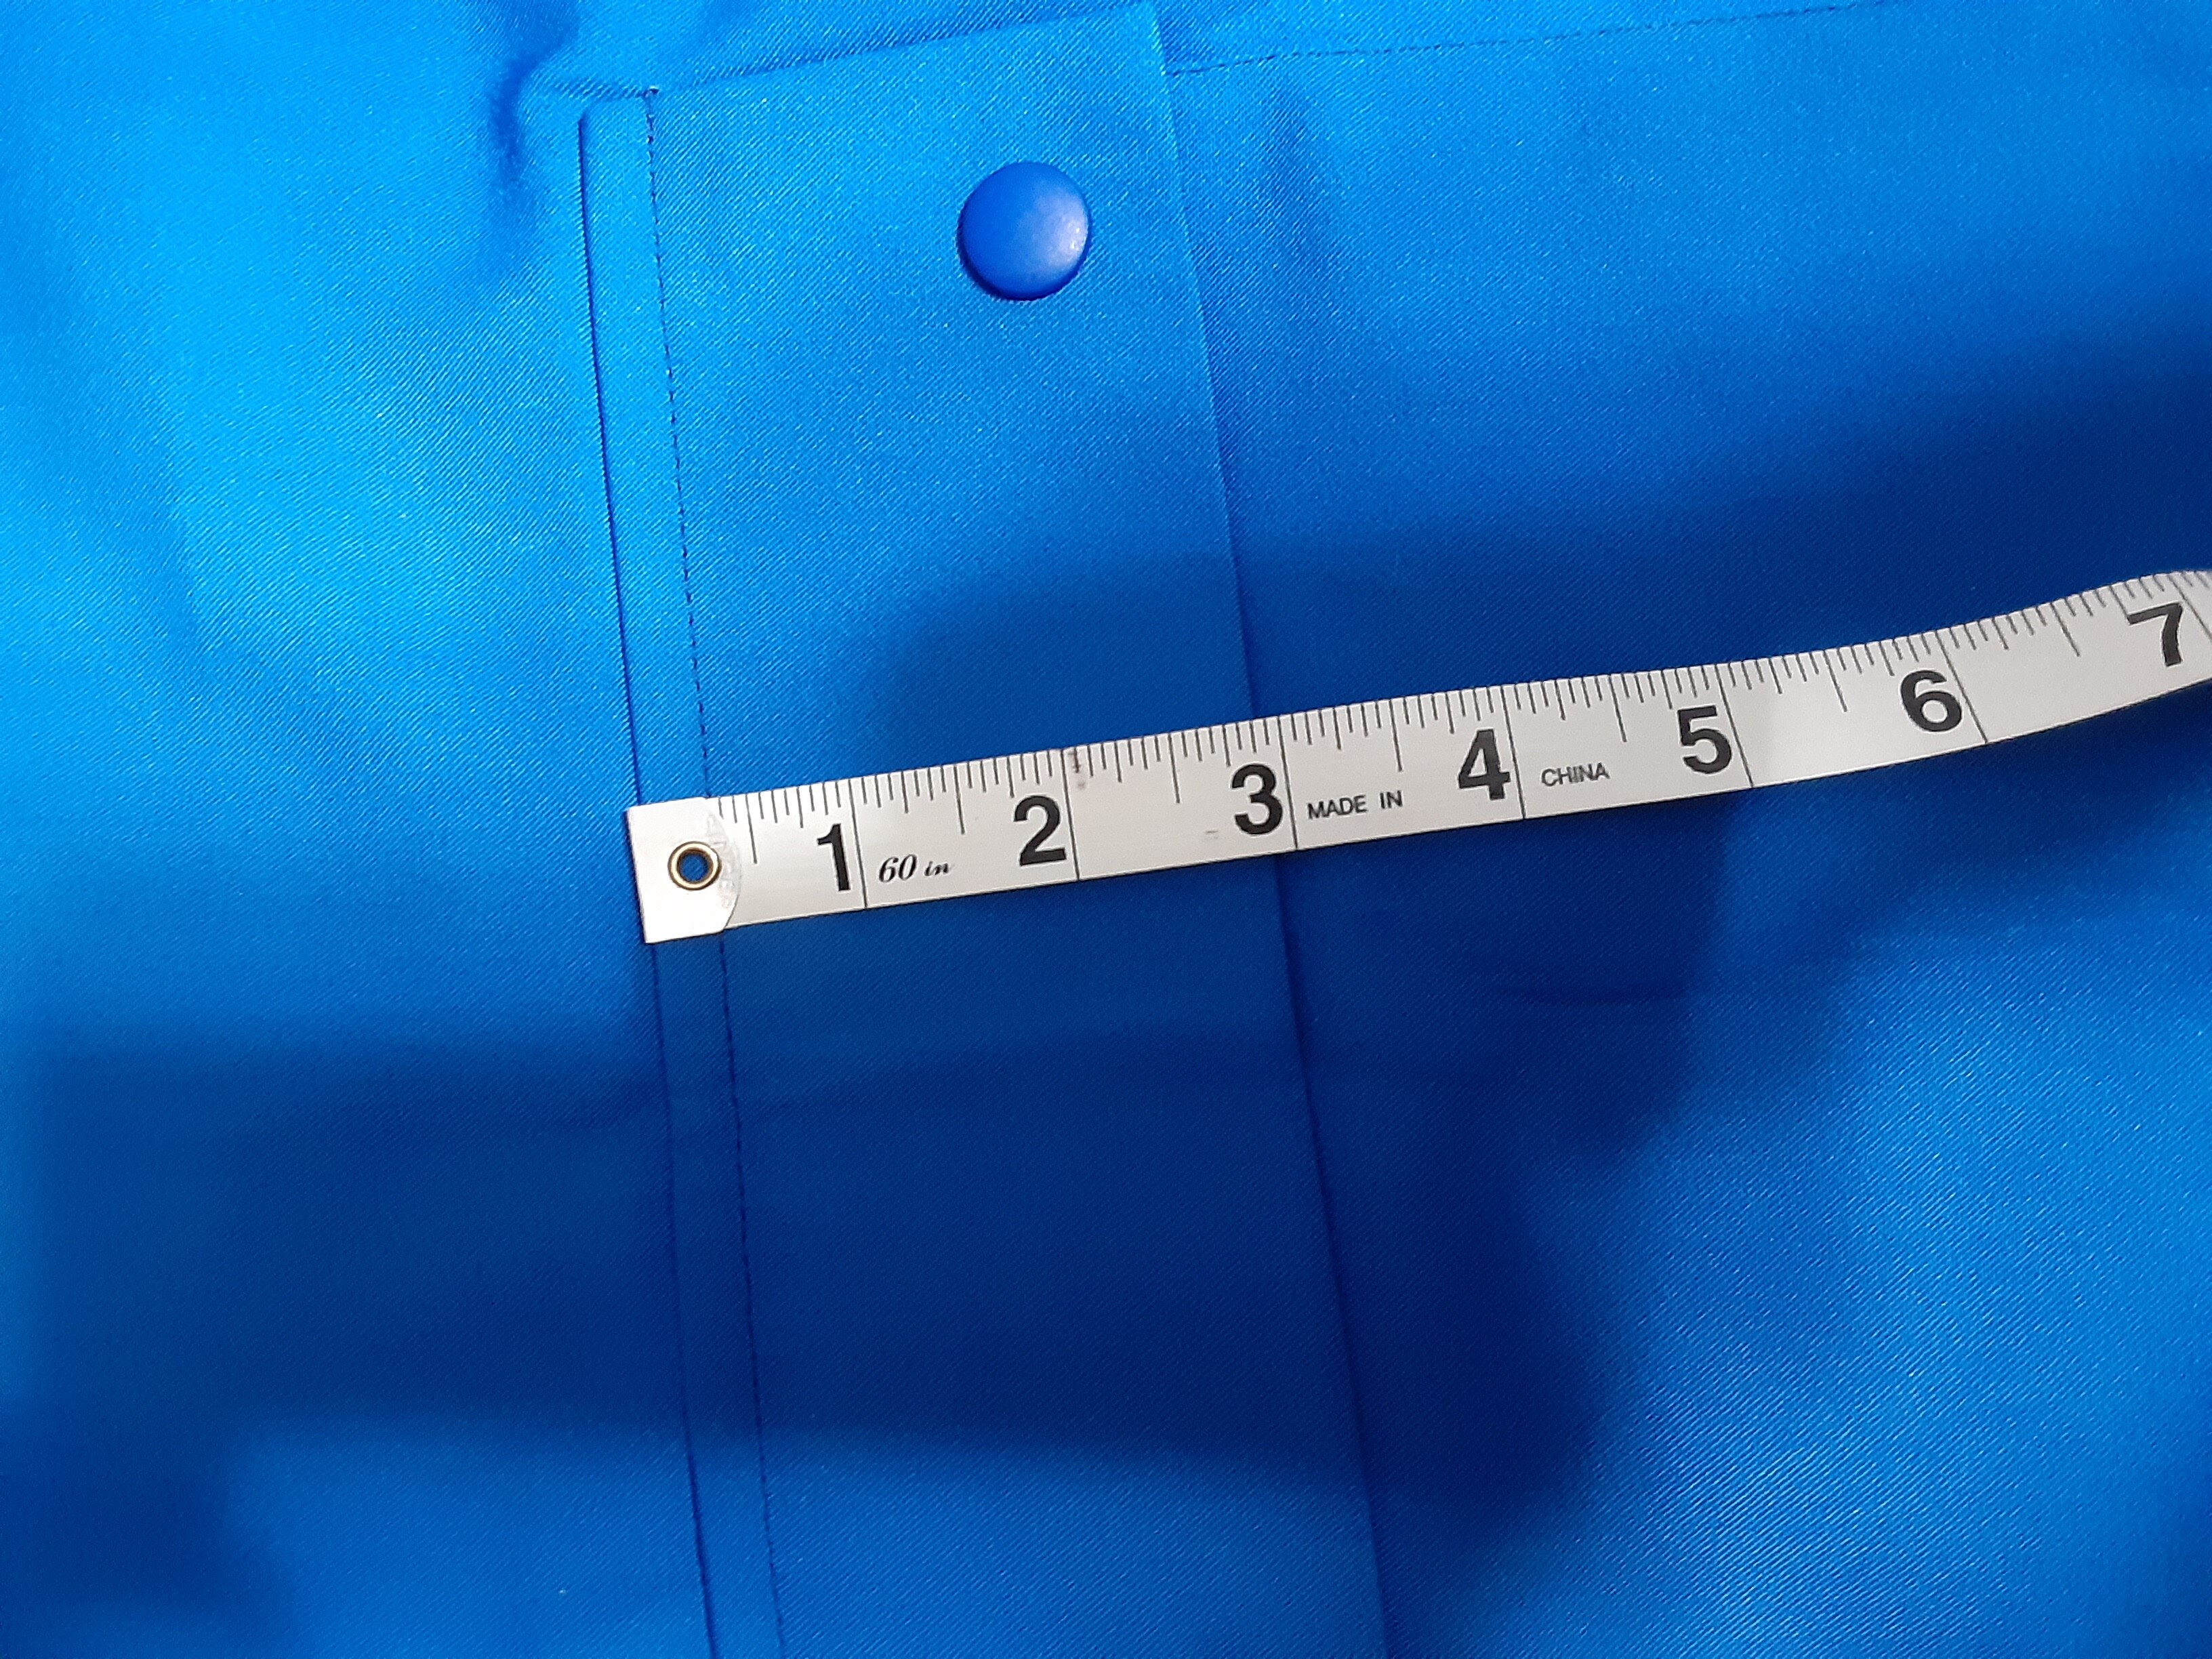

Pocket should be placed just below centerpoint of back, approximately 5in above bottom hemline. Centered between the sides of the vest.

Completed back of vest… (actual size of vest pattern will vary per person)

To be continued…
