As the new series of Finest Cards are a hot topic I wanted to chat about a few ideas to possibly use if you’re looking to show your costume, character and hard work all at the same time. We spend a lot of effort on our costumes and want them to look great so I thought I’d compile a few ideas and tips I’ve picked up over my trips around the sun.
*disclaimer: these are only meant as a guild overall. I cannot guarantee perfect results. Just trying to help out.
I have a great photo of me from MADEUPACON, I’ll just use that.
Unless you have a pro shooter or a respectable aspiring photographer helping you out chances are that these photos might not be the best to work from. Often times the lighting that is in a con space are those nasty, florescent lights or mercury-vapor spots that really don’t show us in the best light for our costumes. If you have a reflective surface like a helmet on, you’ll often pick up all those spots of light in your dome. Sometimes you’ll be wearing your viper helmet and pick up a whole crazy scene in your reflective mirrored face that you didn’t intend on having immortalized. When you are cut out of your surroundings and want a convincing looking composite, con lights are kinda the enemy here.
Solution? My best solution is to have your photo shot in outside light. Cameras really like light, a lot! You’ll have the most control of your great looking costume if there was plenty of light to begin with. Low light and indoor shots have what we call “noise” in them. These are the specs that the computer and camera try to interpret colors in. These specs look bad overall. Though there exists filters in editing software to help with the noise, they really just blur the photo and don’t fix anything. Lots of light = good for most consumer grade cameras and cellphones.
So I should wait for a perfectly sunny day with zero cloud cover in the skys, just a blue sea above me?
Answer: No, not really. The BEST days to shoot photos of ourselves are actually overcast days. The light that is coming through the clouds are defused so you have less harsh shadows and even lighting over your whole costume. Seems counter intuitive, but trust me that a grey day is actually the best to shoots photos on. Nice, even light gives the most options for editing too so you can be cut out of your surroundings and put on just about anything your heart desires (or whatever looks cool)
I’m looking for a super cool location to shoot, but driving all the way to X,Y is not possible right now, where should I shoot then?
Answer: a nice plain backdrop works best! Don’t be all leaning against a wall but find a wall that is simple and plain as can be and stand a few feet from it to not cast shadows or pick up refections from it if you can avoid it. No need to go too far over the top with this, I’m sure a wall of a building perhaps near by will work great for this!
So, I really just need someone to snap a quick shot and I’m done, right?
Answer: Yes basically, but I have some tips for the person that shoots you too.
Tip 1 for photographers: Make sure you get the person fully in frame; don’t cut off their feet or crop off an arm or leg by shooting them too tightly (close ups) Ideally your entire person is in frame for the best working plate to start with.
Tip 2 for photographers: Don’t get too close! It’s better to stand back a little further and zoom in than to be right on top of the person full frame. Reason being is when you’re too close there is an effect of the lens of the camera that sort of distorts the topic. The lens of the camera is parabolic or a half(ish) sphere that can add those extra pounds you often hear about with actors. A little bit of zoom can go a long way for all our self esteems!
Tip 3 for photographers: Help your subject get that heroic look! One good trick is to always be shooting up at your subject for heroes. The camera should be slightly lower than the height of the head of the person you’re shooting (think if you were shooting a photo of Superman that the ideal height of the camera lens would be no higher than the “s” on his chest) If the camera is looking down at the hero, they look weak, small, vulnerable. Shooting up to them give that hero look, like a child looking to a parent. Most comic drawings and movies employ this gaze to show off a hero. Give it try, but don’t go too overboard with this or they’ll look like a GIANT! Usually just taking a knee to a standing topic can do the trick.
Tip 4 for photographers: Help out your subjects with poses and costume mishaps. As the photographer is the eyes of the shoot, it’s best to let your photography subject know if something looks weird or out of place. Sometimes a little twist to the body language looks more powerful, action oriented and interesting than a flat, square to the chest photo. Don’t be afraid to ask your subject to suck in a gut if that helps. A bend in the knees creates a sense of action rather than straight, locked legs. Sometimes turning the neck can make the face read better and perhaps go from many chins to just one 
Tip 5 for photographers: Take more than you think you need! it’s better to take more photos than you think you need than to get all dressed up to find out that your one photo is out of focus or just not the best look. Sometimes it takes 10 shots just to have some to compare to each other or perhaps composite a couple of shots together for a desired look. Since we don’t have to really take a roll of film to the store anymore, shoot, shoot and shoot some more! Deleting is SUPER EASY (barely an inconvenience) Better to have too much than not enough.
I hope this helps out. I may add to this down the road as more comes to mind but this was just off the top of my dome.
Now, lets go shoot some PHOTOS!
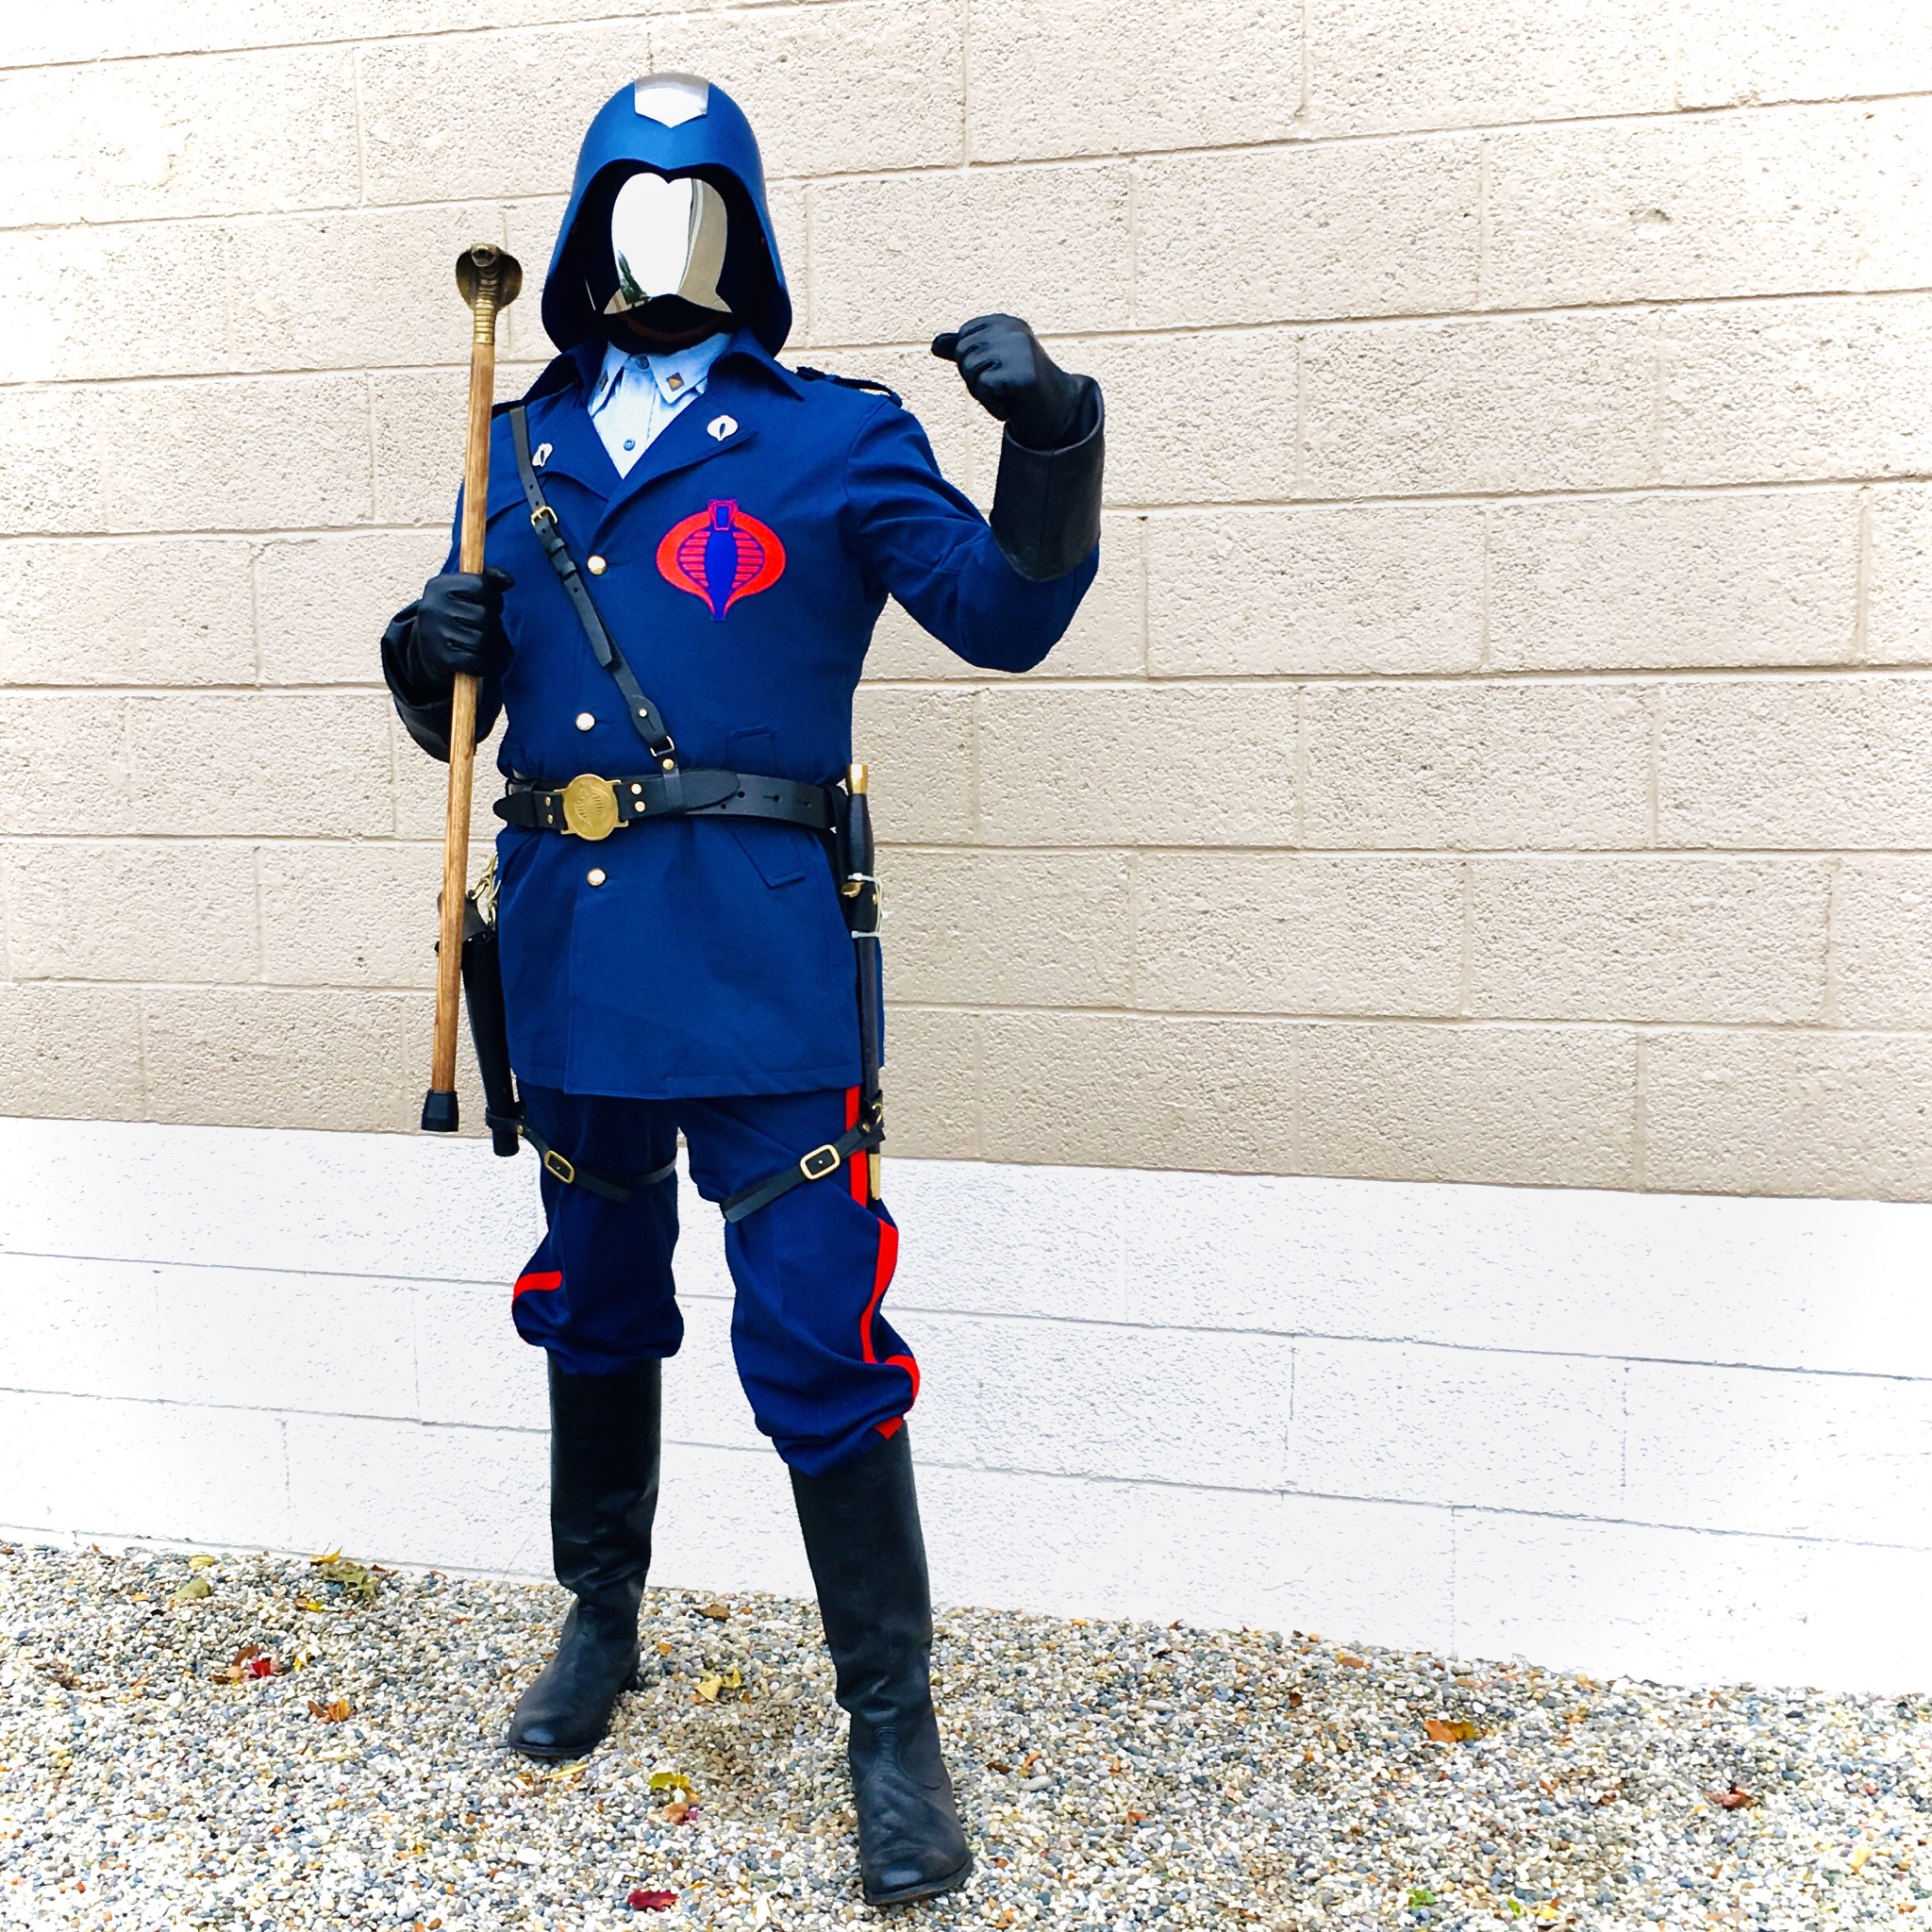
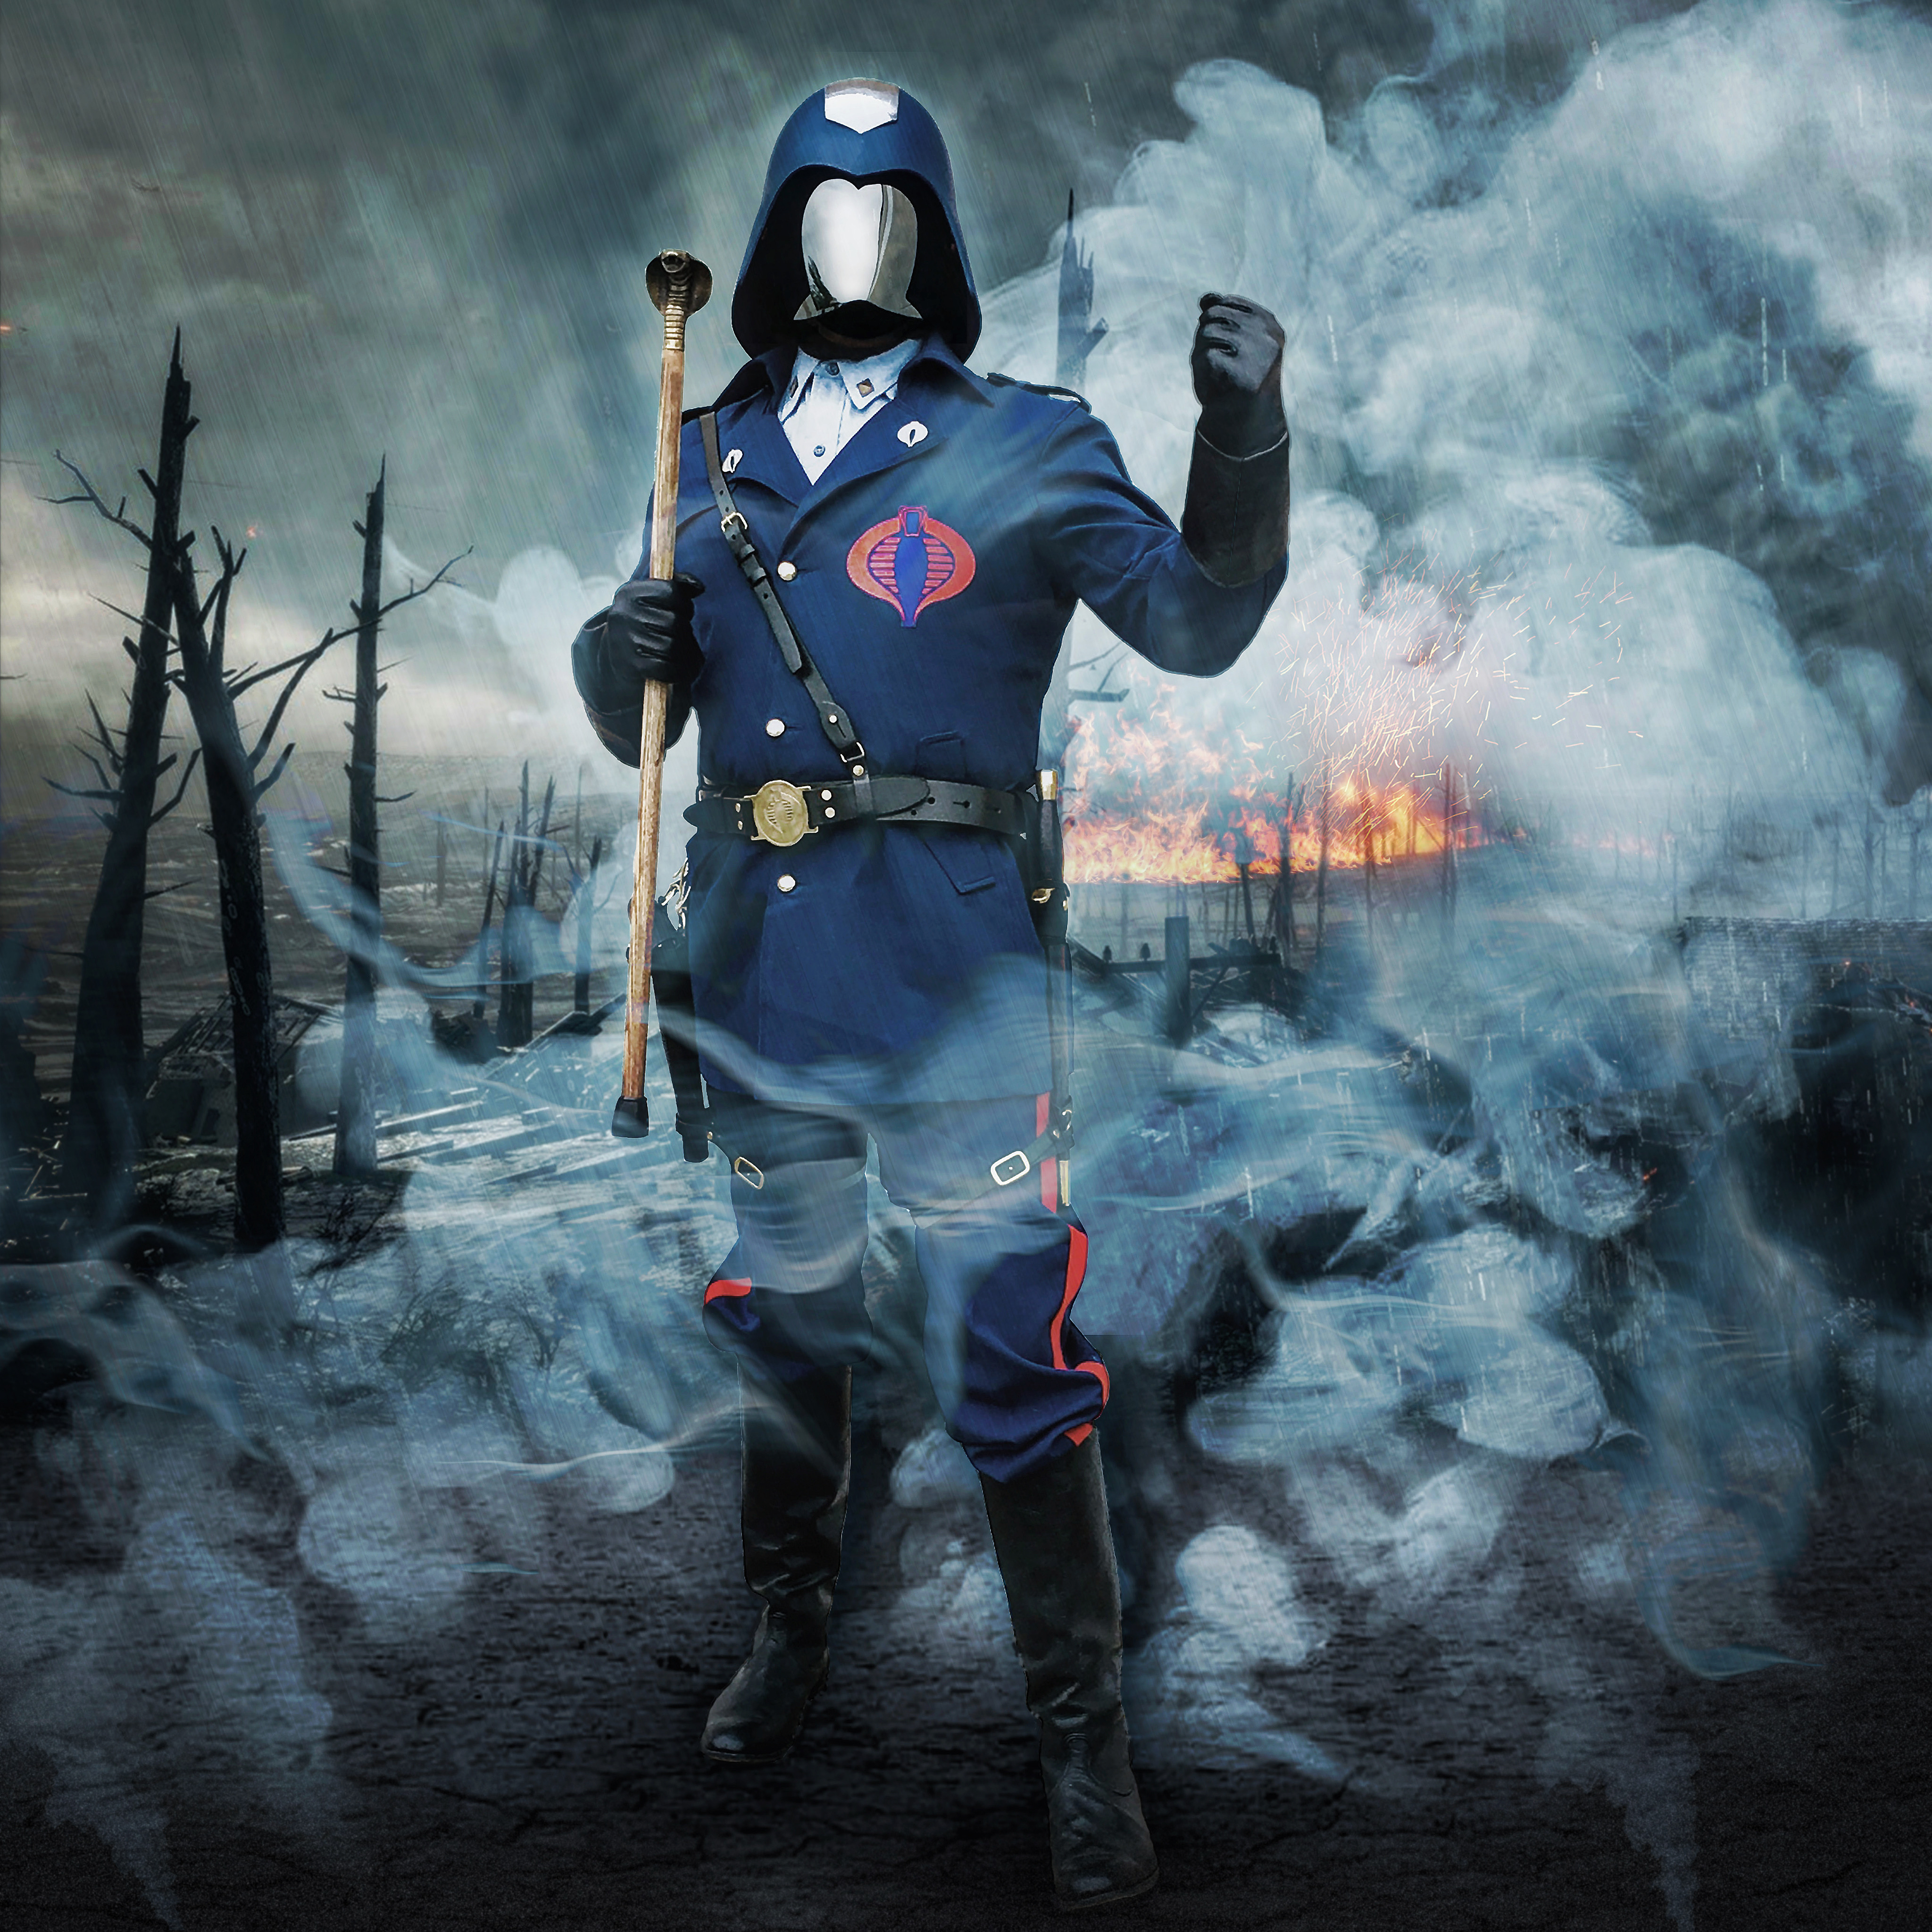
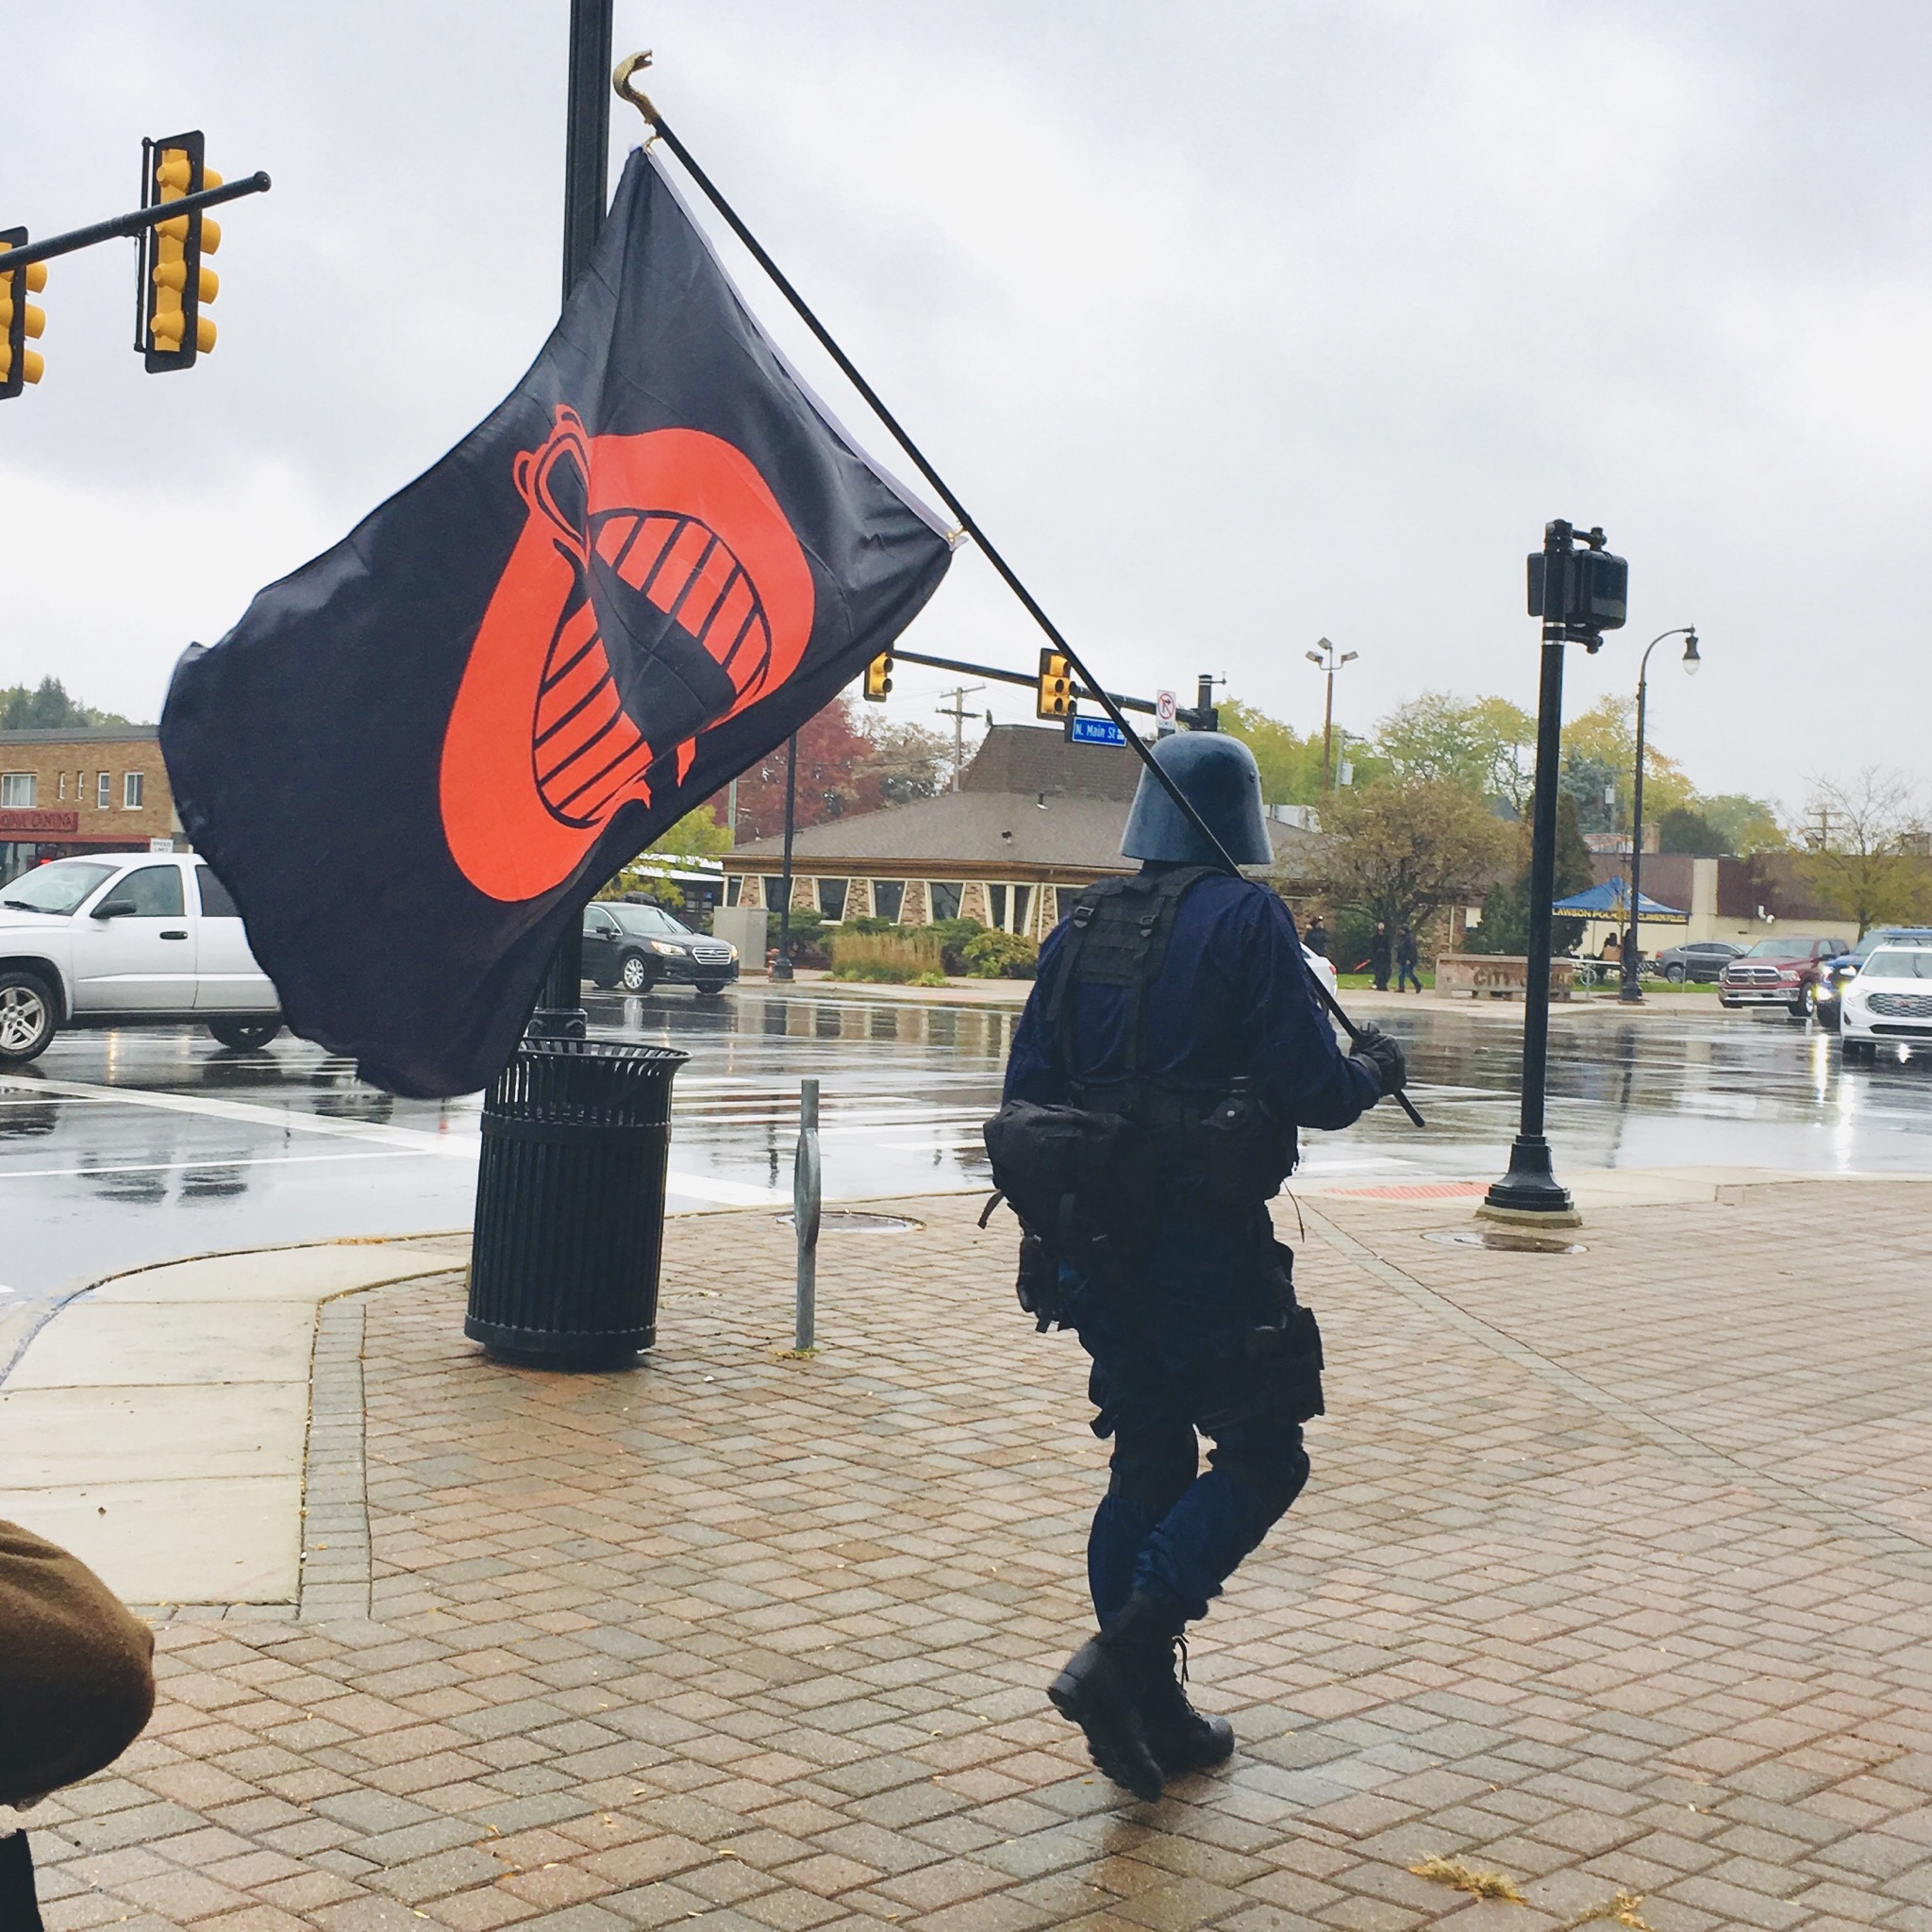
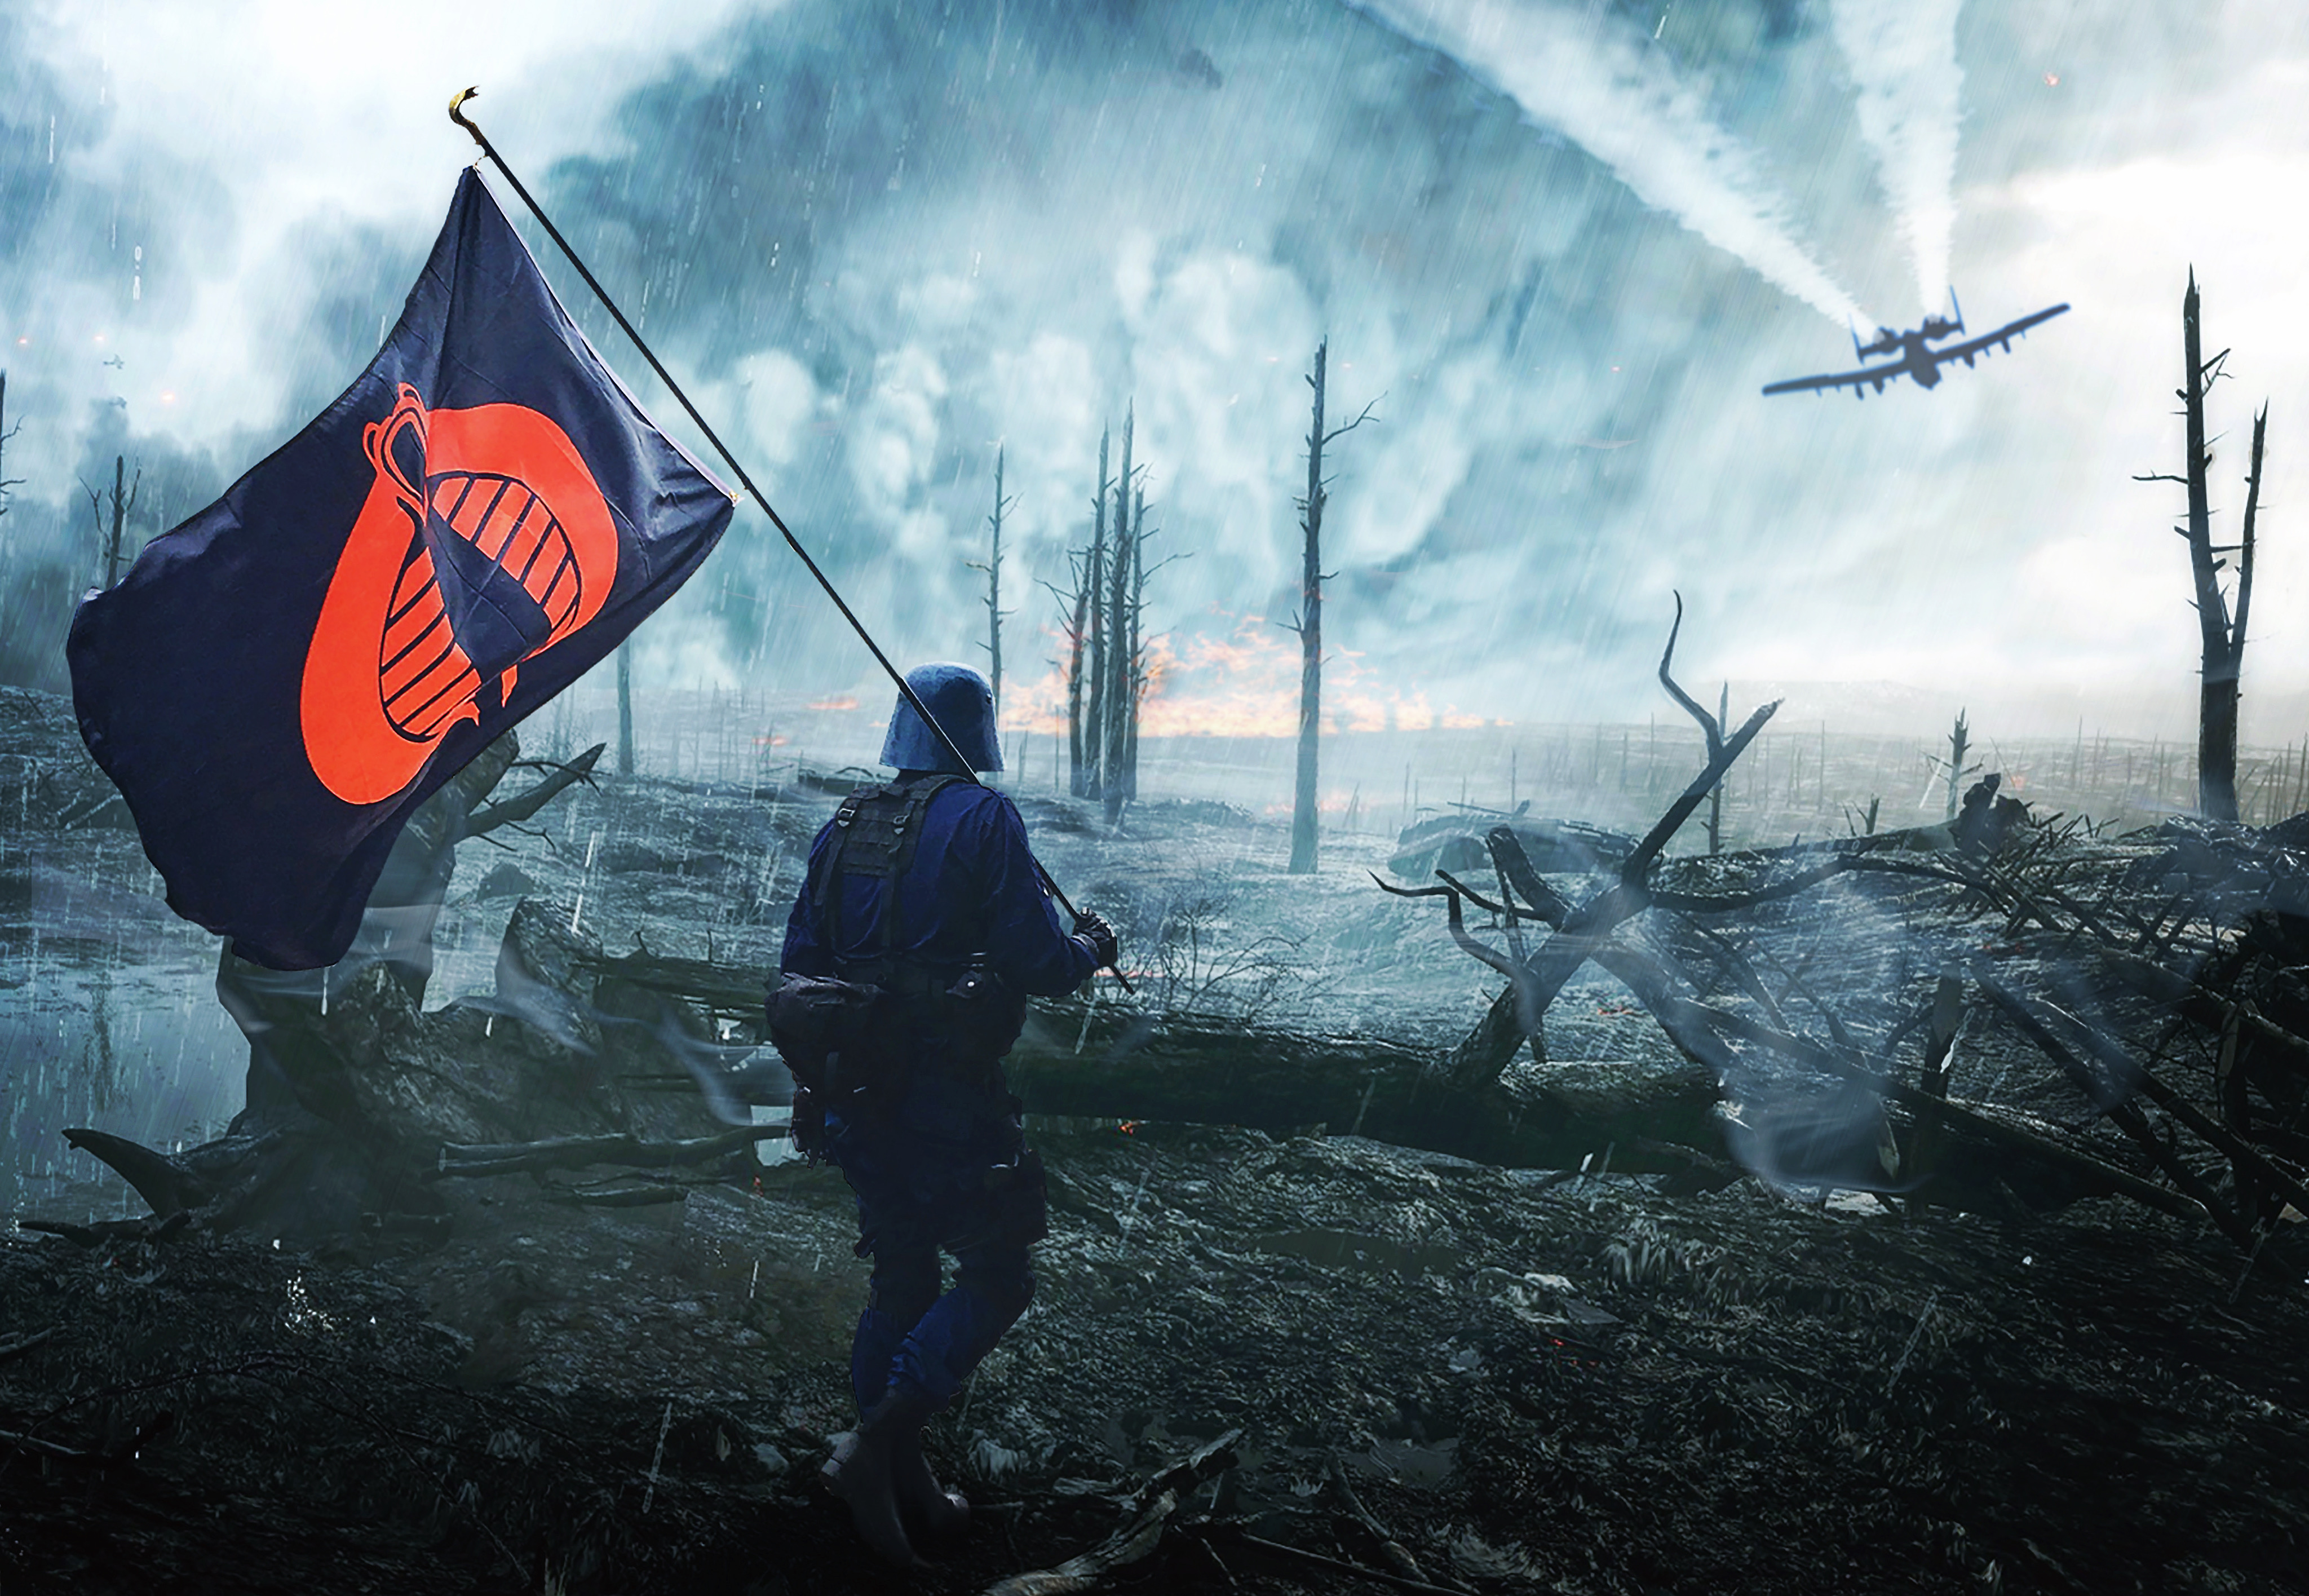
Here some of my before and after shots