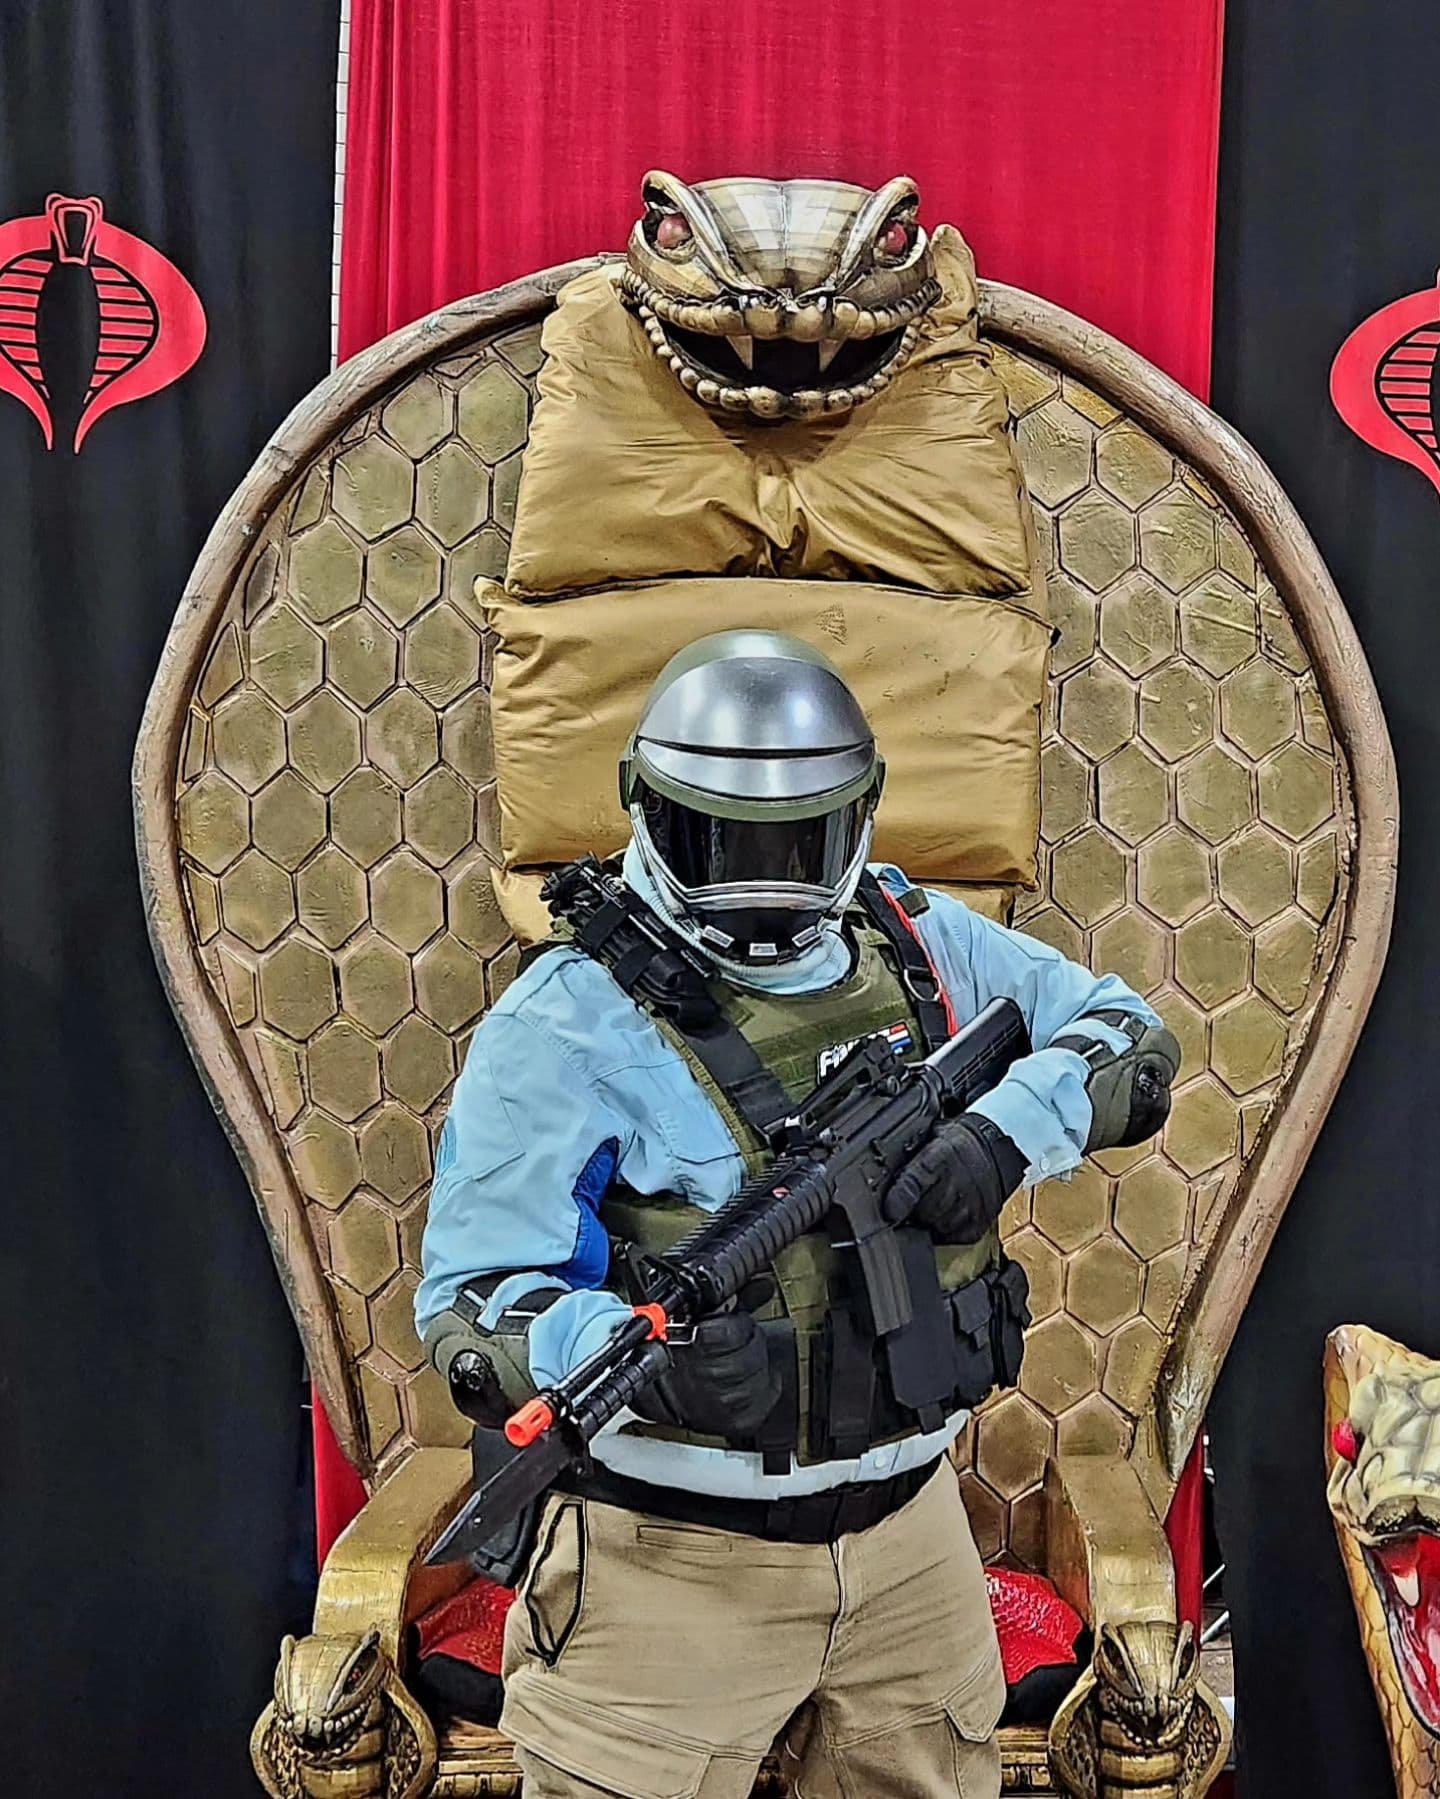
This build began in 2019!
Let me introduce this build with the following acknowledgements & thanks.
I’m assembling (with my own tweaks) the work of others into one cohesive place for future reference and use. Credit for this information goes to several individuals, primarily Keith M., Wally P., Gerry W. & Ryan J.
We’re focusing on the modern Steel Brigade figures, but some of this info could apply if you’re looking to build a vintage v1 or the classified versions. If you do build one of those versions, please comment your tweaks, and I’ll add them to this.
If you’re looking to build a classic Steel Brigade there is some helpful info in Ian’s build
References
Links & photos:
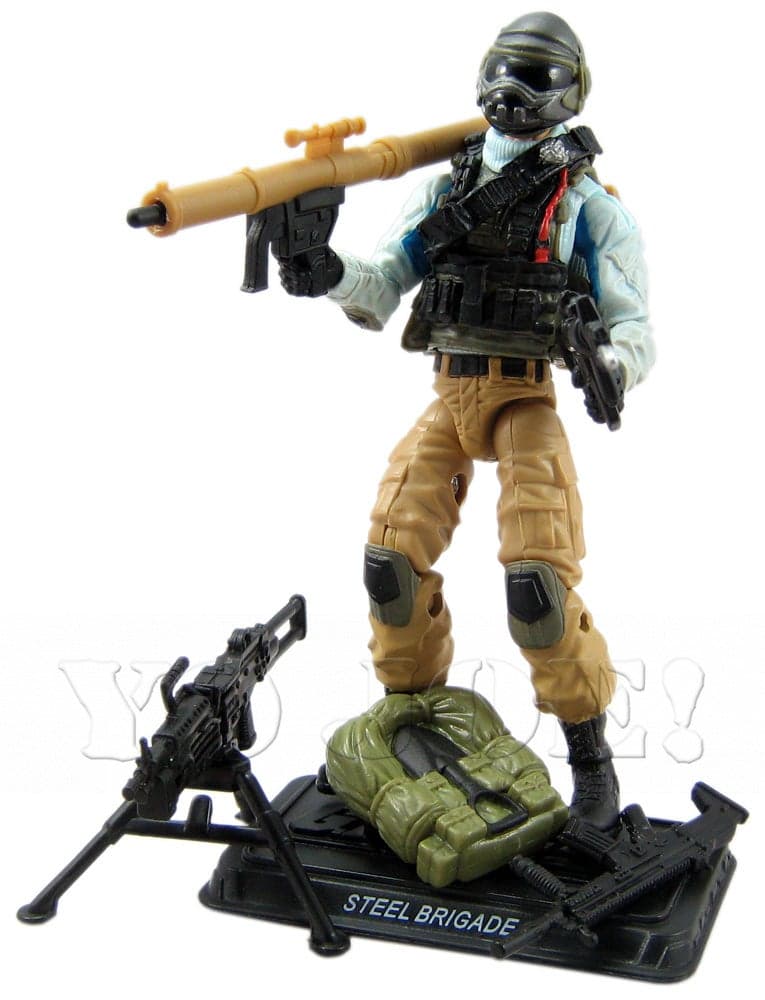
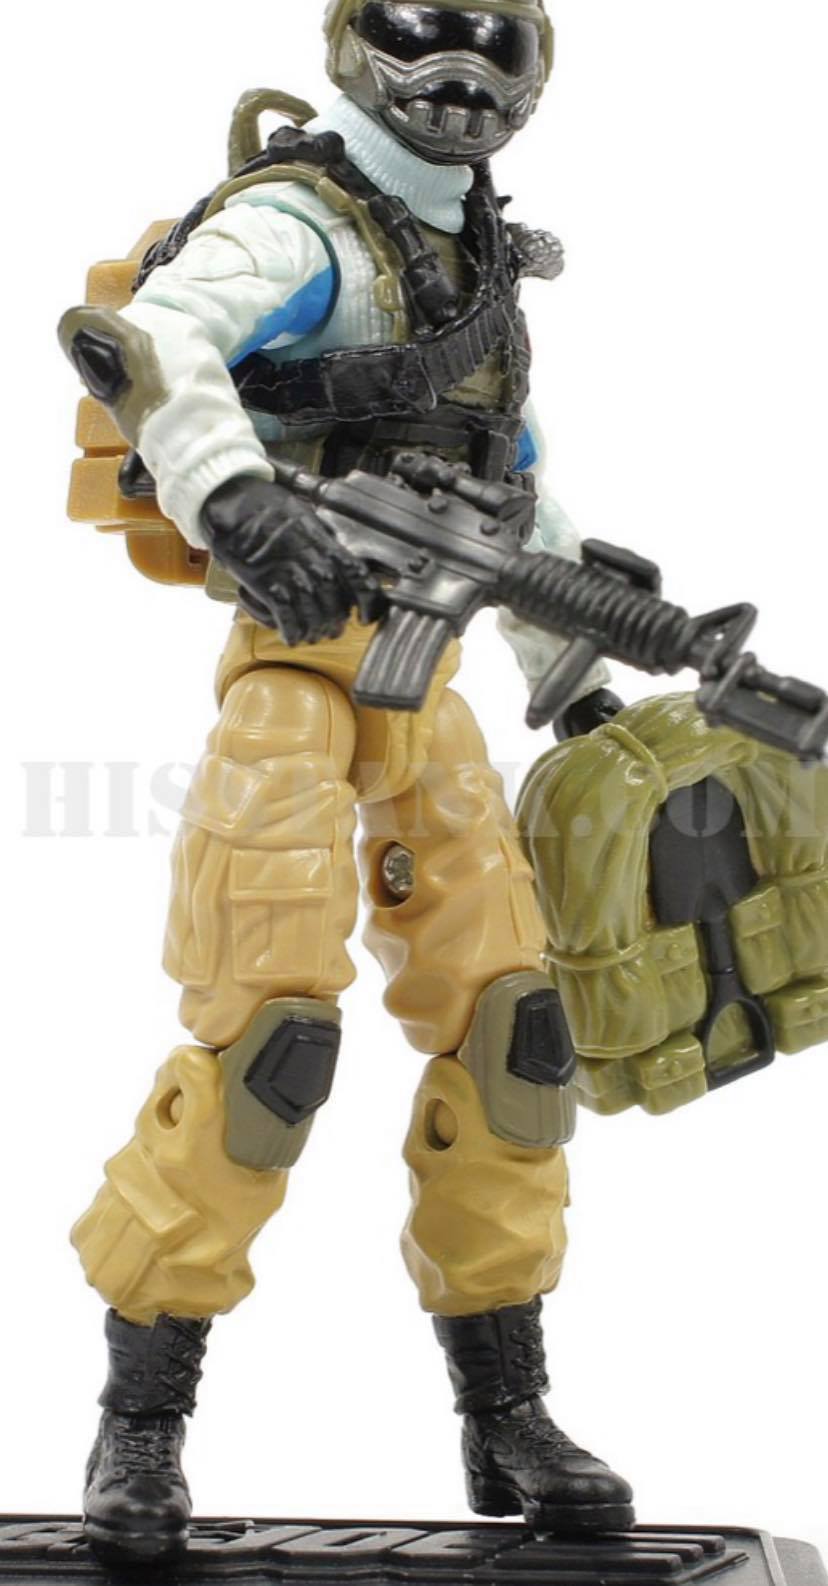
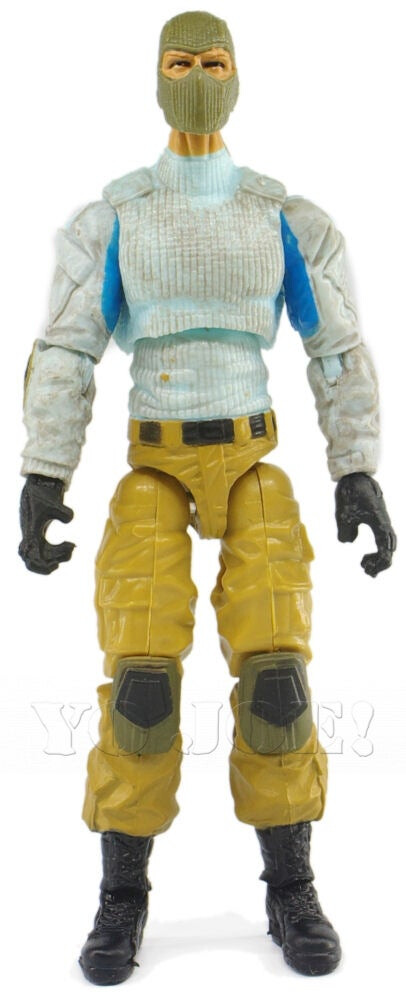
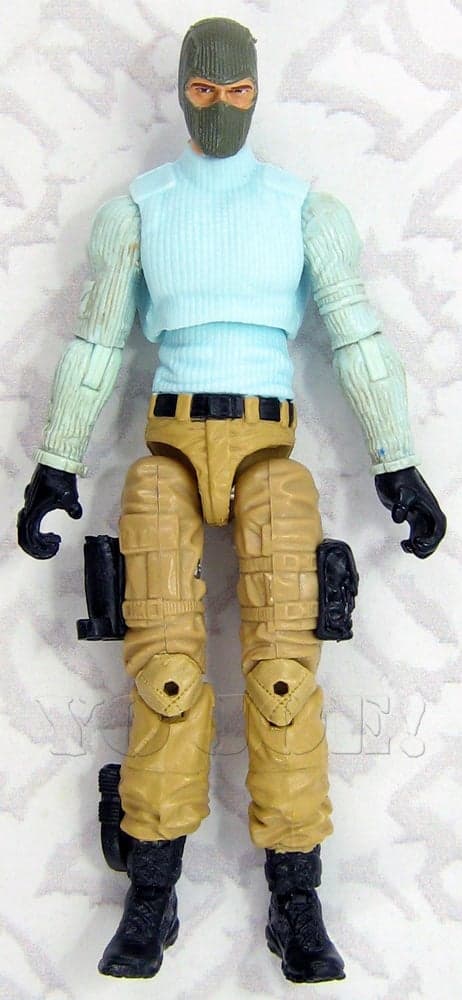
There are two distinct versions—one with BDU-style combat shirt sleeves and one wearing a full sweater. I’ll document both here.
Documentation:
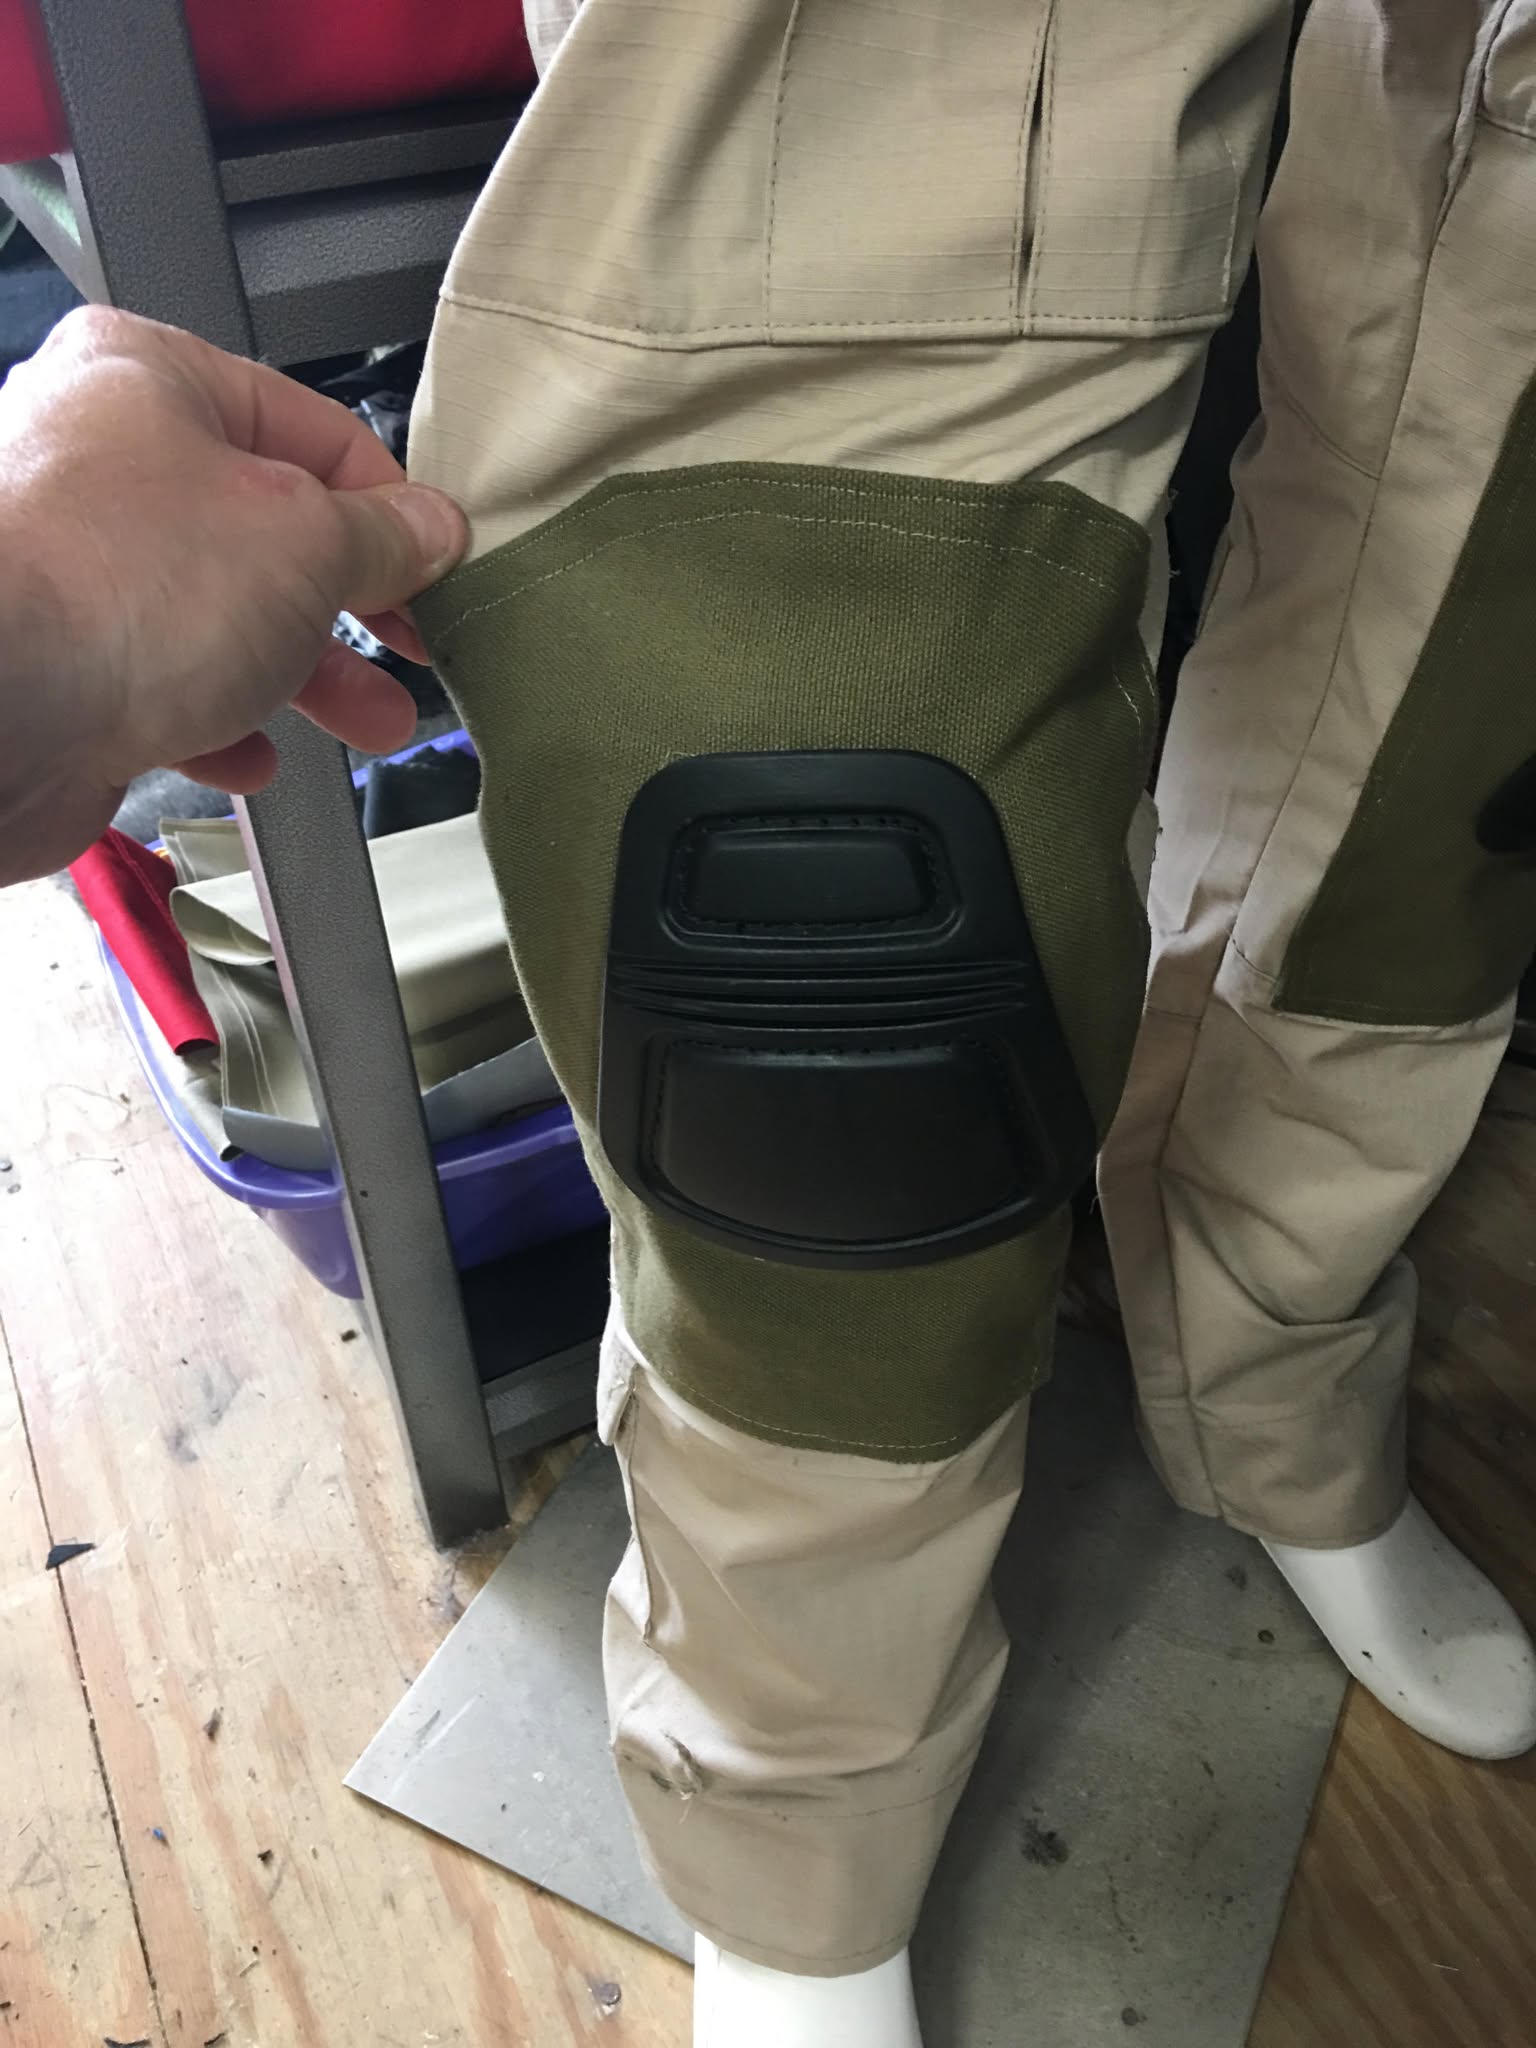
Credit to Keith M. for these files! These documents contain detailed lists of items to source for this build, including links to specific items, materials, and other relevant information. As well as instructions on assembling your vest. Make sure to read them thoroughly before continuing!
Steel-Brigade-Field-Manual-EQUIP-LIST AT Edits.pdf (176.1 KB)
Steel-Brigade-Field-Manual_SUPPLEMENT_-VestArmour-Carrier-Harness-Instructions .pdf (877.2 KB)
Build log
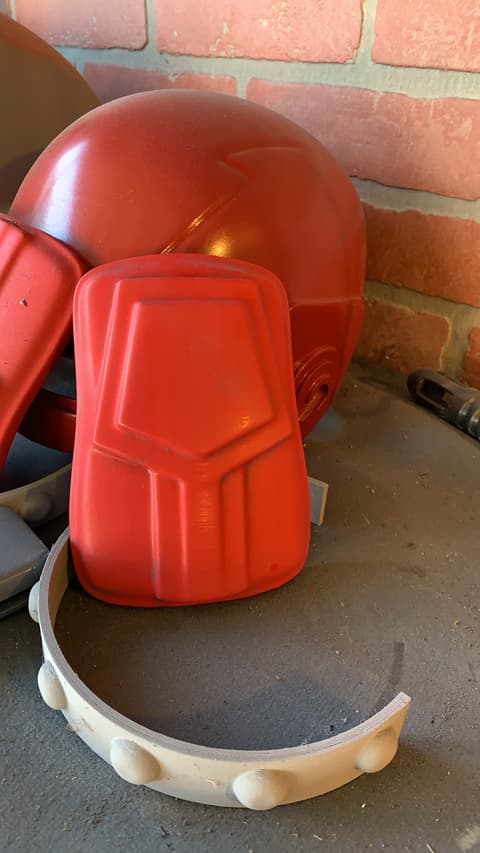
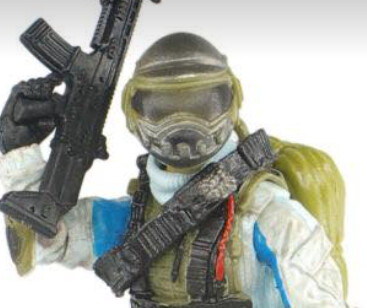
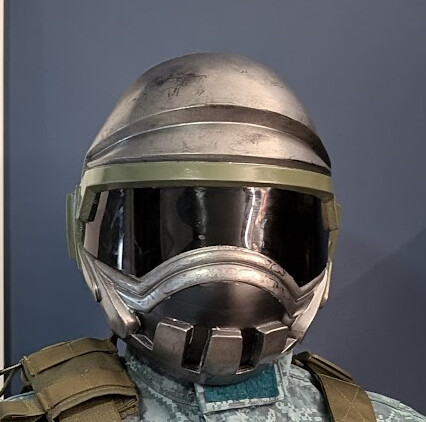
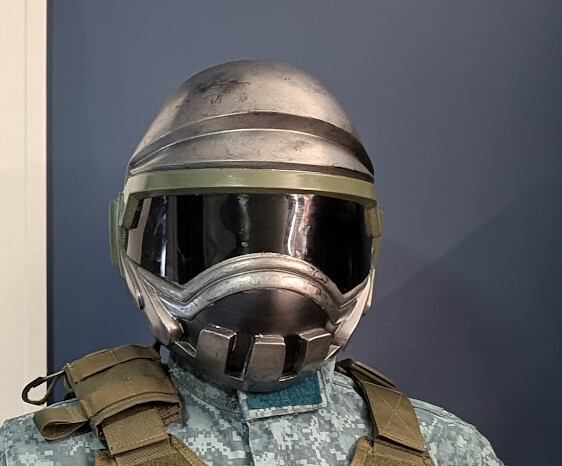
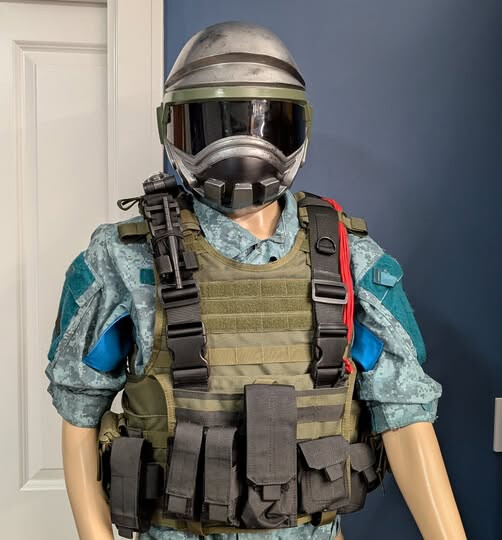
Helmet:
3D-printed, with the source files available to members. Message me here, and I can let you know where to get the .stl files.
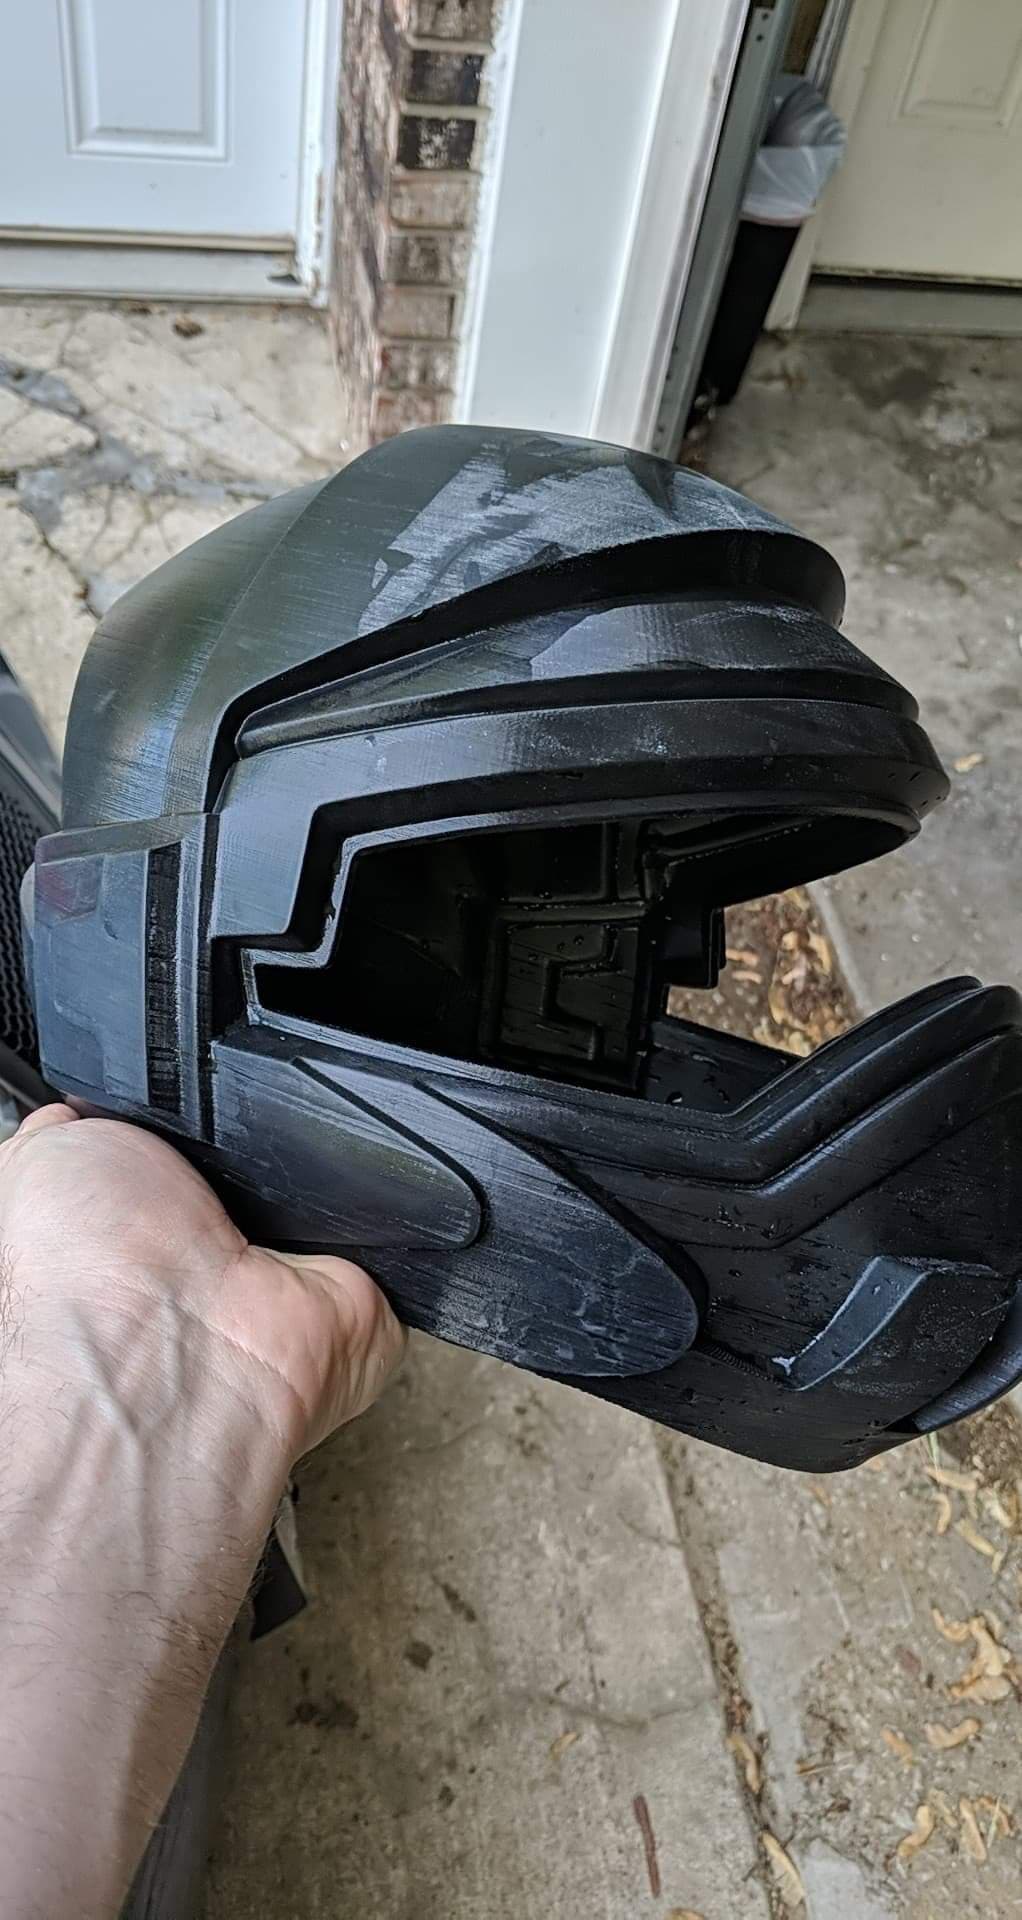
Prep:
You should be comfortable with the process of preparing and painting a 3D printed object before you undertake this one. I’ll link some recommendations to my favorite techniques.
After sanding, a good filler primer is the next step. Take your time here, and it’ll pay off in the end.
Painting:
Paint colors
- Krylon Satin Italian Olive
- Rust-Oleum 262662 Dark Steel
- Satin Black Spray paint.
Placeholder Paint Diagram
Visor:
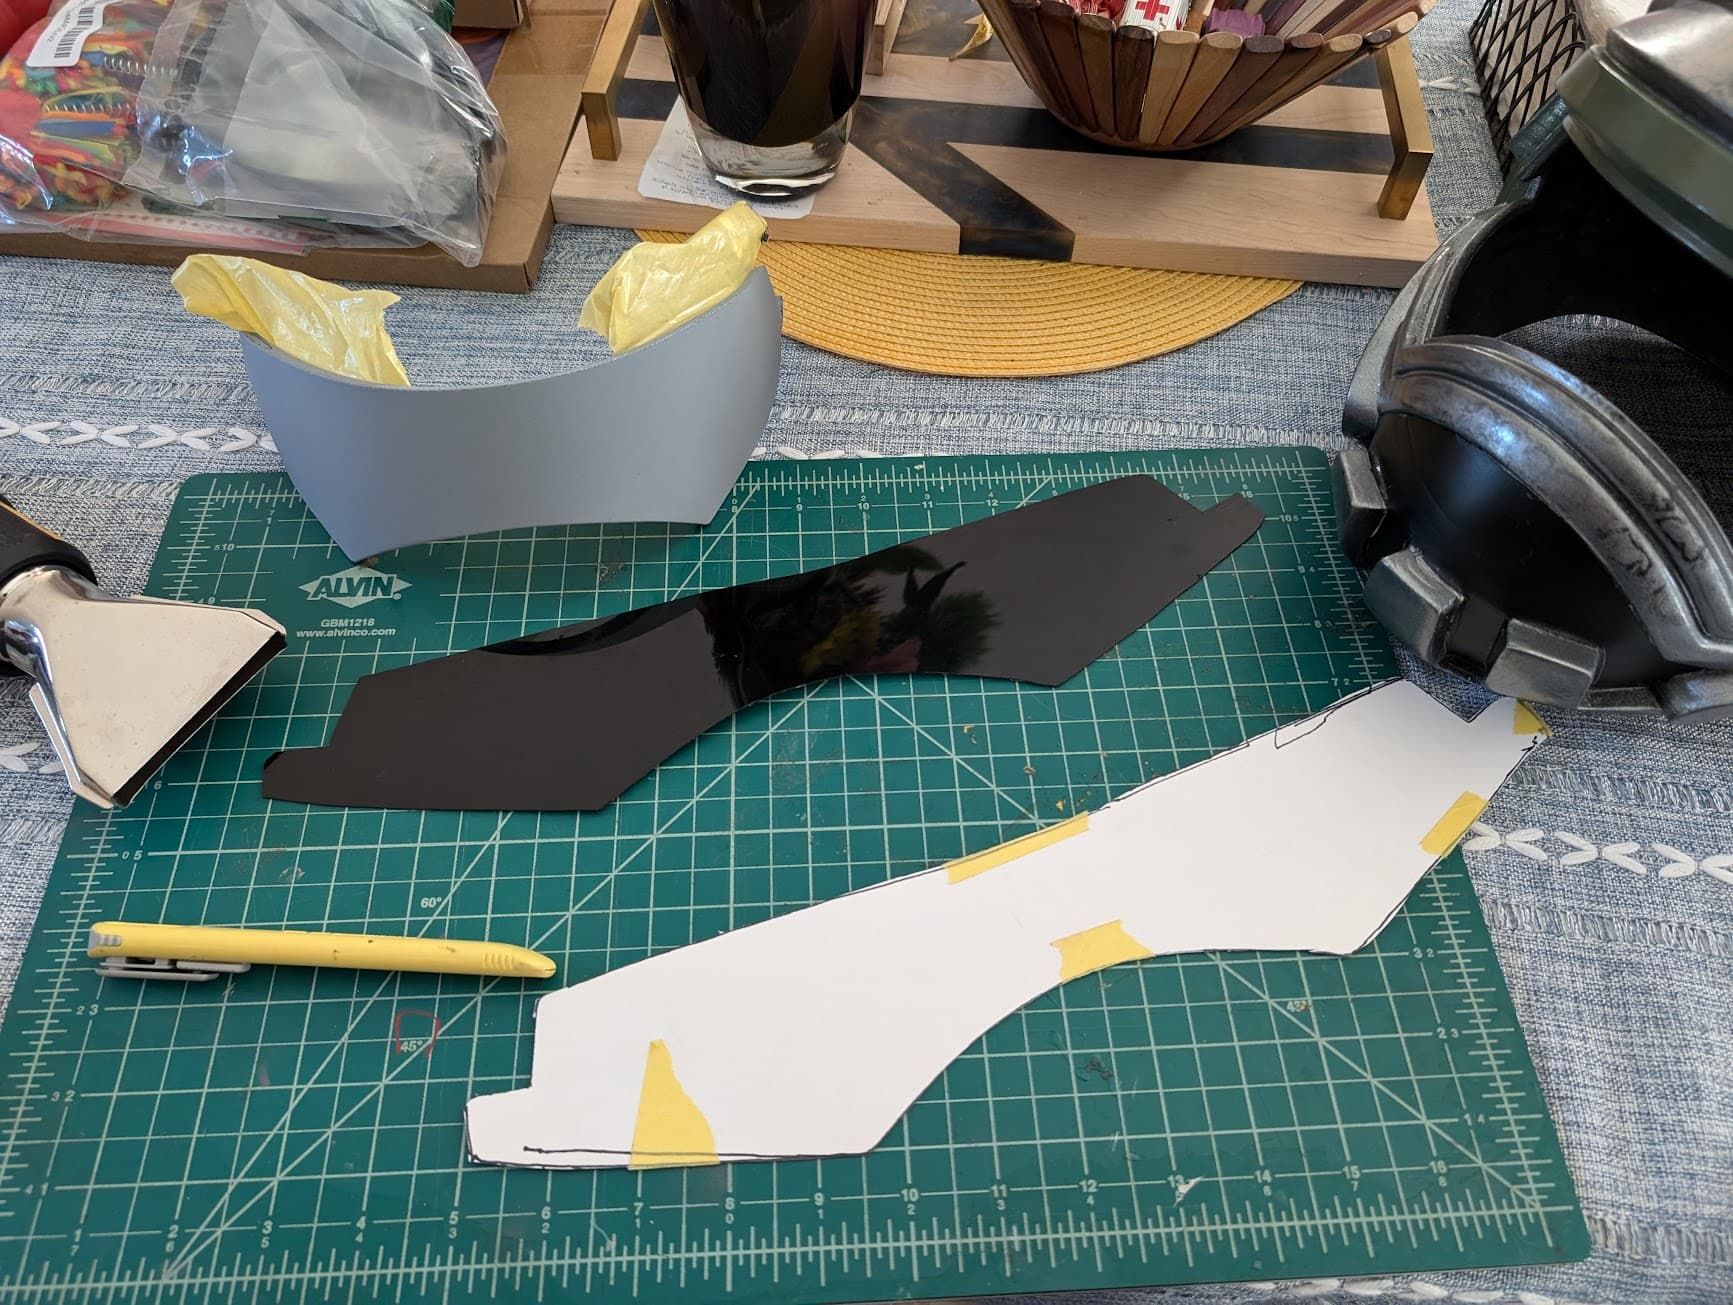
Materials:
- PET Clear Sheets 16" x 20" x 0.04"
- Window Tint Film
Placeholder pattern for visor.
NOTE: The VISOR GOES OUTSIDE THE HELMET
- Print and cut out the paper pattern, test against your helmet, and make changes as needed.
- Apply tint film to a transparent sheet
- Trace paper pattern onto sheet
- Using an extremely sharp razor knife, cut out the visor from the sheet.
- Working slowly from one side to the other, glue the visor into the helmet (I used hot glue).
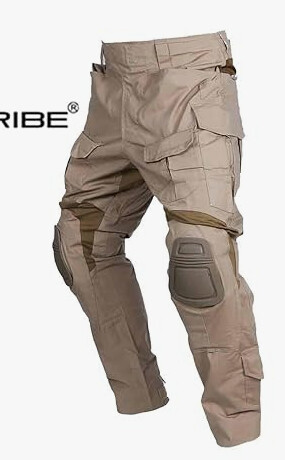
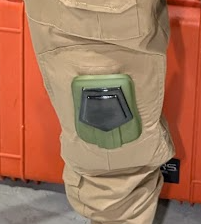
Shirt or Sweater
As discussed above, there are two versions of the figure. For comfort, I went with the BDU-style shirt. But I’ll explore all the options here.
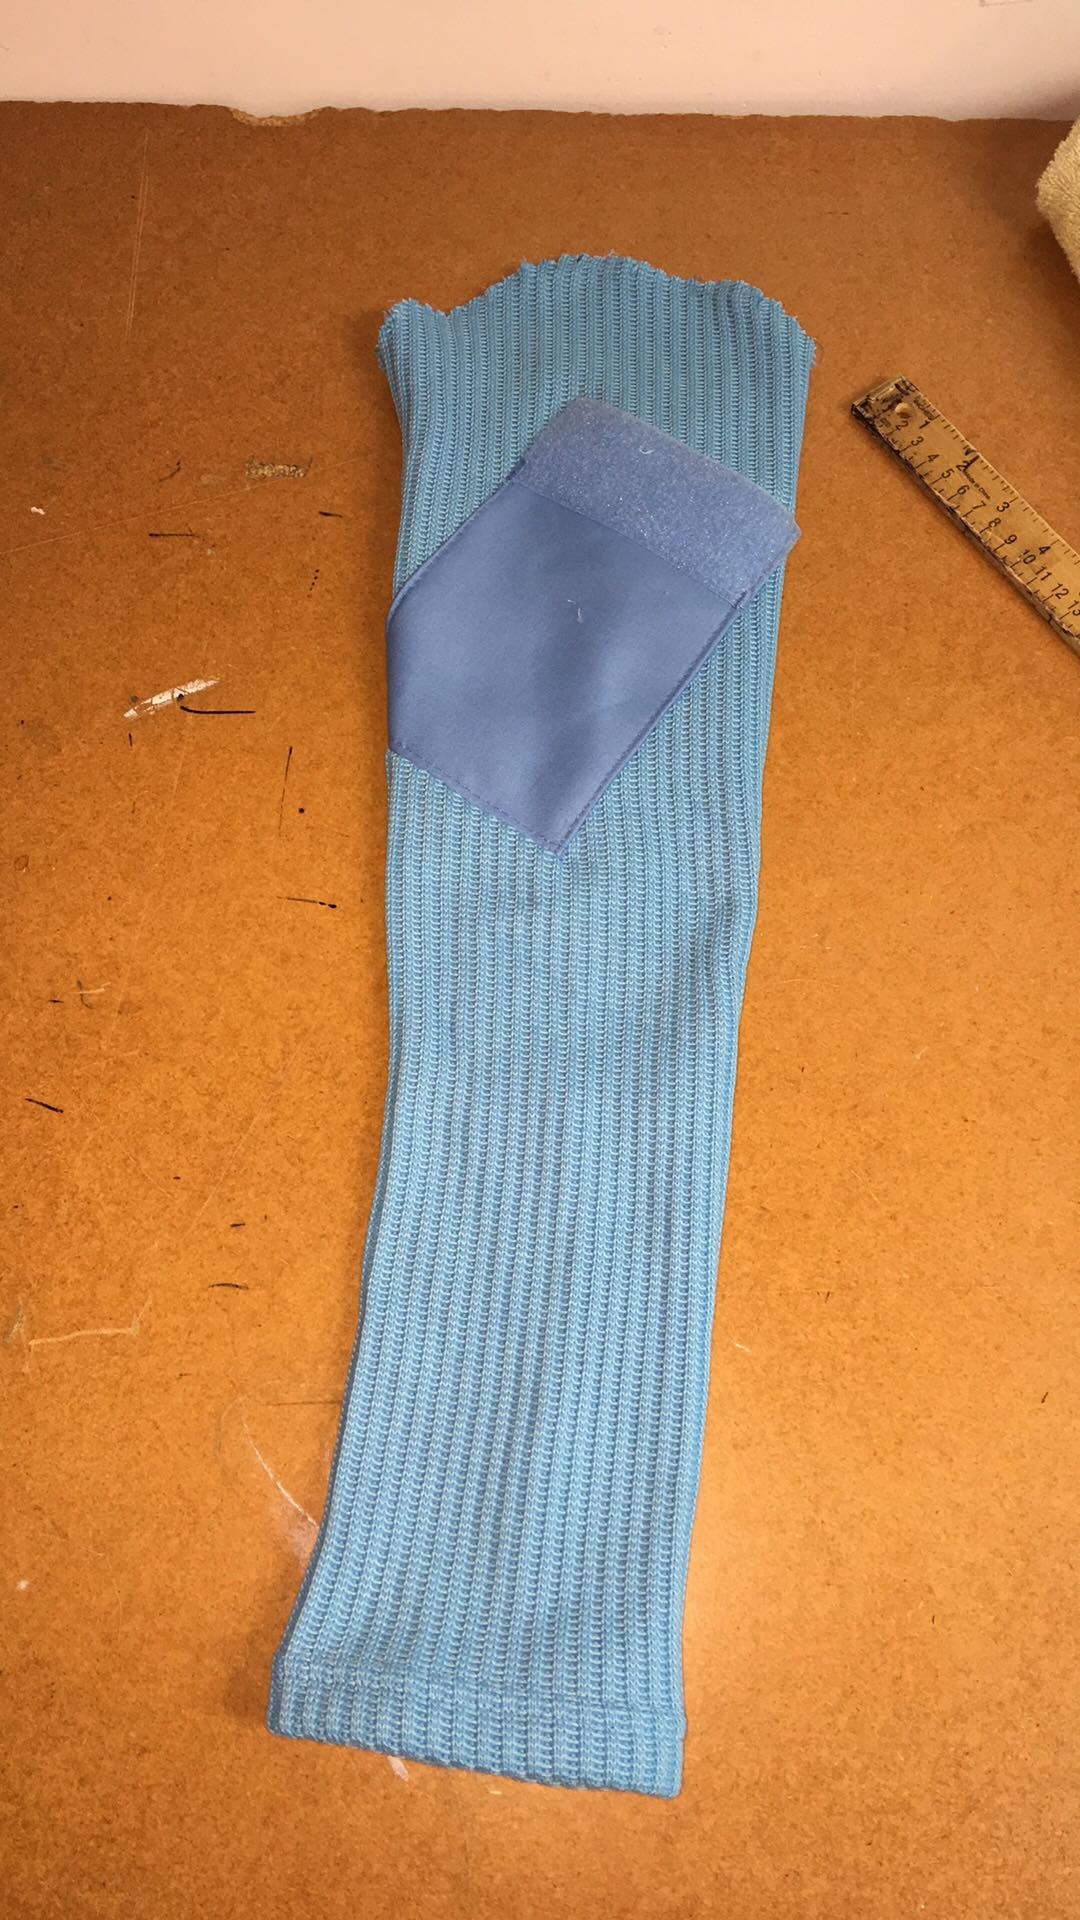
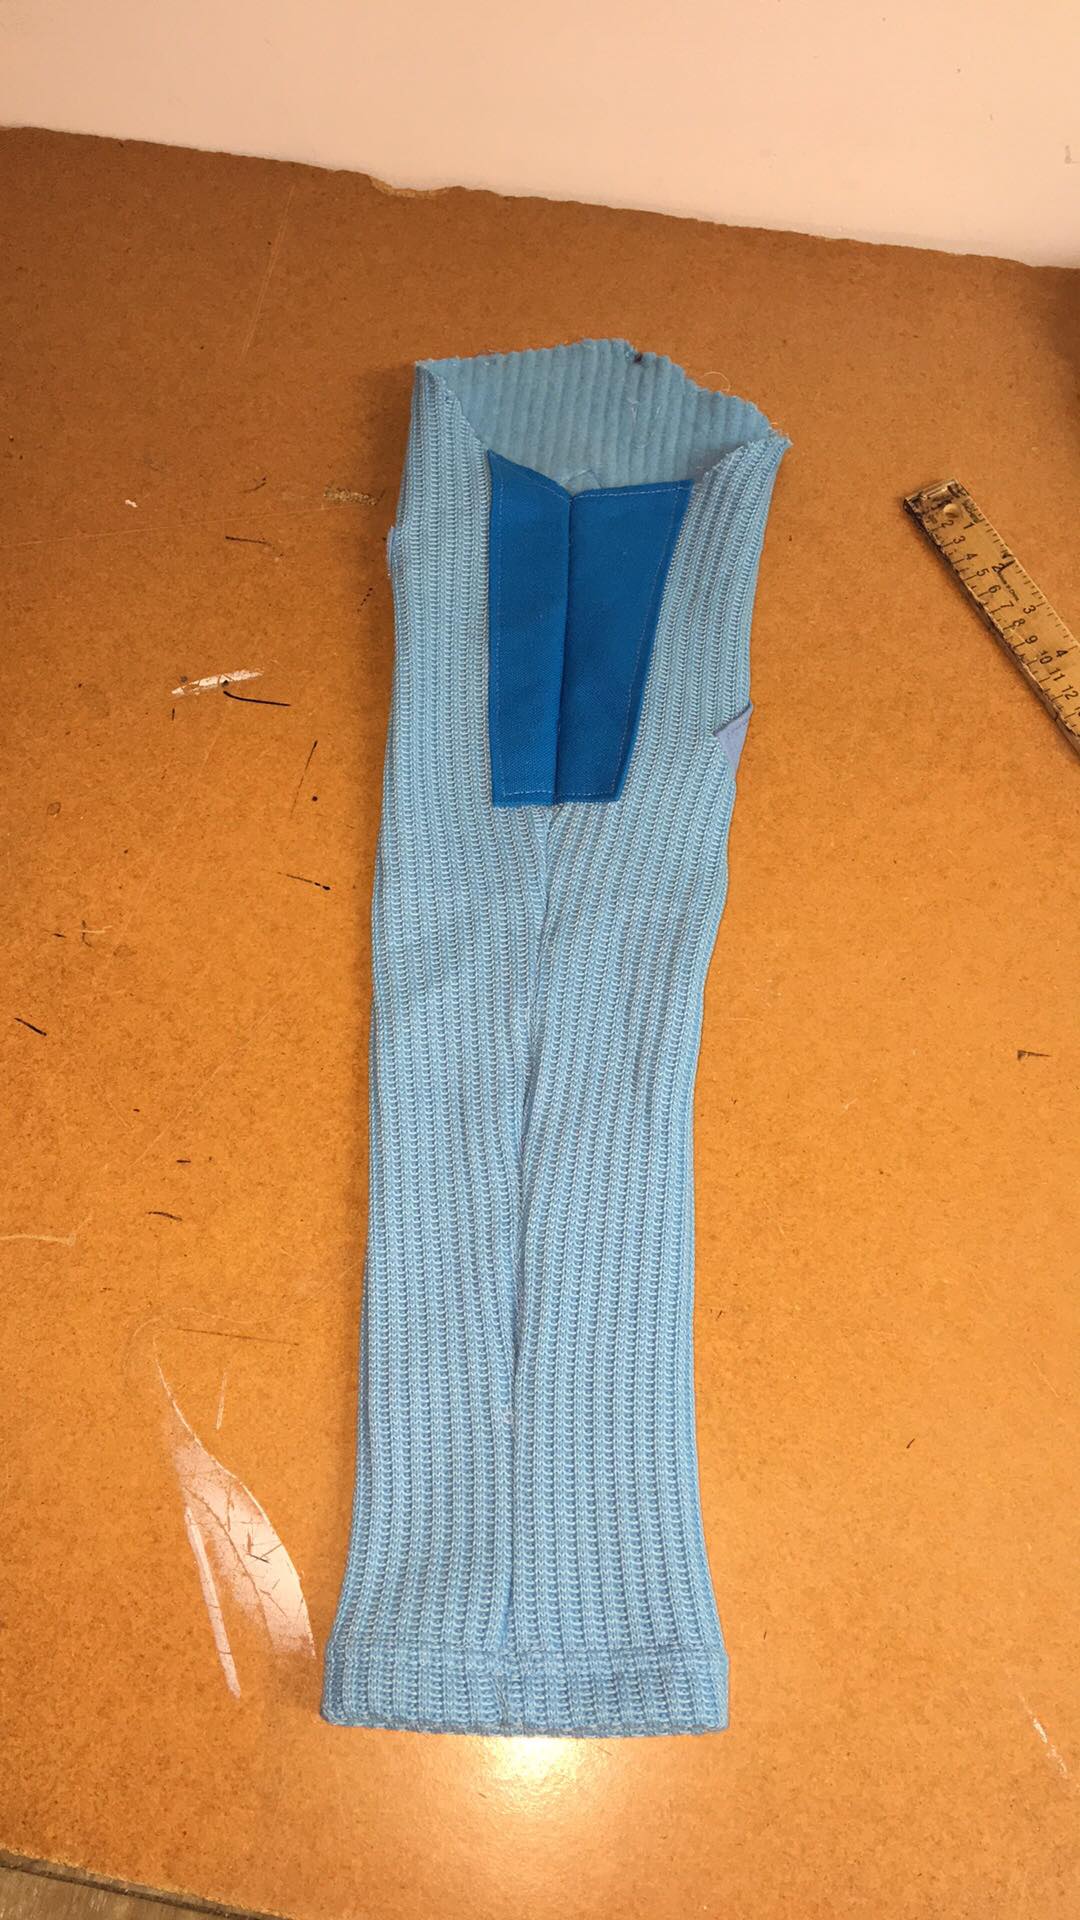
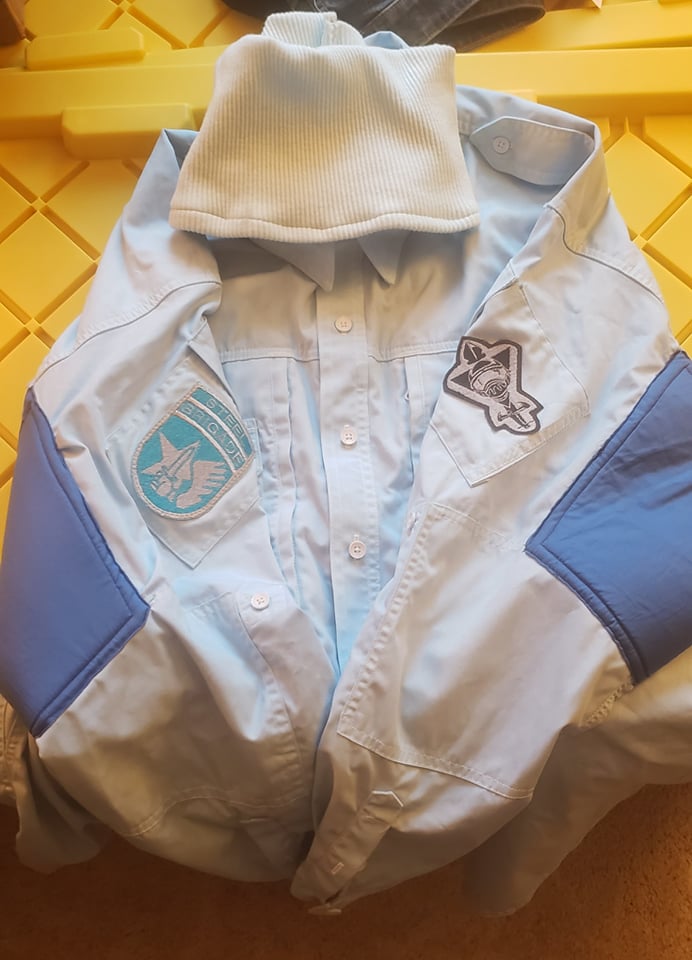
The most straightforward approach is a blue ribbed turtleneck. For extra detail, I’d look at adding both the sleeve pockets and the underarm blue sections. See the Equip List above for more information.
Turtleneck
Light Blue color in the link below.
Add pockets and blue underarms. Here are some process photos to give you ideas.

Shirt (Dyed ACU)
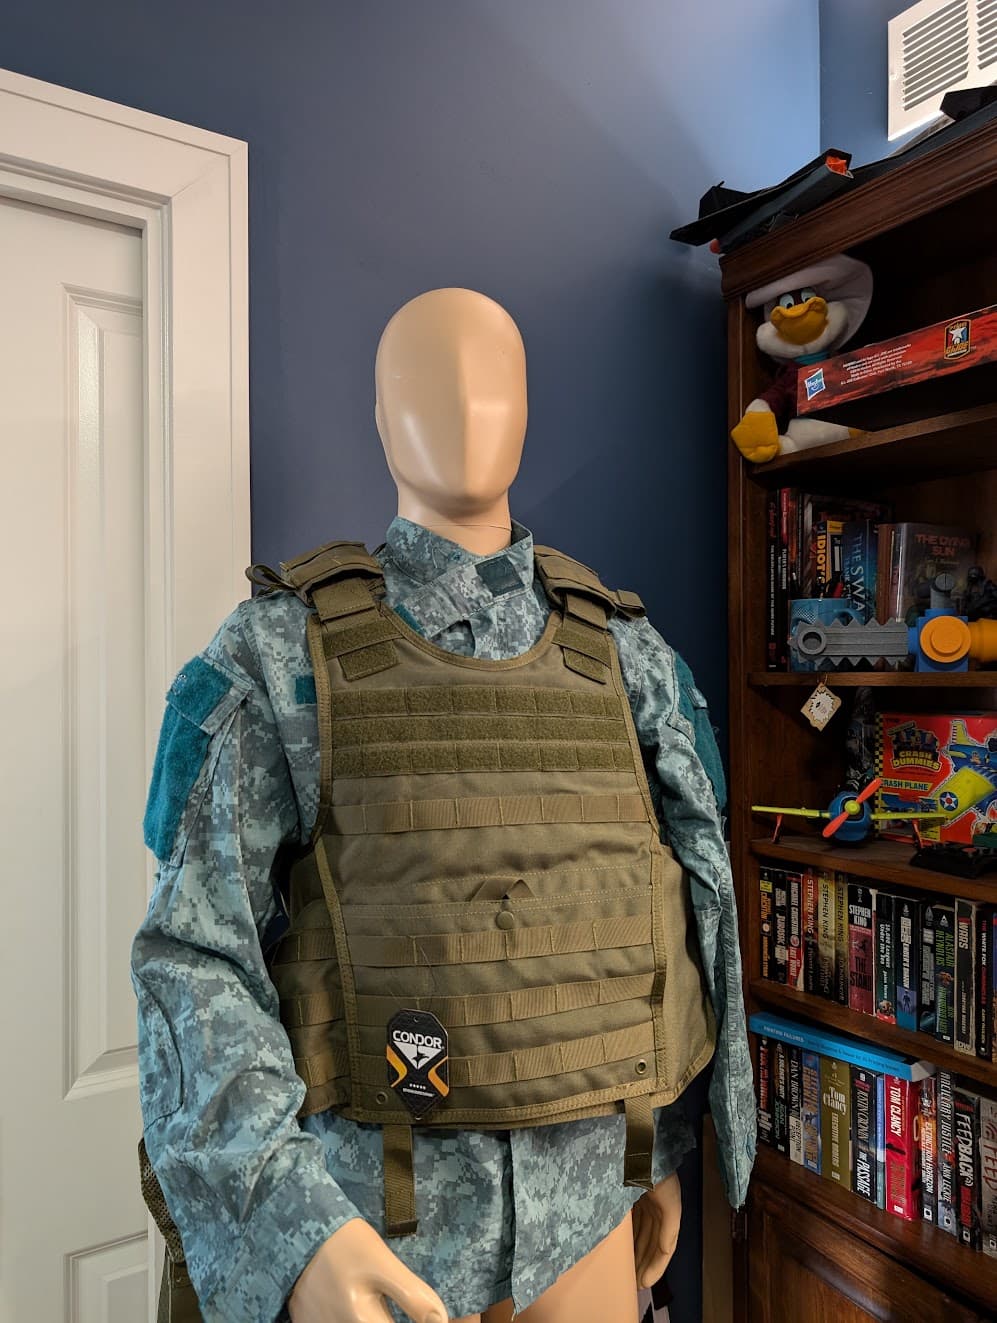
I chose this option for my build as I wanted to include the green patterning seen on some versions of the figures. I took an off-the-rack ACU shirt and tossed it in a dye bath for about 2 hrs. Then attached some dark blue under the arms—details in the Equip List.
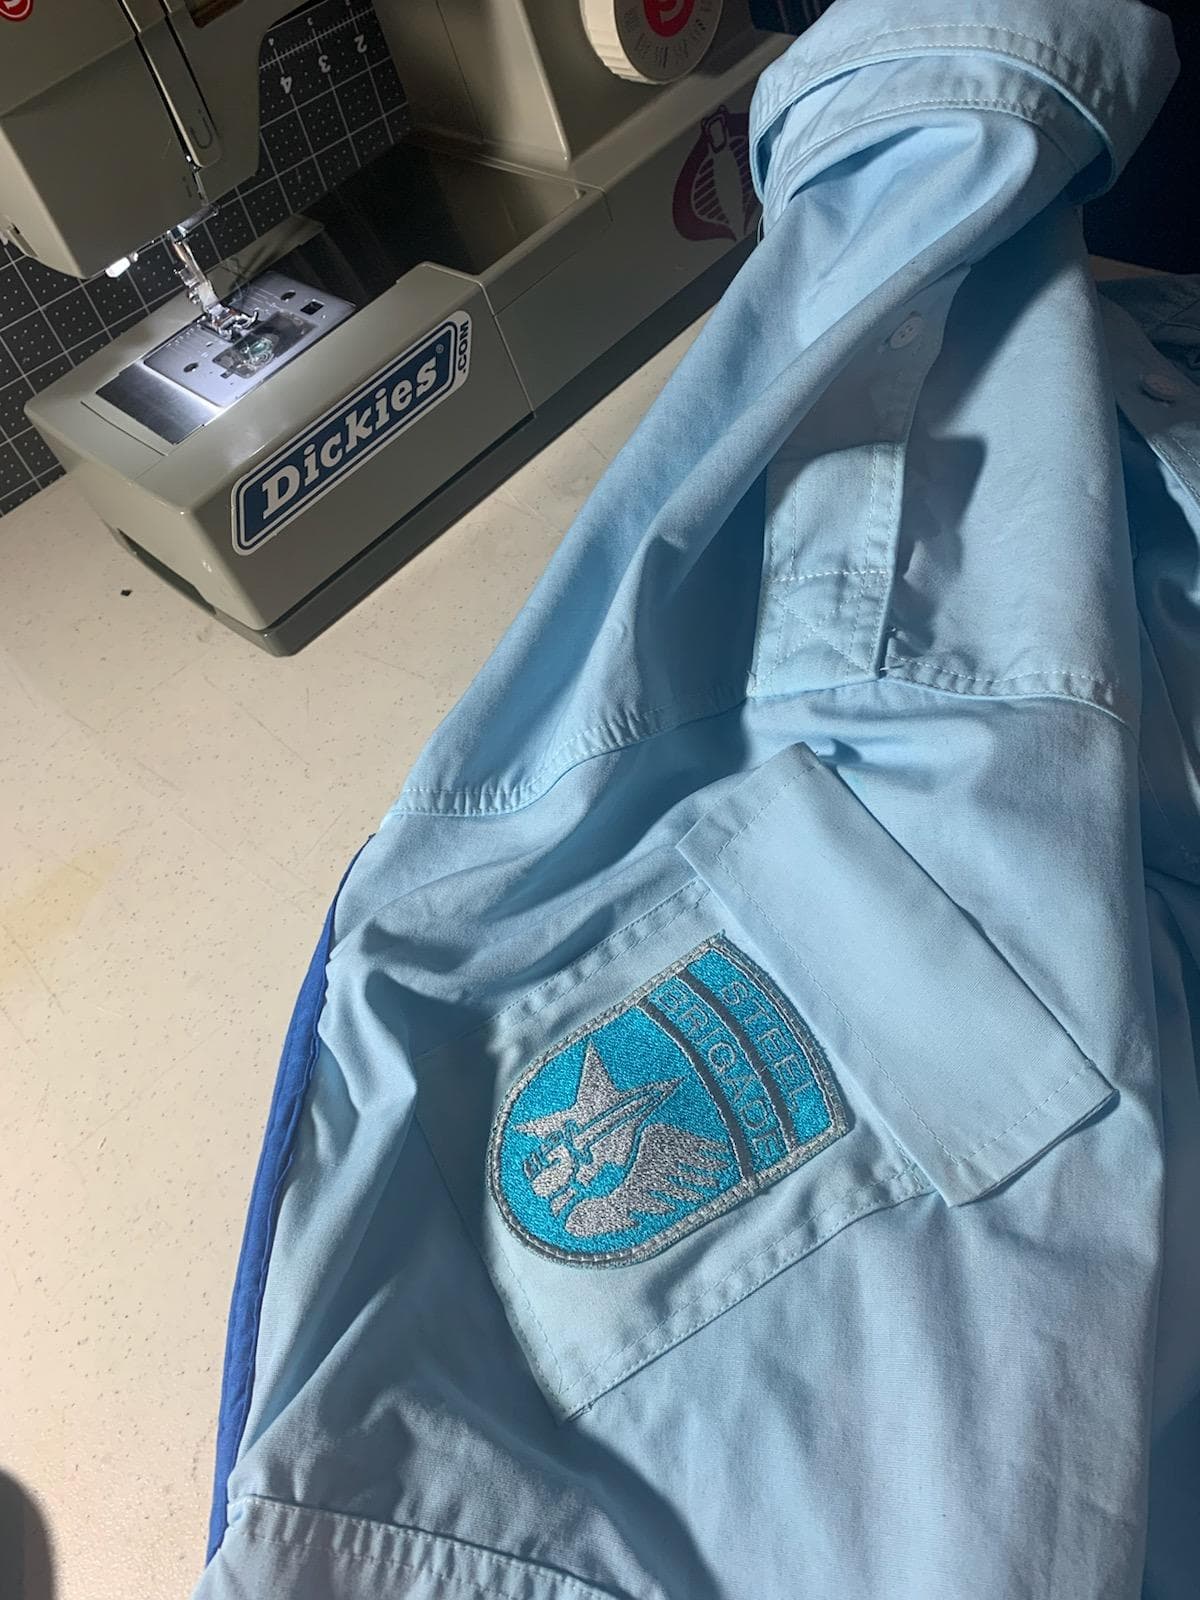
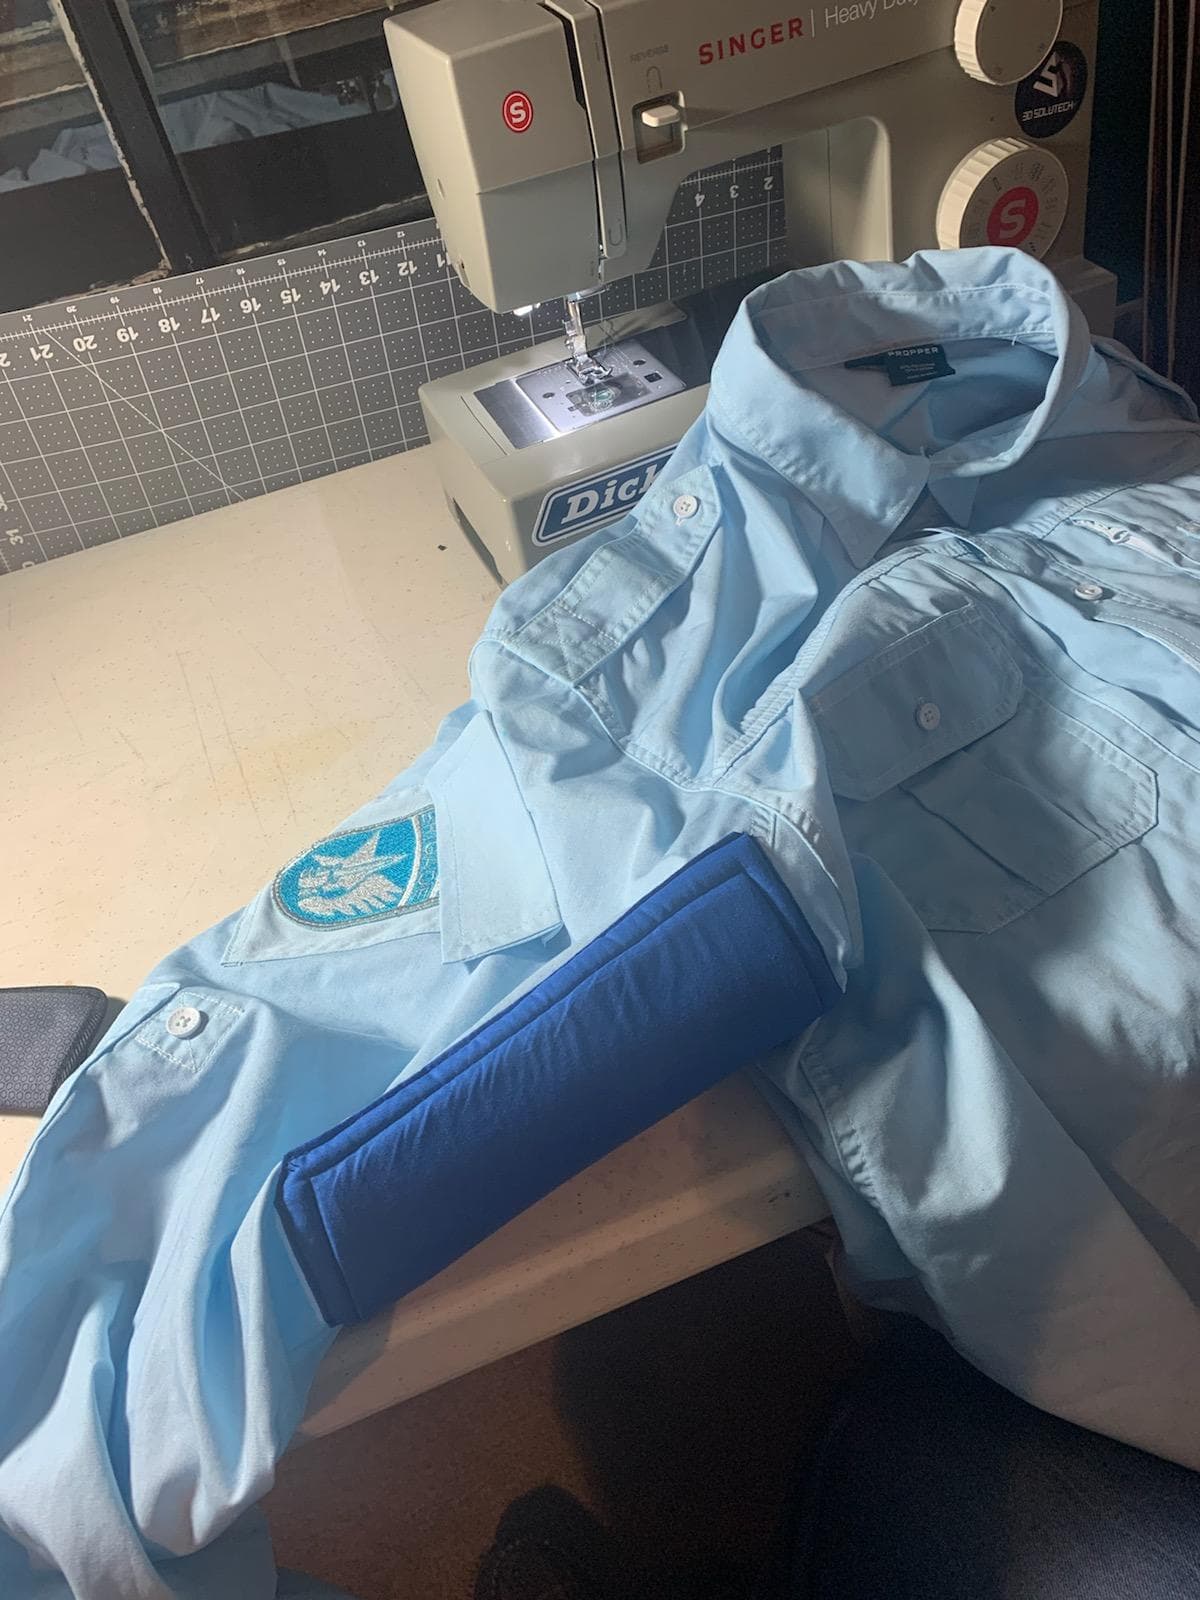
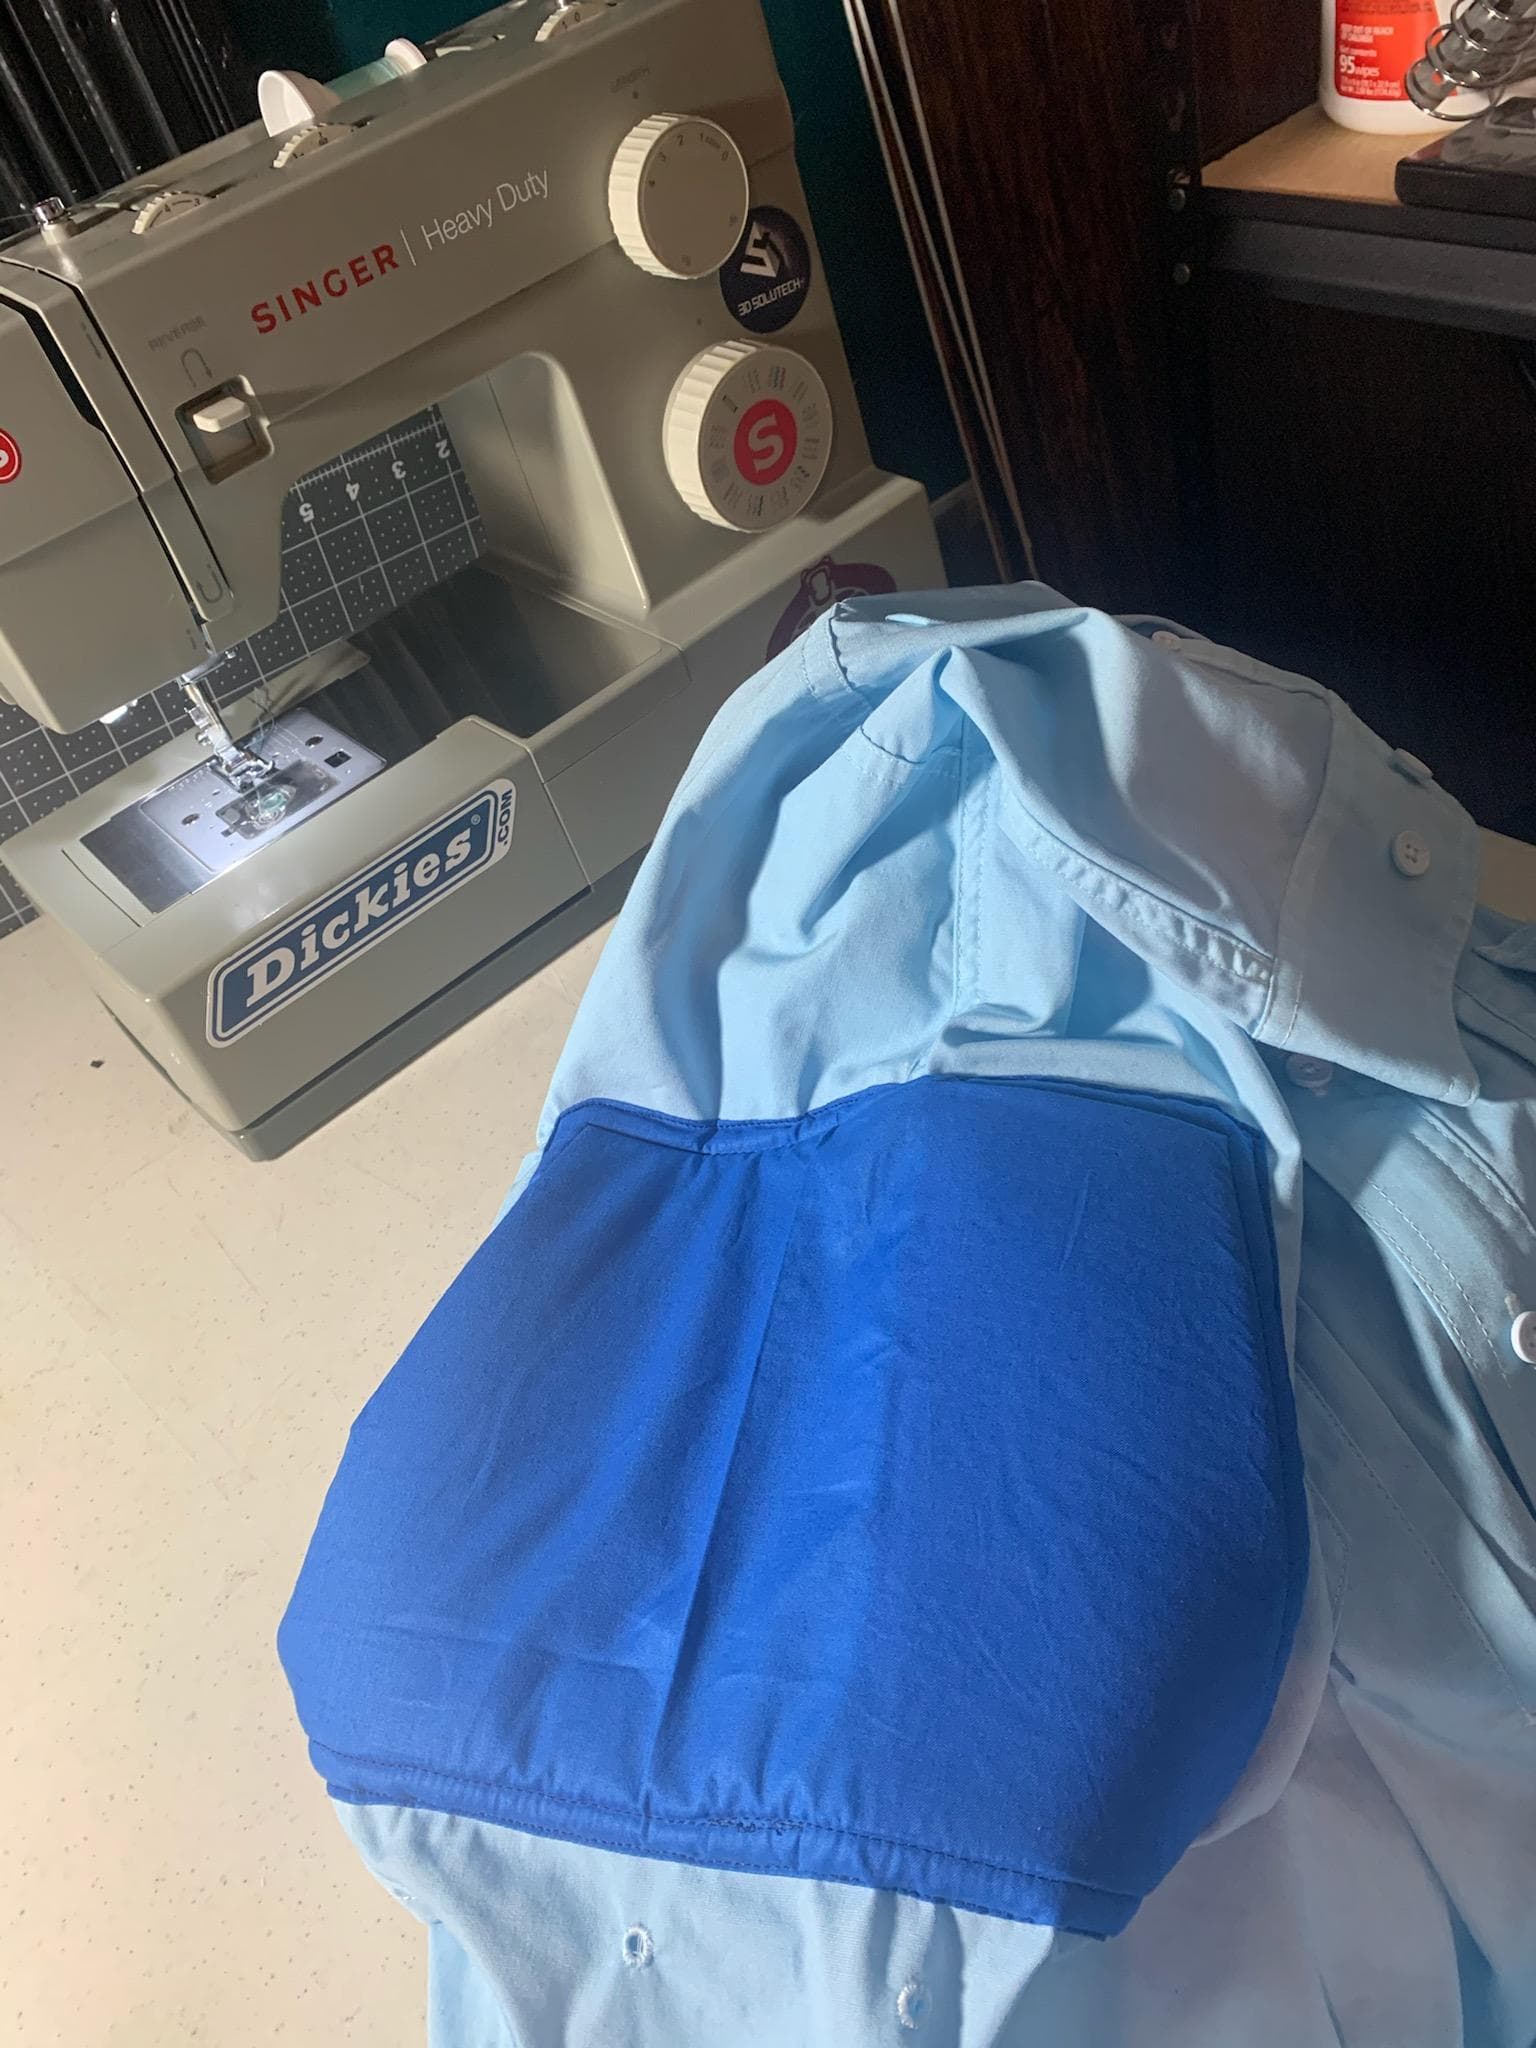
Shirt (Modified Button-down)
- Buy a white button-down tactical shirt
- dye using RIT Kentucky Sky
- Add sleeve pockets
- Add blue under arms
Photos of the process:
Part two soon!