Disclaimer: this was mostly cut and pasted from my website post so let’s see if the forum translates all the things correctly! 
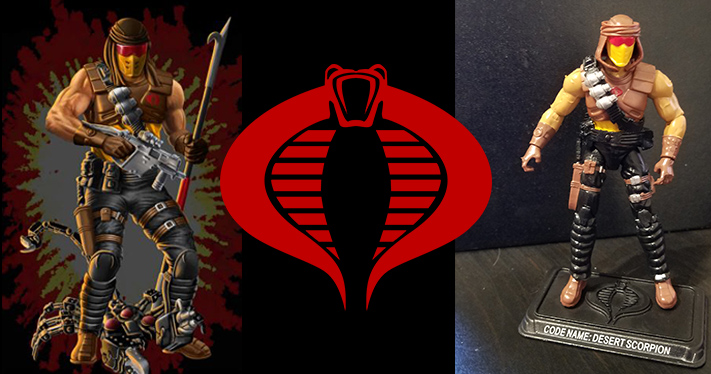
This is all about the making of my Desert Scorpion v2 (2013). The images used for refs are from yojoe.com and amazon.com (most likely) as well as my own photos.
It’s probably 90% done at this point. I redesigned the mask a bit for a better fit and detail, just needs paint and attachments. A few other details need to be finished as well with some other parts.
Red Lenses
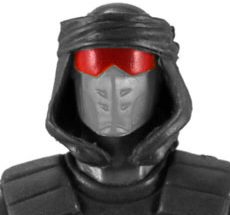

Source: Amazon
Mask
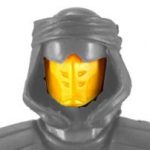
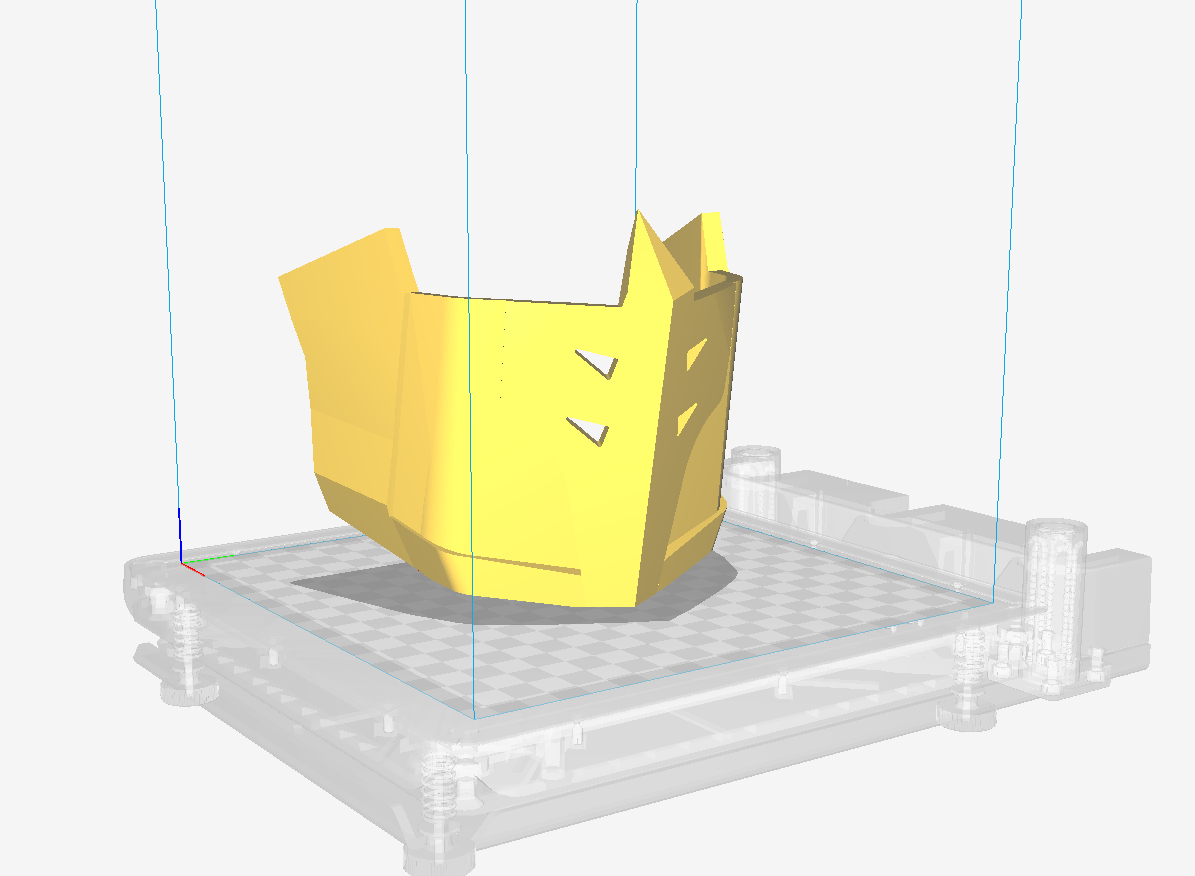
3D printable model designed by me! This is the most recent model as my original did not have the holes. It’s all printed and ready for painting.
Still pondering how to attach it easier as right now its velco… #velcroallthethings . Ideally permanently attaching the goggles to it might be nice.
Headwrap
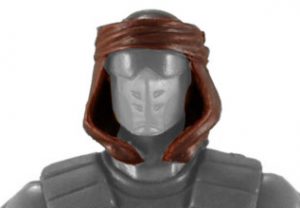
Still planning on making this a more permanent “hat”. Wrapping this each time is not something I really want to do. =P
Got it! It’s a lovely chocolate brown hairwrap thing!
Source: Amazon
Chest Armor
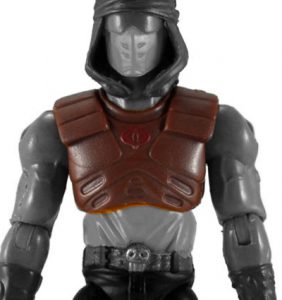
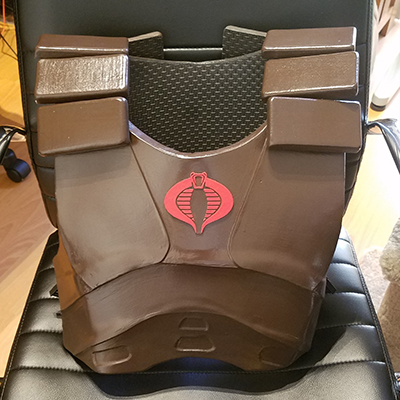
Handmade out of foam.
Process was cut pattern out of paper then cut out foam. Shape and adjust foam if necessary (some re-cutting and gluing back together was required to get the right angles). Added a layer of fun foam for the details and to give the illusion of plates.
Then the fun part!
Bevel/smooth edges with dremel. Fill in holes/scratches with silicone. Seal with 4-8 layers of slightly watered down glossy modpodge (the watering it down eliminated my need to wet sand brushstrokes out a whole bunch). Spray with plastidip. Paint with Rust-oleum Satin Enamel Dark Brown.
Strapped in 1 places on each side with parachute clips leaving some gap.
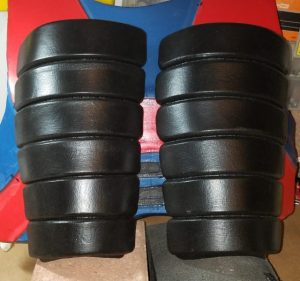
Shoulder Armor

Same process as above, though I did not use a paper template for the shoulder plates.
On the figure there are a total of 5 shoulder plates on each side, the last ones on the back are wider than the rest. (I used 4 plates total as it scaled better to my proportions).
On the back I used cotton strapping (will absorb the rubber cement better) to create bands another nylon/poly strap will slide through. Then used velcro on the first and last band to attach it to the chest and back pieces. I added some dowels behind the scenes to help keep the “chocolate bars” more inline. =)
Gloves
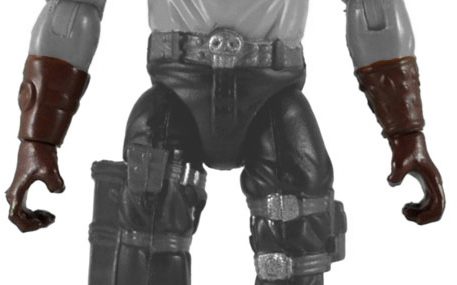
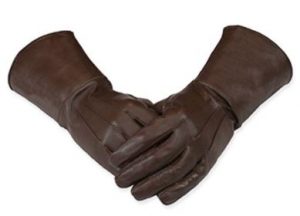
Base glove, details to be added.
Source: Amazon
Shin Guards
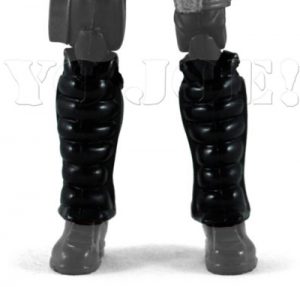
Made out of foam and scrap ABS armor (I had the perfect size unused bracers from another costume kit that fit nicely!). Similar to the steps for the armor except I just used black plastidip as the final coating and the foam pieces are glued to ABS armor pieces.
These are strapped to the leg in 2 spots.
Base Clothes
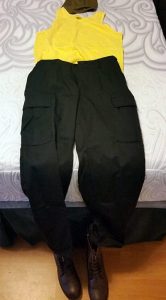
- Shirt: Amazon (at time of posting this, they no longer offer that color). I need to start on the quest for a more fitted shirt too. This was a mens heh.
- Pants: Amazon
- Boots: Amazon (at time of posting this, they are no longer avail)
Other Accessories
- Bandolier:Made of 2″ strapping with 2″ parachute clip. Other details will be likely added as foam. Toy grenades (Amazon)
- Black belt & Pouches: A belt from another costume plus ordered a pouch or two.
- Brown Belt, thigh straps for detail & buckle: Made with plether-like material. Buckle will be upgraded.
- Knife & Sheath: Got it!
- Weapon: Got it!
- Backpack: Future upgrade.
- Scorpion: Any stuffed scorpion! =)