Hard to paint plastics:
Plastic is really a generic term for a whole bunch of different chemical make ups of petroleum products combined in different ways. Though I’ll never be able to cover everything, some common preparation to surfaces will hopefully lead you down a road to success.
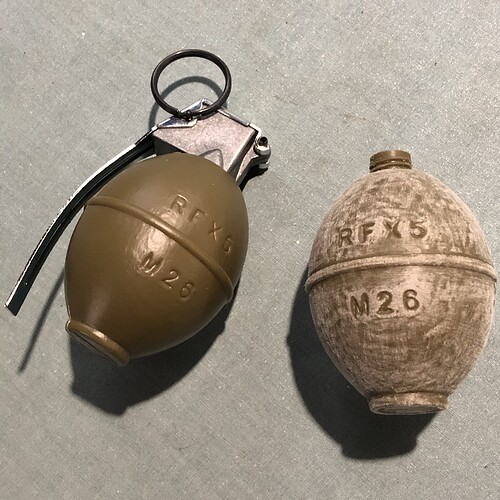
Alex recently put together some lists of resources for all kinds of props and while I was looking for some “lemon” styled grenades I noticed he wrote a little caveat about the M26 styled grenades about how paint didn’t want to stick to them.
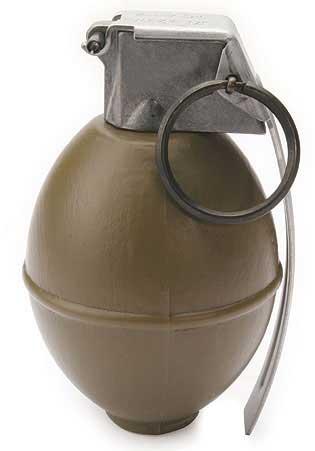
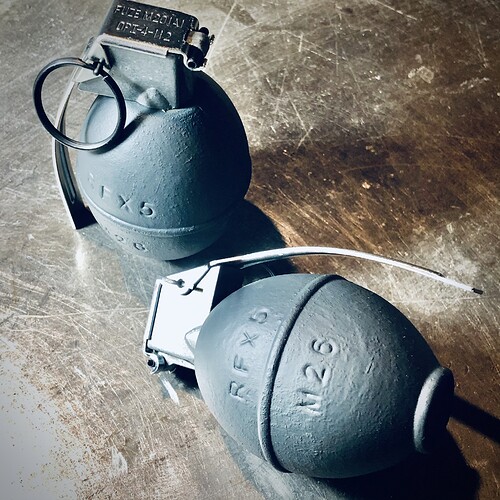
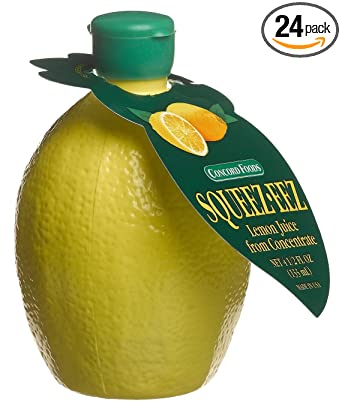
I picked up 4 of these for two different costumes I’m working on where two of them needed to be a dark grey color. The business part of the grenade is a blow molded plastic called Polyethylene or polythene. These are Similar to squeeze lemon juice bottles or restaurant refillable ketchup and mustard bottles where its softer plastic.
Blow-molded plastics often have something on the surface of them known as mold release agents. This is present when the liquid plastic is forced into a form with air so it won’t get destroyed when it’s demolded. Food oriented products should have these already removed in the factory process before it ever hits your grocery store, but non-food items this process is likely skipped. Much like someone uses a spray in a frying pan so food doesn’t adhere to the pan while cooking, mold release agents act in the same respect.
Step number 1 is to remove any traces of mold release agents from the surface of the thing you want to paint. Typically for this just a bath of warm, soapy water and a gentle scrub would/should suffice. Don’t skip this step even though further steps might seem like they’ll take care of it. It’s also a good point to wash your hands in this process. I often forget to mention that we can carry a lot of chemicals, materials, oils on the tips of our fingers that also should be removed to not spread to our work.
From Wiki:
“Polyethylene cannot be imprinted or bonded with adhesives without pretreatment.”
So besides the mold release agents, the stuff that this is made of hates things sticking to it to its genetic core. Paint alone will never grab onto the surface and stay for long without a good scuff.
Paint binds in two ways: mechanical and chemical. We have one strike against us in this two part plan because the material is designed not to bond with anything. So let’s first focus on mechanical.
Mechanical bonding is simply the treatment of the surface. Something smooth allows liquid to pour off of it easy where something rough will allow it to hang out and stay awhile. The focus of a good mechanical bond is to make as rough as a surface that will still yield a good top coat appearance.
Step number 2: I like to start with 80 grit sand paper for most projects. It’s pretty course but does the job for this. After 80 you can follow that up with like a 120-220 to smooth out some of that if you wish. It all depends on your goal for a finished product.
After the whole area to be painted is scuffed up it should have a whiteish appearance to it from what it was previously. It’s at this point it’s a good idea to clean the piece again with soap and water and make sure to get it clean and remove the soap residue. I often follow up this with a wipe down of isopropyl alcohol just to be safe and clean.
Now that we’ve tackled the mechanical aspect let’s talk about the chemical part.
Polyethylene resists bonding. Much like two people trying to talk who don’t speak the same language, you’re going to need something in the middle to help. In this case the interpreter is an Adhesion Promoter.
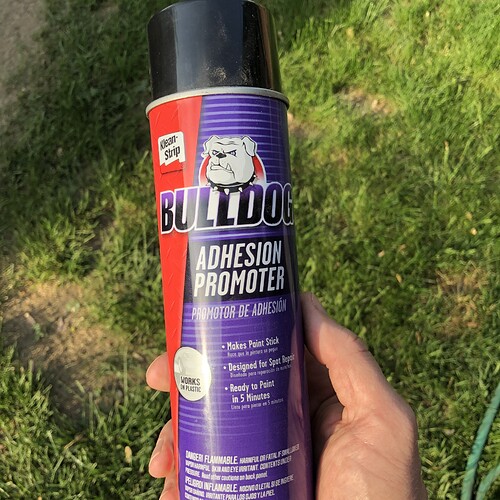
Step number 3: when the parts to paint are clean and dry I used Bulldog Adhesion Promoter. This product is used on a lot of automotive parts to get paint to stick to things like trim and bumpers that are made of plastic in modern vehicles. This type of product is found at auto parts store and not at craft/big box/hobby stores. You mist it on in light coats so stand back and don’t hose your work.
It dries pretty fast which is great because you can then move onto primer in about 5-10 minutes after you spray this on.
Congrats, you’ve now completed the “pretreatment” mentioned in the Wiki.
Step number 4: I personally still like using primer as a base coat before going on even though many spray paints say “bonds to plastic”. Call me old fashion but it’s just what I do.
Step number 5: top coating can happen once you’re happy with your primer coating. A good primer can be sanded if you desire a super smooth end result for this. In the case of these grenades, they don’t have to be perfect for me so I skipped the sanding between primer and top coating.
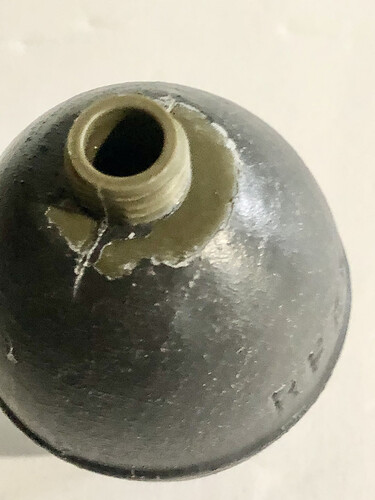
In my case I had an oops moment when I realized I didn’t scuff well up by the treads and it peeled off with little effort. I hit this area again with a 80 grit sanding stick and scuffed the paint as well. Added a squirt of adhesion promoter and top coated
Step number 6: let your work dry after the top coating. Cans will say stuff like “can be handled in 15-30 minutes" but look for the full cure time which is often 24 hours.
At this point if everything went well you have parts that are probably as good as they can get. Spray paint is not indestructible so handle accordingly and treat them well.
Hope this helps someone out.
